Athom Homey Pro to Apple HomeKit: Full Setup Guide (2026)
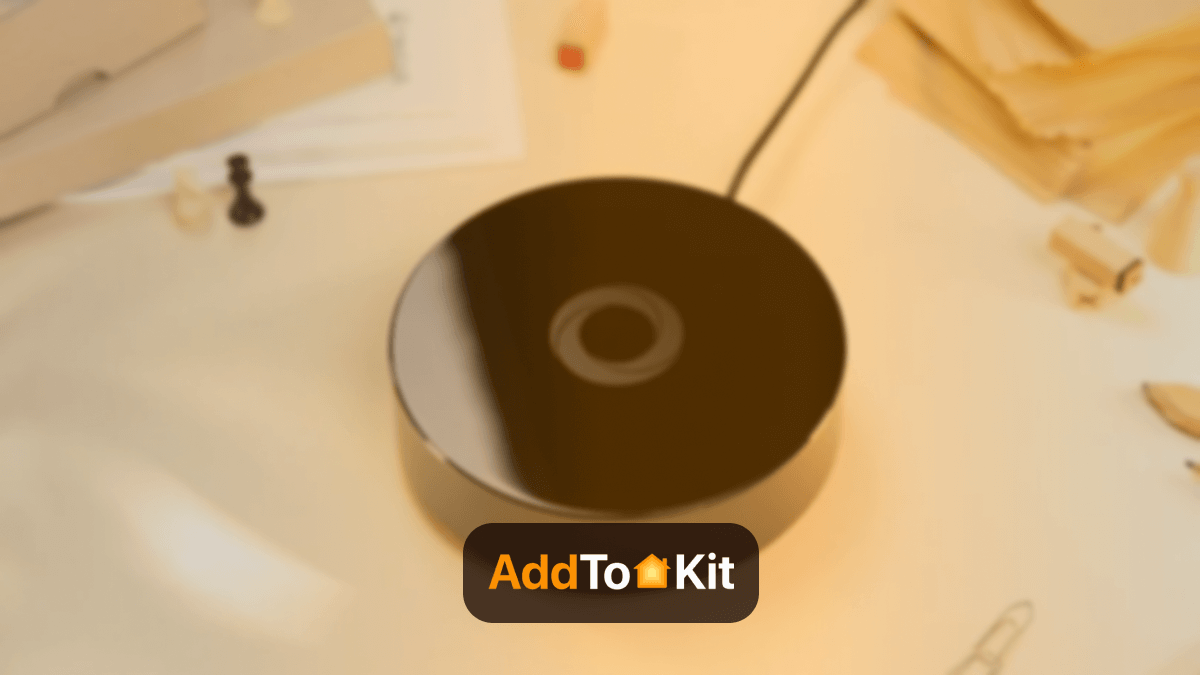
Athom Homey Pro brings smart home devices from different ecosystems together in one place. It supports multiple protocols, including Zigbee, Z-Wave, Matter, Thread, Wi-Fi, and Bluetooth LE, making it easier to manage compatible devices through a single system.
In this guide, you’ll learn how to set up Athom Homey Pro and connect supported devices to Apple HomeKit. The steps apply to both Homey Pro Early 2023 and Homey Pro 2026 unless stated otherwise.
What is ATHOM Homey Pro?
Athom Homey Pro is a smart hub designed to control all smart home devices efficiently. It also gives the ability to control all the devices from anywhere just with a single tap.
Athom’s Homey Pro is available in two current generations: Homey Pro (Early 2023) and Homey Pro (2026). The 2026 model increases the RAM to 4 GB, while both models run Homey OS and support the same smart home protocols. This guide applies to both versions unless stated otherwise.
What Are the Homey Pro Specs
- Processor - 1.5 GHz Quad-Core ARMv8
- Memory - 4 GB RAM (Homey Pro 2026) / 2 GB RAM (Homey Pro Early 2023)
- Storage - 8 GB
- Wireless protocols - Zigbee 3.0, Z-Wave 700 Series, Matter, Thread, Bluetooth LE 5.0, Wi-Fi (2.4 GHz and 5 GHz), 433 MHz, Infrared
- Backup - Local backup to Mac/PC or optional cloud backup
It can support ZigBee, Matter, Thread, and more protocols at the same time. The system does not require internet at all as it can work offline as well. The simplest design with RGB lighting adds a sweet little touch to your home while making your smart home a comfortable place to live in.
How Do You Set Up Homey Pro for the First Time
If you are setting up Homey Pro for the first time, follow the steps below. You can also check Homey’s official setup guide for model-specific instructions.
- Connect Homey Pro to power using the included USB-C cable and power adapter.
- Wait for Homey Pro to start up and become ready for setup.
- Download the Homey app on your phone or tablet, then sign in or create a Homey account.
- Open the Homey app, select “New Homey,” and choose Homey Pro.
- Follow the instructions in the Homey app to connect Homey Pro to your network and complete the setup.
It is recommended to place your Homey Pro in the central area of your home. This will ensure good coverage.
How Do You Connect Homey Pro to Apple HomeKit
The new Homey Pro has built-in support for Apple HomeKit. It gives the ability to connect directly without HomeBridge and control all the smart home devices from your IOS device. With this support, Apple users are now much happier to use Homey Pro.
Homey’s official Matter Bridge app is the current way to share supported Homey devices with Apple Home.
Apple HomeKit Experiment gives the opportunity to integrate any smart home device with Homey Pro. Here are the steps on how to do it,
- Install the official Matter Bridge app on your Homey Pro.
- In the Homey app, go to More → Settings → Matter Bridge. A QR code will appear for pairing.
- Open Apple Home on your iPhone or iPad and use the QR code to add Homey as a Matter Bridge.
- Follow the Apple Home instructions to name the bridge and complete the connection.
- Return to the Matter Bridge settings in Homey and select the supported devices you want to share with Apple Home.
For basic control at home, you do not need an Apple home hub. However, remote access and Apple Home automations require a HomePod, HomePod mini, or Apple TV 4K as an Apple home hub. Homey Flows continue to run independently through Homey, even when Apple Home remote access is unavailable.
Matter Bridge uses standardized Matter capabilities when sharing devices with Apple Home. This means some advanced or device-specific Homey features may remain available only in the Homey app after the device is bridged.
Zigbee and Z-Wave devices do not communicate with Apple Home directly. Instead, Homey Pro connects to these devices through its local radios and passes supported controls to Apple Home through Matter Bridge. This lets you control compatible devices from Apple Home and Siri while Homey Pro handles the connection in the background.
How Do You Fix Common Homey Pro and Apple HomeKit Issues
Uncertified Accessory warning: If Apple Home shows an “Uncertified Accessory” message while pairing Homey through Matter Bridge, you can continue with the setup by selecting Add Anyway.
Devices not appearing in Apple Home: Open the Matter Bridge settings in Homey and make sure the devices you want to use have been selected for sharing. Some devices or capabilities may not appear if they are not supported through Matter Bridge.
No Remote Access: If Apple Home shows “No Remote Access,” check that an Apple home hub such as a HomePod, HomePod mini, or Apple TV 4K is set up correctly. An Apple home hub is required for remote access and Apple Home automations.
What Are Homey Flows
Homey Flows let you automate connected devices using triggers, conditions, and actions. For example, you can turn on lights automatically, adjust the temperature, or trigger other devices when a specific event occurs.
Homey offers both Flow and Advanced Flow, depending on how simple or detailed you want your automation to be.
Basic Flow
Flow is designed for simple, everyday automations. You choose a trigger, add any conditions you need, and decide what Homey should do next. For example, you can turn on a light when motion is detected or adjust the temperature at a certain time. This makes Flow a good choice when you want to create a routine without building a complex automation.
Advanced Flows
Advanced Flow is useful when an automation needs more than a simple trigger and action. Its visual interface lets you connect multiple triggers, conditions, and actions in one automation. This gives you more control when creating routines that involve several devices, different conditions, or multiple outcomes.
In simple terms, Flow works well for basic routines, while Advanced Flow is better when you need more control over how several devices and conditions work together.
Conclusion
Homey Pro makes it easier to bring devices from different smart home systems into Apple Home. Its Matter Bridge integration lets you share supported devices with Apple Home without setting up a separate Homebridge server.
It is especially useful if your home includes Zigbee, Z-Wave, Matter, or Thread devices. Just keep in mind that some advanced features may still need to be managed through the Homey app.
FAQs
Yes. Homey Pro supports both Zigbee and Z-Wave, along with Matter, Thread, Wi-Fi, Bluetooth LE, 433 MHz, and infrared. This allows it to connect with a wide range of smart home devices.
Yes. Homey Pro supports Ethernet through the Homey Pro Ethernet Adapter. This gives you the option to use a wired network connection instead of relying only on Wi-Fi.
Homey Pro works with many popular smart home brands and technologies. Compatibility depends on the device, its protocol, and the Homey apps available for it, so it is best to check support for your specific device.
Yes. You do not need to run a separate Homebridge server. Homey’s official Matter Bridge app can expose supported Homey-connected devices to Apple Home, where you can control them through the Home app and Siri.
Install the Matter Bridge app on Homey Pro and open its settings. Scan the provided QR code with Apple Home, add Homey as a bridge, and then choose which supported Homey devices you want to share with Apple Home.
Yes. Homey Pro supports both Matter and Thread. Matter devices can connect over Wi-Fi or Thread, while Homey Pro can use its own Thread network for compatible Matter-over-Thread devices.
Both models use a quad-core 1.5 GHz processor and include 8 GB of storage. Homey Pro 2026 increases the memory to 4 GB RAM, compared with 2 GB RAM in the Early 2023 model.
You can control your Homey devices through Apple Home while you are at home without an Apple home hub. For remote control or Apple Home automations, you will need a HomePod, HomePod mini, or Apple TV 4K to act as your home hub.