OpenHAB | Add Any Device to Apple HomeKit

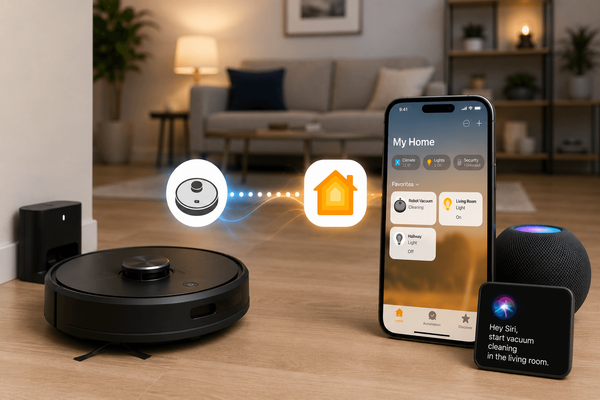
If you're using openHAB to manage your smart home, you already have a powerful setup. But what if you could also control everything through the Apple Home app or just ask Siri to do it for you?
That's exactly what the openHAB HomeKit integration makes possible.
With a simple add-on, openHAB acts as a bridge between your smart home devices and Apple's ecosystem. Lights, thermostats, locks, sensors and anything you've connected to openHAB can show up in Apple Home and respond to Siri voice commands.
The best part? You're not limited to devices that are officially "HomeKit compatible." If it's in openHAB, you can bring it into HomeKit. That opens the door to hundreds of devices that Apple wouldn't normally support.
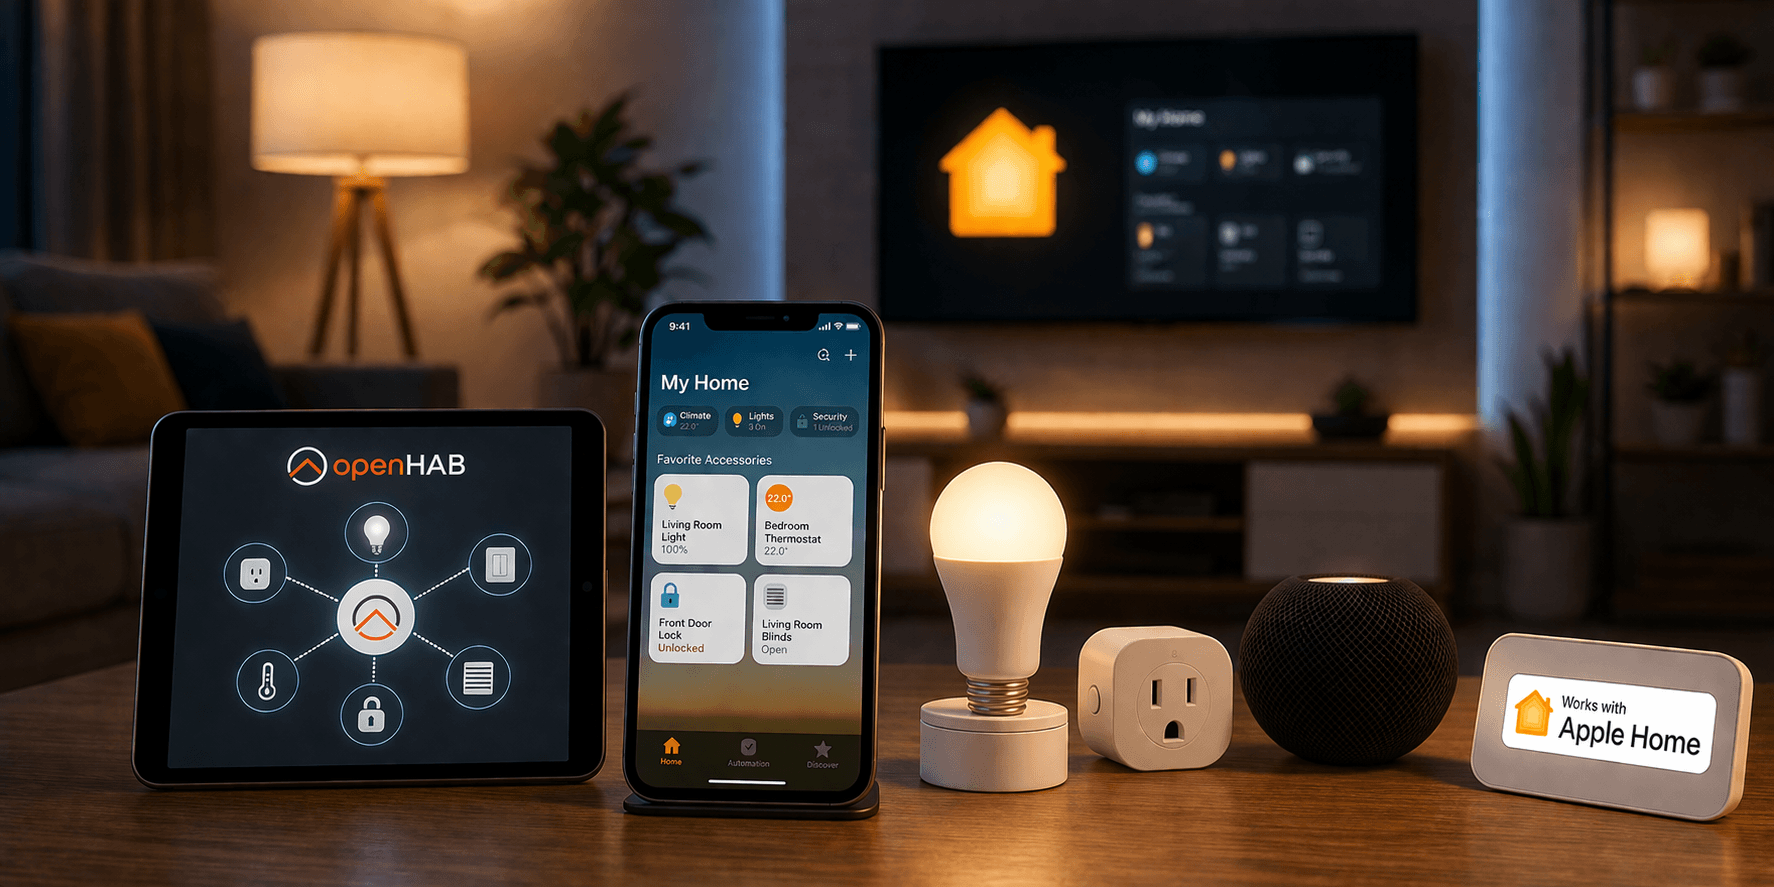
OpenHAB is a free, open-source home automation platform that bridges non-HomeKit devices into Apple Home using three methods: the HomeKit Add-on, the HomeKit Binding in client mode, or the Matter Bridge. Any device OpenHAB can control like Zigbee, Z-Wave, MQTT, KNX, Tuya, and more. It can appear in Apple Home and respond to Siri, regardless of whether the manufacturer supports HomeKit natively.
What Are the Three Ways to Connect OpenHAB to Apple HomeKit?
OpenHAB offers three distinct methods depending on your version and goals.
1. HomeKit Add-on (Bridge Mode) The standard method. Available in OpenHAB 3.0 and above. OpenHAB acts as a bridge and pushes your tagged devices into the Apple Home app. Best for most users and the simplest to configure.
2. HomeKit Binding (Client Mode) Available in OpenHAB 5.0 and later. Instead of pushing devices outward, OpenHAB pulls native HomeKit accessories in, letting you control certified HomeKit devices from within OpenHAB.
3. Matter Bridge Available in OpenHAB 5.0 and later as part of the official Matter Binding. Exposes your devices using the open Matter 1.5 standard instead of Apple's proprietary HomeKit Accessory Protocol. One pairing gives simultaneous control in Apple Home, Google Home, and Amazon Alexa.
For most beginners starting fresh, the HomeKit Add-on is the right starting point. For anyone building a multi-platform or large-scale setup, the Matter Bridge is the better long-term foundation.
What Is OpenHAB?
OpenHAB (short for Open Home Automation Bus) is a free, open-source home automation platform.
The core idea behind OpenHAB is simple: every smart home protocol, every device brand, and every cloud service should be able to talk to each other through a single, neutral platform. OpenHAB does not care whether your device uses Zigbee, Z-Wave, MQTT, HTTP, KNX, or some brand-specific protocol. It supports over 400 different technologies and thousands of individual devices.
It runs on your own hardware. A Raspberry Pi sitting on a shelf in your home can run OpenHAB 24 hours a day, talking to every device in your house, requiring no internet connection for its core functions, and keeping all your data at home.
Once your devices are connected to OpenHAB, you can expose them to any number of external platforms including Google Assistant, Amazon Alexa and most importantly for Apple HomeKit.
How Does the OpenHAB HomeKit Add-on Work?
The HomeKit Add-on runs a HomeKit bridge directly on your local network. When Apple Home scans for devices, it finds the OpenHAB bridge and treats it as any other certified HomeKit hub.
Inside that bridge, your OpenHAB Items are exposed as native HomeKit accessory types. A Zigbee motion sensor becomes a HomeKit motion sensor. An MQTT smart plug becomes a HomeKit switch. A Tuya thermostat becomes a HomeKit thermostat. Apple Home never knows the underlying protocol.
The bridge communicates using Apple's HomeKit Accessory Protocol (HAP), the same standard used by certified devices. All communication is local. No cloud account is required.
What Do You Need Before Setting Up the OpenHAB HomeKit Integration?
Before starting, confirm all of the following:
Hardware
- Raspberry Pi 4 (2GB or 4GB RAM recommended)
- MicroSD card (16GB minimum, 32GB recommended)
- Official Raspberry Pi power supply
- Zigbee USB coordinator (if using Zigbee devices)
- Z-Wave USB stick (if using Z-Wave devices)
Software
- OpenHAB (free, download from openhab.org)
- openHABian image for Raspberry Pi (simplifies setup significantly)
- HomeKit Integration Add-on (free, installed from within OpenHAB)
Apple Requirements
- iPhone or iPad running iOS 16 or later
- A HomeKit hub (HomePod, HomePod mini, Apple TV 4th gen or later, or iPad set as home hub)
Time Investment
- Initial setup: 2-4 hours for most users
- Adding devices: 15-30 minutes per device type once you understand the pattern
- Ongoing maintenance: occasional updates and troubleshooting as needed
Others
- Supported device types: Your items must map to a recognized HomeKit accessory type (lights, thermostats, locks, sensors, etc.).
- Same local network: Your OpenHAB server and Apple devices must be on the same network. Cross-network setups will not work.
How Do You Set Up the OpenHAB HomeKit Integration Step by Step?
Step 1: Install OpenHAB on your hardware
- OpenHAB runs on Linux, macOS, Windows, Raspberry Pi, Docker, Synology NAS, and several other platforms. (For most home users, a Raspberry Pi is the most affordable and practical option. OpenHAB provides a ready-made image called openHABian that includes everything pre-configured.)
- Flash it to a microSD card
- Insert it into your Raspberry Pi and boot. The system is ready within minutes.
Step 2: Install the relevant Binding
- From the OpenHAB user interface, navigate to Add-ons and find the Binding for your device's protocol or brand.
- Install it with one click.
- OpenHAB will automatically begin scanning for compatible devices on your network or connected hardware.
Step 3: Add your devices as Things and Items
In OpenHAB's terminology, a Thing is the physical device, and an Item is the specific capability of that device you want to control (its on/off state, its temperature reading, its brightness level, and so on). OpenHAB's interface walks you through connecting your Thing and creating its Items.
Step 4: Install the HomeKit Add-on
- Open the OpenHAB Main UI in your browser
- Navigate to Settings > Add-ons > MISC
- Search for HomeKit and install the HomeKit Integration
- Wait for the add-on to start. A QR code will appear in the integration settings page once it is ready
Step 5: Configure the Bridge
- Go to Settings > HomeKit Integration
- Set a Pairing PIN in the format
###-##-###(example:031-45-154) - Avoid sequential codes (123-45-678) or repeating codes (111-11-111). Apple rejects both.
- Set the Network Interface to your OpenHAB server's actual local IP address. Do not use
localhostor127.0.0.1 - Keep the QR code page open. You will need it during OpenHAB Apple Home pairing.
Step 6: Tag Your Items with HomeKit Metadata
OpenHAB does not automatically expose devices to HomeKit. Each item needs a metadata tag that tells the bridge what accessory type it represents.
Option A: Via the Main UI (recommended)
- Go to Settings > Items
- Select the item you want to expose
- Click Add Metadata > Apple HomeKit
- Choose the correct accessory type from the list
- Save
Option B: Via .items text files
Switch BedroomLight "Bedroom Light" { homekit="Lighting" }
Switch LivingRoomOutlet "Living Room Outlet" { homekit="Switchable" }
Step 7: Pair with Apple Home
- Open the Apple Home app on your iPhone or iPad
- Tap + then Add Accessory
- Scan the QR code from the OpenHAB HomeKit Integration settings page
- If scanning fails, tap More Options and select the OpenHAB bridge from the discovered devices list
- Tap Add Anyway when warned about an uncertified accessory. This is expected for software bridges.
- Enter the 8-digit PIN you set in Step 2
- Follow the Home app wizard to name the bridge and assign it to a home
Room assignments do not carry over from OpenHAB. You will need to assign rooms manually inside the Home app.
How We Tested
Tested Configuration This guide reflects hands-on setup using the following hardware and software. Steps, screenshots, and version-specific behaviour described throughout are based on this environment.
| openHAB version | 5.1.4 (stable) |
| Server hardware | Raspberry Pi 5 (4GB RAM) running openHABian |
| Zigbee coordinator | SONOFF Zigbee 3.0 USB Dongle Plus |
| Test devices | IKEA TRADFRI bulb (Zigbee), Aqara door sensor (Zigbee), Shelly Plus 1 (Wi-Fi) |
| HomeKit hub | HomePod mini (2nd generation) |
| iPhone | iPhone 15 Pro running iOS 26.4 |
| Last verified | May 2026 |
If you are on a different openHAB version, some menu paths and setting names may differ. The official openHAB changelog documents version-specific changes.
Which Devices Can You Add to Apple HomeKit Through OpenHAB?
The answer is almost anything. OpenHAB connects to devices through components called Bindings. A Binding is essentially a plugin that teaches OpenHAB how to speak a specific protocol or brand's language. There are over 400 official OpenHAB HomeKit Bindings available.
Here are some of the most commonly used:
Zigbee devices are handled by the Zigbee Binding. Zigbee is one of the most popular protocols for smart home sensors and switches. Aqara sensors, IKEA TRADFRI bulbs, Samsung SmartThings sensors, and hundreds of other devices use Zigbee.
Z-Wave devices are handled by the Z-Wave Binding. Z-Wave is widely used for locks, dimmers, and motion sensors, particularly in North American smart home installations.
Tuya and Tuya-compatible devices cover a huge range of budget smart plugs, bulbs, and switches sold under dozens of brand names. These devices typically work via cloud but can also be connected locally.
Philips Hue has its own dedicated Binding, allowing full control of Hue lights, scenes, and sensors even beyond what the native HomeKit integration supports.
MQTT devices covers any device that communicates over the MQTT messaging protocol. This is common in DIY home automation setups, Tasmota-flashed devices, and a wide range of sensors.
Shelly devices are popular Wi-Fi smart home devices with excellent local control. The Shelly Binding brings them all into OpenHAB.
KNX is a professional building automation standard used in many European homes and commercial buildings. OpenHAB's KNX Binding makes these systems accessible from Apple Home for the first time.
HTTP and REST OpenHAB HomeKit Binding covers any device or service that exposes a web interface. If a device has an API, OpenHAB can almost certainly talk to it.
Protocols Work with the OpenHAB HomeKit Bridge
| Protocol | Coverage |
|---|---|
| Z-Wave | 1,000+ devices from 145+ manufacturers. Lights, switches, sensors, locks, alarms, window coverings. Strong Aeotec and Fibaro support. |
| Zigbee | Most Zigbee-compliant devices without a proprietary hub. Philips Hue, IKEA TRÅDFRI, Xiaomi. |
| Wi-Fi / IP | Direct network devices including Shelly, Sonoff, Philips Hue, and LIFX. |
| Matter and Thread | Supported and actively expanding. Best used alongside a commercial bridge. |
| MQTT | Broad DIY support. Works well with ESPHome for custom devices. |
| Others | KNX, Modbus, Bluetooth, Insteon, Homematic, and more. |
What HomeKit Accessories Can OpenHAB Create?
When OpenHAB exposes your devices to Apple Home, it maps them to official HomeKit accessory types. These are the categories Apple Home recognises and knows how to display and control.
The full list supported by OpenHAB's HomeKit Integration includes:
Lighting — simple on/off, dimmable, colour, and colour temperature lights.
Switches and Outlets — standard toggle switches and power outlets.
Fans — including rotation speed, direction, and swing mode.
Thermostats and Heater/Cooler devices — with support for current and target temperature, heating and cooling modes, and threshold temperatures.
Locks — current and target lock state, with support for jammed and unknown states.
Garage Door Openers — with obstruction detection and lock state support.
Window Coverings, Blinds, Motorized Doors and Windows — including position, tilt angle, and stop commands.
Security Systems — with stay, away, night, and disarmed modes.
Valves, Faucets, and Irrigation Systems — including duration timers and multi-zone irrigation support.
Sensors — motion, contact, leak, smoke, carbon monoxide, carbon dioxide, temperature, humidity, light level, air quality, and occupancy sensors.
Speakers, Smart Speakers, and Microphones — including volume and mute controls.
Televisions — with input source switching, media state, and remote key support.
Batteries and Filter Maintenance — for monitoring accessory health.
That is a comprehensive list. It covers virtually every category of smart home device a typical homeowner would want to control from Apple Home.
How Do You Check If Your Specific Device Is Supported?
- Go to the OpenHAB Add-on Store and search for your device's brand or protocol. Each binding page lists supported models.
- For Z-Wave devices specifically, use the Z-Wave Device Database at opensmarthouse.org, which lists 800+ confirmed devices.
- Check the OpenHAB Community Forum for newer or unofficially supported devices.
How Many Devices Can the OpenHAB HomeKit Bridge Support?
A single HomeKit bridge instance supports up to 149 accessories.
If you have more, create a second bridge instance inside OpenHAB. It will automatically use an incremental port number and appear as a separate bridge in the Apple Home app. Both bridges remain manageable from the same OpenHAB interface.
How Do You Get Remote Access for the OpenHAB HomeKit Integration?
OpenHAB does not provide remote HomeKit access on its own. To control your devices outside your home network, you need an Apple Home Hub on the same local network as your OpenHAB server.
Compatible Home Hubs:
- HomePod (any generation)
- HomePod mini
- Apple TV 4K (3rd generation or later)
Without a Home Hub, the Apple Home app can see your devices locally but cannot reach them remotely. The Hub handles remote connectivity independently of OpenHAB.
What Is the Matter Bridge for OpenHAB and When Should You Use It?
The OpenHAB Matter Bridge is a component of OpenHAB's Matter Binding. Instead of translating your devices into Apple's proprietary HomeKit Accessory Protocol as the HomeKit Integration does, the Matter Bridge translates them into the open Matter standard.
The practical result is similar: your non-Matter devices such as the Z-Wave lock, the Zigbee sensor, the KNX thermostat that appear in Apple Home as native, working accessories. But the underlying mechanism is different and in some ways better.
Because Matter is an open standard rather than Apple's proprietary protocol, a device exposed through OpenHAB's Matter Bridge can be discovered and controlled by Apple Home, Google Home, and Amazon Alexa simultaneously. You do not need separate integrations for each platform. One bridge, every major ecosystem.
Key differences from the HomeKit Add-on:
| Feature | HomeKit Add-on | Matter Bridge |
|---|---|---|
| Apple Home | Yes | Yes |
| Google Home | No | Yes |
| Amazon Alexa | No | Yes |
| Device limit | 149 accessories | No hard limit |
| OpenHAB restart behavior | Accessories show unresponsive temporarily | More resilient |
| Setup complexity | Simple | Moderate |
| Requires Node.js 18+ | No | Yes |
For Thread-based Matter devices, you also need a Thread Border Router. Compatible options include the Apple TV 4K, HomePod mini, Amazon Echo 4th Gen, and Google Nest Hub 2nd Gen.
If you are on OpenHAB 5.0 and building a large or multi-platform setup, Matter is worth considering over the HomeKit Add-on.
What Are the Other Ways to Connect Any Devices to Apple HomeKit?
AddToHomeKit
AddToHomeKit is a straightforward tool for integrating devices that don’t natively support HomeKit. It consolidates Homebridge guides, Matter bridge setups, and step-by-step integration walkthroughs for 50+ brands including Ring, Tuya, Eufy, Alexa, and SmartThings.
ATHBridge
ATH Bridge is a plug-and-play hardware device built for simplicity. No subscriptions, no cloud dependency just local control that works directly with Apple Home, Siri, and Shortcuts, straight out of the box.
HOOBS
HOOBS (Homebridge Out of the Box) packages Homebridge into a beginner-friendly, pre-configured setup, removing the technical overhead for users who want results without the command line.
Homebridge
Homebridge is a lightweight open-source app that bridges non-HomeKit devices into Apple Home. It runs on a Raspberry Pi or similar device on your network. The homebridge-openhab2-complete plugin connects OpenHAB to Apple Home with more configuration flexibility than the native integration.
Best for: Users who hit stability issues with the built-in integration or need granular control over how devices appear in Apple Home.
Matter (via Third-Party Bridge)
Hardware Matter Bridges from Aqara, IKEA, and Philips Hue use the Matter standard to bring incompatible devices into Apple Home through a single hub. Useful if you are not yet on OpenHAB 4.1+ but want multi-platform Matter control.
See more: How to add any smart home devices to Apple HomeKit
What Are the Best Other OpenHAB Alternatives for Apple HomeKit?
| Platform | Best For | Key Difference |
|---|---|---|
| Home Assistant | Most users switching from OpenHAB | Modern UI, 2,900+ integrations, easier setup |
| Domoticz | Low-power hardware | Lightweight, stable, fewer features |
| Hubitat Elevation | Local hardware hub without DIY tinkering | Physical hub, Z-Wave and Zigbee, no cloud |
| ioBroker | Advanced European users | Adapter-based, strong protocol coverage |
| HomeSeer | Mission-critical reliability | Commercial platform, paid, long track record |
| SmartThings | Simplest possible setup | Cloud-based, wide device support, no privacy focus |
How Do You Troubleshoot the OpenHAB HomeKit Integration?
Bridge not appearing during pairing Check that mDNS traffic is not blocked on your router. Use the Discovery DNS iOS app to search for _hap._tcp. If the OpenHAB bridge name does not appear, the issue is a network or firewall setting.
Connection fails after entering the PIN Confirm the Network Interface setting is your OpenHAB server's actual local IP address, not localhost or 127.0.0.1.
Items not appearing in Apple Home after pairing Only items with HomeKit metadata tags are exposed. Verify the tag is saved at Settings > Items > [your item] > Metadata.
Stale accessory still showing after deletion Run openhab:homekit pruneDummyAccessories in the OpenHAB console.
Pairing needs a full reset Run openhab:homekit clearPairings in the OpenHAB console. If the problem persists, delete homekit.json from /var/lib/openhab/jsondb/ and restart OpenHAB before attempting to pair again.
Frequently Asked Questions about OpenHAB HomeKit
Yes. That is the core purpose of the OpenHAB HomeKit bridge. Any device OpenHAB can control can be exposed to Apple Home, regardless of whether the manufacturer supports HomeKit natively.
The sub-items (current temperature, target temperature, mode) are not grouped correctly. Create a Group item with the homekit="Thermostat" tag and nest all thermostat sub-items inside that group.
Yes. Once devices appear in the Apple Home app, Siri can control them using the names you assign inside the Home app.
With the HomeKit Add-on, accessories may show as unresponsive temporarily while OpenHAB reinitializes the bridge. Room assignments and custom names inside Apple Home are preserved as long as the pairing is not reset.
Not with the legacy HomeKit Add-on, which is Apple-only. With the Matter Bridge, yes. A single Matter pairing makes your devices available in Apple Home, Google Home, and Amazon Alexa simultaneously.
Go to Settings > HomeKit Integration and change the temperature unit setting. This applies globally to all temperature sensors and thermostats exposed through the bridge.
No. The HomeKit Add-on and OpenHAB operate entirely on your local network. No cloud account or internet connection is required for local control.
A single bridge supports up to 149 accessories. For larger setups, configure a second bridge instance in OpenHAB. It will appear as a separate bridge in Apple Home.