How to Add Any TP-Link Tapo Devices to Apple HomeKit
If you’ve tried to control your TP-Link Tapo devices with the Apple Home app and Siri, you are probably looking for a way to add your TP-Link Tapo Apple HomeKit. You are in the right place. Keep reading until the end to find the best way.
Some Tapo devices work with Apple HomeKit. But if you have a Tapo device that is not compatible with Apple HomeKit, you can add your Tapo to Apple HomeKit using third-party solutions.
Here are the best ways to integrate TP-Link Tapo Home Kit:
- AddToHomeKit (Easiest Solution)
- HOOBS
- Homebridge
Let’s find more juicy details about these solutions.
Best Ways to Connect TP-Link Tapo to Apple HomeKit
AddToHomeKit (Easiest Solution)
AddToHomeKit is one of the easiest solutions to add your Tapo Devices to Apple HomeKit. You can easily control your TP-Link Tapo Apple Home and Siri. You only need to follow the simple steps to integrate your devices with Apple HomeKit.
This is my recommended solution as it is simple and overcomes the limitations of the Homebridge solution. You will be able to integrate your Tapo app with Apple HomeKit seamlessly.
HOOBS
HOOBS is a plug-and-play device that allows you to add many non-HomeKit compatible smart devices to HomeKit. You can connect over 5000 accessories and support more than 3000 plugins. You can add any device to Apple HomeKit with these solutions.
See the step guide for adding Tapo devices using HOOBS.
HomeBridge
Homebridge is a software solution that emulates the iOS HomeKit API. This lightweight NodeJS server allows you to bridge unsupported devices. But you need to have some technical knowledge to install Homebridge and add your Tapo HomeKit Homebridge plugin.
See the step guide for adding Tapo devices to HomeKit using HomeBridge.
ATH Bridge (Affordable Solution)
ATH Bridge can be a considerable option to add your Tapo devices to HomeKit. It is a small plug-and-play device with HomeBridge pre-installed. To operate it, you just need to download the plugins and configure them.
Compatibility of Tapo Smart Home Devices with Apple HomeKit
Sadly, not all Tapo smart home devices are Apple HomeKit compatible. So, if you have a non-HomeKit compatible Tapo device, Tapo HomeKit integration is an obvious choice for those who want to control their Tapo with the Apple Home app and Siri.
How to Integrate Tapo Apple Home Kit Using HomeBridge Solution
Control your Tapo devices with Apple HomeKit using the Homebridge solution.
- Install Homebridge.
- Install Tapo Homebridge Plugin.
- Update your Homebridge configuration file.
This Homebridge Tapo Plugin is for the TP-Link Tapo P100, P105, P110 Plugs, and L510E Lightbulbs.
- Install Homebridge.
- Install Tapo Homebridge Plugin.
- Update your Homebridge configuration file.
Follow this comprehensive guide to add TP-Link Tapo to HomeKit with HomeBridge.
Disclaimer: Third-party integrations can be risky and dangerous.
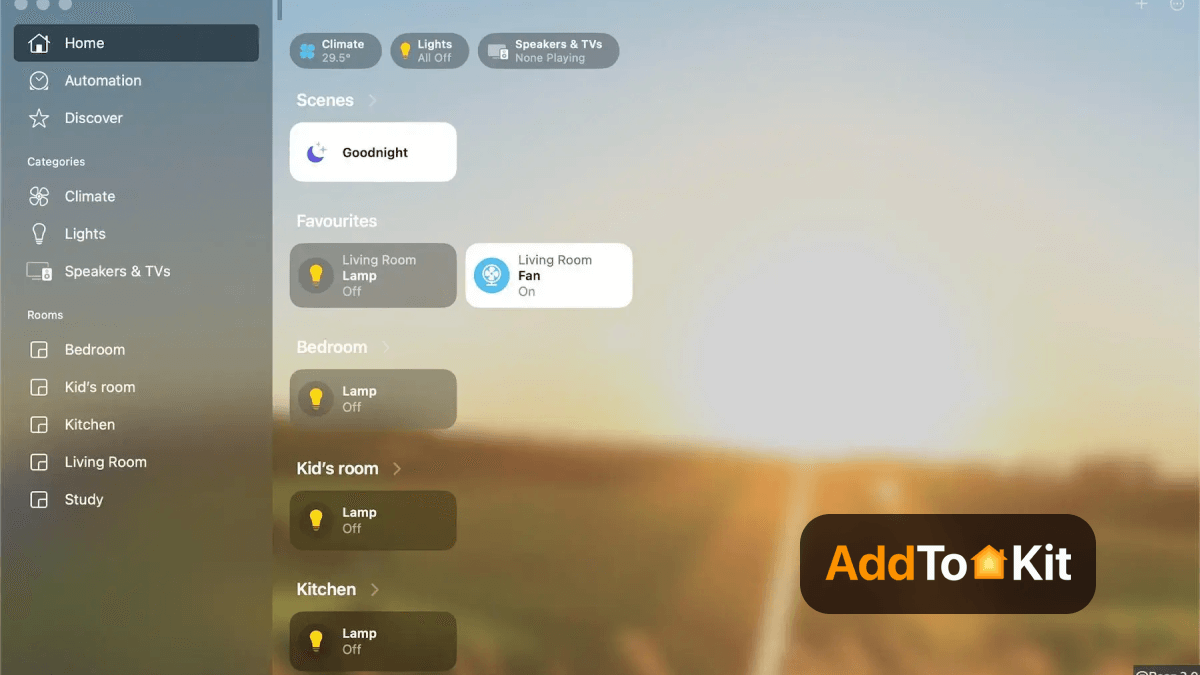
You can also add any devices to Apple HomeKit using Homebridge.
How to Integrate HomeKit Tapo Using HOOBS
Follow the step-by-step guide to use your Tapo with HomeKit:
- Connect HOOBS to your network.
- Set up a HOOBS account.
- Install the Tapo plugin.
- Connect Tapo to Apple Home.
This HOOBS plugin allows you to add TP-Link Tapo P100, P105, P110 Plugs, and L510E, L530E lightbulbs.
If you're interested in creating integration like ADT HomeKit, TP-Link Kasa HomeKit and Zigbee HomeKit, you can add your devices using the HOOBS solution.
How to Add HomeKit Compatible TP-Link Tapo Devices to Apple HomeKit
If you own Apple HomeKit-compatible Tapo devices, you can easily manage your Tapo devices with the Apple Home app and Siri voice control. Follow the step-by-step guide to add HomeKit-enabled Tapo with Apple HomeKit below.
- Scan the HomeKit QR with the Home App (Find it on the devices or its package).
- Group devices room by room.
- Schedule the light to turn on/off at set times with light switches.
- Change light color or temperature or customize more light effects.
- Get Scenes and automations.
- Set a “Leaving Home” scene to turn off the living room light and air conditioner.
- When your camera detects motion, it triggers the light in the living room.
- Now, your Tapo devices work with HomeKit.
It’s important to mention that many Tapo devices support HomeKit. So, you can easily control your Tapo devices using the Apple Home app and Siri voice control.
Troubleshooting Tips for Common Issues
- Ensure Tapo Device is Set Up Correctly in the Tapo App
- Before integrating with HomeKit, ensure that your Tapo device is set up and functional in the Tapo app.
- Ensure the device is connected to Wi-Fi and working correctly within the Tapo app before trying to link it to HomeKit.
- Check HomeKit Compatibility
- Verify that the Tapo device you're using supports HomeKit integration. Not all Tapo devices are HomeKit compatible, so check the product’s specifications or documentation.
- The HomeKit feature should be enabled in the Tapo app.
- Confirm HomeKit Code
- Ensure that you're using the correct HomeKit setup code (usually a QR code or 8-digit code). This code is required to link the device to HomeKit.
- The HomeKit setup code is typically found on the device itself, in the product manual, or within the Tapo app under device settings.
- Check Wi-Fi Network
- Ensure that your Tapo device and your iPhone (or iPad) are connected to the same Wi-Fi network (preferably 2.4 GHz, as many IoT devices don’t support 5 GHz Wi-Fi).
- If your device is connected to a different network or subnet, HomeKit will not be able to discover it.
- Reset the Tapo Device
- If the device is not showing up or syncing with HomeKit, try resetting the Tapo device to its factory settings and reconfiguring it.
- To reset, typically hold the reset button on the device for 10-15 seconds, and then go through the setup process again in the Tapo app.
- Update Firmware and App
- Ensure that both your Tapo device and the Tapo app are running the latest firmware and app versions.
- To update the app, visit the App Store. To update the firmware, you can do this directly in the Tapo app (go to device settings > firmware update).
- Reboot the Router
- If your devices are still not showing up, try rebooting your Wi-Fi router. Sometimes, a simple router reboot can solve network communication issues between the Tapo device and your phone.
- Re-add Tapo Device to HomeKit
- If the device was previously added to HomeKit but isn’t working anymore, you might need to remove it and add it back.
- Open the Home app on your iPhone or iPad.
- Find the device and remove it.
- Re-scan the HomeKit QR code or manually enter the 8-digit HomeKit setup code again from the Tapo app.
- Check for Home Hub Connectivity
- If you're using an Apple Home Hub (e.g., Apple TV, iPad, or HomePod) to control your devices remotely, ensure that it is online and connected to the same HomeKit setup. Make sure the Home Hub is updated to the latest software version.
- Check for Interference or Signal Issues
- Sometimes, interference from other devices or weak Wi-Fi signals can cause connectivity issues with HomeKit. Make sure there are no strong interfering signals or large distances between the router and your Tapo devices.
- Consider using a Wi-Fi range extender if your device is far from your router.
- Disable VPN or Firewall
- If you are using a VPN on your phone, disable it temporarily. VPNs can block local network connections, which may prevent HomeKit from detecting your Tapo devices.
- Ensure that your firewall (if using one) isn’t blocking the necessary ports for HomeKit or Tapo communication.
- Check HomeKit Hub Status
- Make sure that the HomeKit hub (Apple TV, HomePod, or iPad) is functioning correctly. It should be powered on, updated to the latest iOS version, and connected to the internet.
- If the HomeKit hub is offline, devices may not sync or work properly when away from home.
- Review HomeKit Restrictions
- If you have any restrictions set on your device (e.g., parental controls, device management settings), they might block HomeKit functionality. Make sure HomeKit is allowed in the device settings.
- Reboot Your iPhone or iPad
- Sometimes, simply restarting your iPhone or iPad can resolve HomeKit-related issues or connectivity problems.
- Test with a Different Device
- If the Tapo device works on one iOS device but not another, try setting it up on a different device. There could be an issue with the HomeKit settings on your phone or the Home app.
Tapo Apple HomeKit Integration
You can create Tapo Apple HomeKit integration with the following devices.
- Tapo HomeKit Camera
- Tapo HomeKit Secure Video
- Tapo HomeKit Video Doorbell
- Tapo HomeKit Plug
- Tapo HomeKit Bulb
Tapo Matter Integration
Now there are several TP-Link Tapo smart devices compatible with the Matter protocol. You can use the new Tapo Smart app to integrate all your Tapo Matter devices. Also, you can control your Matter-compatible Tapo devices with any Matter-compatible ecosystem, such as Apple HomeKit, Amazon Alexa, Google Home, and Samsung SmartThings.
Matter compatible Tapo Smart Plug HomeKit Devices
TP-Link Tapo P125M Smart Plug
This Matter-compatible plug is one of the first Matter devices from Tapo. When it comes to the smart home systems compatibility, it is compatible with most top ecosystems such as Google Home, Amazon Alexa, and SmartThings.
- Auto-Off
- Voice Control
- Remote Control
- Compact Design
- Away Mode
- Share to Family
- Multiple Safety Guarantees
- Integrate into any Matter Ecosystem
Tapo P400M Smart Wi-Fi Outdoor Plug
Matter-compatible TP-Link Wi-Fi Outdoor Plug is compatible with the Matter protocol. So, you can control your devices with Apple HomeKit, Google Home, and Amazon Alexa. You can control connected devices individually via your apps with 2 independent outlets. You can control multiple devices all at once for a customizable scene.
- IP65 Weatherproof
- 2 Independent Outlets
- Dual Antennas
- Matter-Certified
- Voice Control
- Remote Control
- Schedule
- Heavy-Duty Power
- Tapo P400M V1
HomeKit Compatible Tapo Smart Devices
TP-Link Tapo Apple HomeKit Smart Plug
Tapo Mini Smart Wi-Fi Plug works with Apple HomeKit, Amazon Alexa, and Google Home. So, you can control it anywhere. It comes with a remote control, a Schedule and a Timer, an Away Mode, and Multiple Safety Guarantees. Also, you can control your Tapo devices locally even when the internet is down.
Features:
- Apple HomeKit Support
- Compact and Flame-Retardant Design
- App and Voice Control
- Easy Set-Up
- Advanced Scheduling and Timer
Tapo C125 V1
Tapo C125 V1 is one of the best AI Home Security Wi-Fi Cameras with a Physical Privacy Shutter. You can control this Tapo Camera via Apple HomeKit, Alexa, and Google Home. The Smart AI feature detects a person, pet, and abnormal sounds like baby crying and other sounds.
Features:
- Physical Privacy Shutter
- 2K QHD
- Apple HomeKit compatible
- Smart AI Detection and Notification
- Easy Installation with Magnetic Base
- Invisible Infrared Lights Option
- Crisp Two-Way Audio
- Customizable Sound Alarm
Comparison Between Tapo APP and Apple Home App
| Feature | Tapo App | Home App |
|---|---|---|
| Video Quality | ||
| Resolution: 720P | Yes | Yes |
| Resolution: Higher than 1080P | Yes | No (Max: 1080P) |
| Switch Video Quality | Yes | No |
| Pan & Tilt Control | Yes (for compatible cams) | No |
| Microphone/Speaker | ||
| Adjust Volume | Yes | No |
| Mute | Yes | No |
| Privacy Mode | Yes | No (manual button) |
| Privacy Zones | Yes | No |
| Invert Image | Yes | No |
| Status LED On/Off | Yes | Yes |
| Night Mode | Yes | Yes |
| Set Night Vision Distance | Yes | No |
| Detection | ||
| Motion Detection | Yes | Yes (no sensitivity adjustment) |
| AI Detection | Yes | Yes (limited) |
| Alerts | ||
| Camera Alarm | Yes | No |
| Turn on/off Activity Notifications | Yes | Yes |
| Activity Type | Yes | Yes |
| Enable/Disable Rich Notifications | Yes | Yes |
| Select Send Time | Yes | Yes |
Editor's Pick
Compared to the above methods, AddtoHomeKit is the best! It fits into a busy lifestyle very well because it requires very little effort and time. It is also a software solution so the need to download a bulky app is not necessary. Make sure to consider what is the best option for you!
FAQs
Yes. Many Tapo devices are compatible with Apple HomeKit. You can control your Tapo devices with the Apple Home App and Siri voice control.
TP-Link has two types of devices, namely TP-Link Kasa and TP-Link Tapo. Some TP-Link devices work with HomeKit. Also, you can use the Enomek solution to add your non-HomeKit compatible TP-Link devices to HomeKit.
You can use Siri voice assistant to control your Tapo devices. You just need to tap or ask Siri to control Tapo devices.
Yes. Apple HomeKit-compatible Tapo devices work with HomePod. Not only HomePod, but you can also connect them with other leading smart home products such as Amazon Echo, Google Home, and HomePod.


