How to Add Levoit Smart Devices to Apple HomeKit
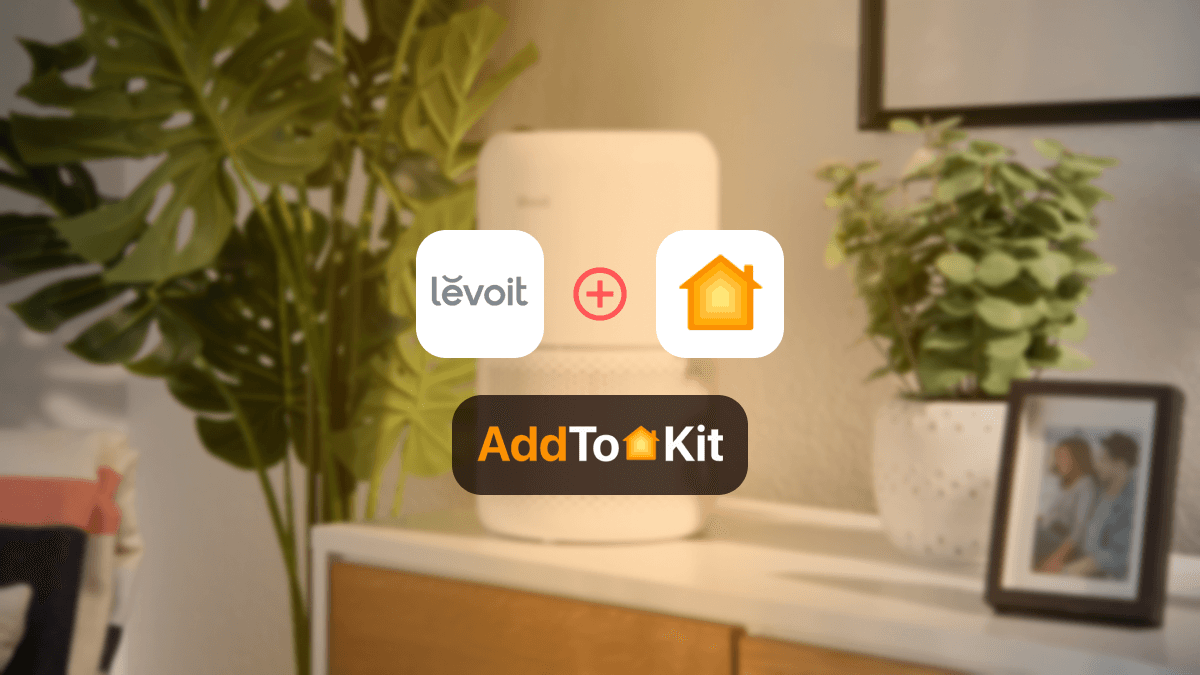
Levoit air purifiers are annoying! Wait, I'll tell you why I say that. The main problem is it is not compatible with Apple HomeKit. I wanted to somehow control my Levoit Smart Devices with Apple Home. So, I’ve found some great solutions to help integrate these devices with Apple HomeKit.
Let’s jump right into it! Here are the solutions I tested out:
- AddtoHomeKit [Recommended Solution]
- HOOBS
- HomeBridge
- ATH Bridge
AddtoHomeKit Solution - Best Solution
The Leviot AddtoHomeKit solution is an excellent option for integrating Levoit devices with HomeKit. It is a third-party web and app solution to integrate Levoit Humidifier Apple HomeKit. I was happy with the user-friendly interface and they also provide easy to follow guides into adding Levoit to HomeKit. I added my Levoit Air Purifier but you can add any other Levoit devices to Apple HomeKit with this solution. I have to say, it was easy for me as I had a little bit of technical knowledge to guide me through it.
Step-by-Step Guide to Add Levoit to HomeKit Using AddtoHomeKit
- Visit the AddtoHomeKit Website.
- Select the Levoit Ecosystem.
- Choose your preferred solution.
- Choose your preferred operating system.
- Choose your preferred plugin.
- Install the plugin.
- Follow on-screen instructions.
I added the Levoit Core 300 Air Purifier with AddtoHomeKit:
Levoit Core 300 Air Purifier
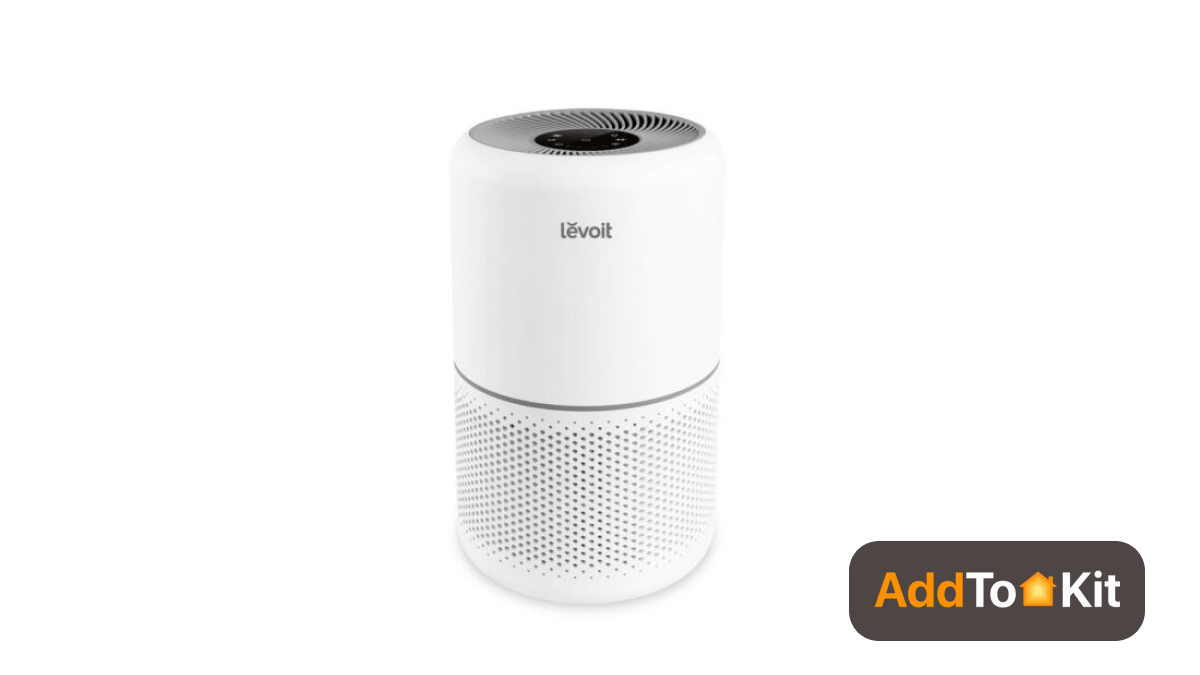
The LEVOIT Core 300 Air Purifier is perfect for large rooms. It works with Amazon Alexa and offers convenience and ease of use. Specially the purifier is suitable for bedrooms.
- Improved 3-Stage Filter System
- Effective Purification
- Very Easy Touch Display
- Smart Control & Access Anywhere
- Quiet and Dark Enough
- ECARF Certified
Pros and Cons
Pros
- Lightweight
- Easy to set up and start using
- User-friendly app
- Purifies air quickly and effectively
- Easy to clean filter
- Quiet modes
- Auto mode adjusts fan speed to suit air quality
- 1 filter lasts 6-8 months
Cons
- Large
- Power cord could be longer
Product Specification
| Specification Met | FCC Certified, ETL Certified, CARB Certified |
| Global Trade Identification Number | 00810043372190 |
| UPC | 810043372190 |
| Brand Name | Levoit |
| Item Weight | 2.99 Kilograms |
| Item Dimensions D x W x H | 8.07"D x 8.07"W x 12.6"H (20.5 x 20.5 x 32 cm) |
| Wattage | 37 watts |
| Controller Type | Vera, Amazon Alexa |
| Control Method | App, Touch, Voice |
| Filter Type | 3-in-1 Filter |
| Noise Level | 24 dB |
| Floor Area | 916 Square Feet |
| Power Source | AC |
| Particle Retention Size | 0.3 Micron |
| Package Weight | 16.53 Pound |
Connect Levoit Devices to HomeKit Using HOOBS
HOOBS stands for HomeBridge Out of the Box which consists of a Raspberry Pi and the HomeBridge software pre-install. Also, it can integrate thousands of third-party accessories with HomeKit and is compatible with over 2000 accessories now.
Here’re the steps for connecting Levoit devices with HomeKit using HOOBS.
- Install HOOBS on a Raspberry Pi or any other suitable hardware.
- Go to the HOOBS dashboard.
- Visit the Home App.
- Select "Add Accessory".
- Next, select the HOOBS server.
- Scan the QR code displayed on-screen.
- Finally, follow the instructions on-screen.
Apart from these two methods, you can also connect your Levoit devices to Apple HomeKit using HomeBridge or the ATH Bridge.
Connect Levoit Devices to HomeKit Using HomeBridge
Simply, HomeBridge is a third-party software application. You can essentially add any device to HomeKit with HomeBridge but I used it for Levoit HomeKit.
Here’re the steps for connecting Levoit devices with HomeKit using HomeBridge.
- Install HomeBridge on Mac/PC
- Install Levoit Plugin
- Edit the configuration file
- Start HomeBridge
- Add HomeBridge to HomeKit
- Control Levoit devices on HomeKit

Let's dive further.
- Install HomeBridge:
- Install Levoit Plugins:
- Configure HomeBridge:
- Start HomeBridge:
- Add HomeBridge to HomeKit:
- Control Your Devices:
First, you need to install HomeBridge using npm:
Install Node.js > Open the terminal > Type “npm install -g homebridge”
sudo npm install -g homebridge-levoit
You need to configure your HomeBridge by editing the config.json file located in the ~/. HomeBridge directory.
    {
    "platforms": [
        {
            "platform": "Levoit",
            "username": "YOUR_LEVOIT_USERNAME",
            "password": "YOUR_LEVOIT_PASSWORD",
            "devices": [
                {
                    "name": "Your Levoit Device Name",
                    "type": "YourDeviceType"
                }
            ]
        }
    ]
}
Open the Home app on your iOS device. After tap the “+” icon to add an accessory. Then scan the QR code displayed in the HomeBridge console or manually enter the HomeKit setup code.
After successfully adding HomeBridge to HomeKit, you can control your Levoit devices via the home app.
ATH Bridge
I tried the ATH Bridge as well, it was a little bit more on to the advanced side. In my opinion the ATH Bridge allowed me to have a more comprehensive automation. This made it possible for me to integrate Levoit products with HomeKit such as Levoit Humidifier HomeKit and even other ecosystems simultaneously. The flexibility was very ideal for me because I wanted to manage multiple smart home platforms from my phone.
I used the ATH Bridge to add Aladdin Connect devices to HomeKit, add Bosch devices to HomeKit and it was very easy to do so.
Step-by-Step Guide to Add Levoit to HomeKit Using ATH Bridge
Here are the basic steps I followed:
- Remove the pre-flashed SD card.
- Place the SD card inside the server.
- Connect the server to the router with the help of the cord.
- Turn on the server.
- With the help of the router, find the IP address of the server.
- Enter the IP address of the server with port 8581 on your machine.
- Now enter the standard login credentials.
- Select the ‘Levoit-plugin’ and download it.
- Log into the server and do the configuration settings.
If you want to these step-guide with more details check out how to add Levoit to Apple HomeKit using Homebridge.
Troubleshooting Tips
- Device Not Showing in HomeKit
- Check HomeKit Compatibility: Ensure that your Levoit device is officially compatible with HomeKit.
- Network Connection: Make sure both your iPhone/iPad and the Levoit device are connected to the same Wi-Fi network. HomeKit requires local network communication.
- Reset HomeKit Setup: If you're having issues, try resetting the HomeKit pairing. In the Levoit app, remove the device and then re-pair it with HomeKit by scanning the HomeKit code again.
- Reboot Devices: Power cycle your router, iPhone, and Levoit device. Sometimes a simple reboot resolves network communication issues.
- HomeKit Update: Ensure both your HomeKit setup and Levoit device firmware are up to date. Check for firmware updates in the Levoit app.
- Device Not Responding in HomeKit
- Check HomeKit Hub: Make sure your HomePod, Apple TV, or iPad (acting as the HomeKit hub) is connected and functional.
- Re-pair Device: Remove the device from HomeKit and try re-pairing it. Sometimes a fresh pairing resolves communication issues.
- Device Firmware: Ensure that the firmware on your Levoit device is up to date. Check for updates in the Levoit app.
- Poor Device Performance or Lag
- Check Wi-Fi Signal Strength: Poor performance can be caused by weak Wi-Fi signals. Ensure your Levoit device is within range of your router or consider using a Wi-Fi extender.
- Network Traffic: Ensure that your Wi-Fi network has enough bandwidth. Too many devices on the network may cause performance issues, especially for streaming devices.
- Reduce Video Quality: If experiencing lag, try lowering the video resolution for streaming devices through the Levoit app settings.
General Troubleshooting Tips
HOOBS Troubleshooting
- Levoit Device Not Appearing in HOOBS
- Check HOOBS Plugin: Ensure the Levoit plugin is installed and properly configured in the HOOBS interface.
- Reboot HOOBS: Try restarting HOOBS from the web interface to refresh device connections.
- API Access: Verify that the Levoit device's API credentials are entered correctly in the HOOBS configuration. Incorrect credentials can prevent communication.
- Device Not Streaming or Displaying Video in HOOBS
- Network Settings: Ensure both HOOBS and the Levoit device are on the same network. Devices on different networks or subnets may fail to communicate properly.
- HOOBS Plugin Settings: Double-check the settings for your Levoit device in HOOBS. Adjust streaming parameters or tweak the device’s configuration settings in the plugin.
- Authentication Issues with Levoit Device in HOOBS
- Reauthorize Levoit Account: Ensure your Levoit account has the proper permissions for third-party integration. Re-authenticating in HOOBS may resolve authentication issues.
- Check for Plugin Updates: Ensure the Levoit plugin for HOOBS is up to date. Developers release patches to fix compatibility issues.
- Use Manual Pairing: If automatic setup fails, try manual pairing via HomeKit to see if it resolves the authentication issue.
HomeBridge Troubleshooting Tips
- Levoit Device Not Appearing in HomeBridge
- HomeBridge Plugin Configuration: Ensure the HomeBridge Levoit plugin is correctly configured. Check your HomeBridge config.json file for syntax errors or missing parameters.
- Reboot HomeBridge: Sometimes restarting HomeBridge resolves device connection issues. Run
sudo systemctl restart homebridgein your terminal to restart the server. - Check Dependencies: Ensure that all required dependencies for the HomeBridge Levoit plugin are installed. Reinstall missing dependencies via npm (Node Package Manager).
- Video Stream Not Working in HomeKit (via HomeBridge)
- Reconfigure Video Stream Settings: Some HomeBridge plugins require manual adjustments to video streaming settings. Check the HomeBridge documentation for specific settings related to video streaming.
- Network Issues: Ensure both the HomeBridge server and the Levoit device are on the same Wi-Fi network with sufficient bandwidth for streaming.
- Device Fails to Respond in HomeKit (via HomeBridge)
- Plugin Reinstallation: If the device isn’t responding in HomeKit after integration, try uninstalling and reinstalling the Levoit plugin in HomeBridge.
- Device Power Cycle: Power cycle both the Levoit device and the HomeBridge server to reestablish the connection.
- Update HomeBridge & Plugin: Ensure that both HomeBridge and the Levoit plugin are updated to the latest versions to avoid compatibility issues.
How to Add Levoit Purifiers to HomeKit?
After I was done with the configuration via HomeBridge/ HOOBS, I added Levoit Purifiers to the Home App
- Make sure to install the Apple Home App.
- Tap on the + > Add Accessories.
- Finally, scan the generated QR Code to add your Levoit.
- Choose and name your device, set location, and tap Continue.
Press DONE and finally, I was able to control Levoit with the Home app. Now, I also use Siri voice commands to control them.
Editor’s Pick
In my experience I would definitely go with AddtoHomeKit. It is easy and very user-friendly! Also, it provides step-by-step guide to operate our devices with Apple Home. That’s why I selected AddToHomeKit! While I recommend you use AddtoHomeKit to add any Levoit devices to Apple HomeKit, it is important to consider your situation, and which is your preferred solution is.
FAQs
Levoit air purifiers are primarily manufactured in China.
6–12 months
Absolutely! Air purifiers are made to operate nonstop.
Yes, you can connect your Levoit air purifier to Alexa.
Around 30–50% RH