How to connect Any Meross Smart Devices to HomeKit
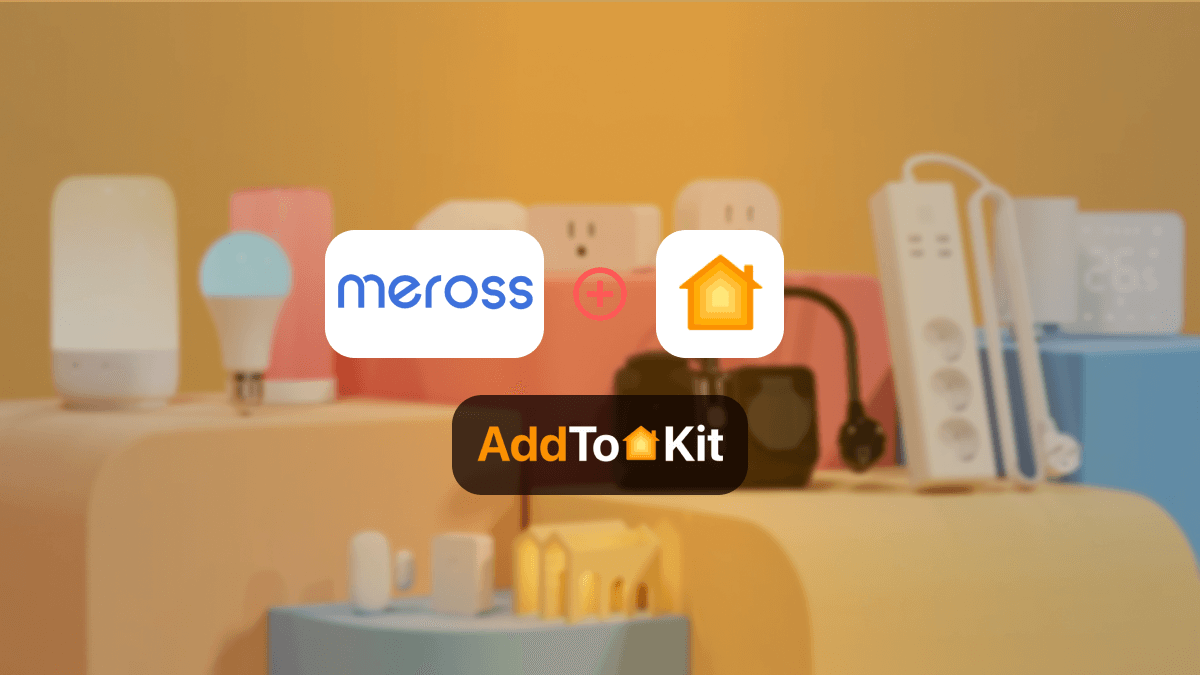

Meross Apple HomeKit integration is honestly a dream which I am going to help you achieve today. Let me elaborate. As you probably know by now, Meross smart home products are not compatible with Apple.
Which is why we need to utilize third-party solutions to bridge the gap between the device and HomeKit. And then you control your Meross devices with Apple Home App. I have compiled a list of the methods I have personally used to help you decide which is the best solution for you!
Let’s get started!
AddToHomeKit [Recommended Solution]
Now if you are wondering why I say that AddtoHomeKit is the most recommended solution to solve all Meross HomeKit issues.
Just to give you an explanation, it provides you with thousands of plugins you can use to connect your Meross devices to Apple HomeKit. It provides comprehensive step-by-step guides and allows you to connect your Meross devices to Apple HomeKit.
Why Choose the AddToHomeKit Solution?
Pros
- It has thousands of plugins that you can use.
- Easy installation.
- User-friendly interface.
- Amazing compatibility.
Cons
- You must make a small payment.
- Requir some coding knowledge
ATH Bridge [Budget-friendly Solution]
ATH Bridge is a device solution. As the name already suggests ATH Bridge helps you to avoid incompatibility issues. ATH Bridge is a device that is specifically compiled and is a pre-flashed HomeBridge server. You can use ATH Bridge to connect Meross to iPhone and the Home App allowing you to control Meross away from Home.
Why Chose ATHm Bridge?
Pros
- Very small allowing it to fit with any home decor.
- Affordable
- Allows you to connect your incompatible devices to HomeKit
- Easy operations
Cons
- Depending on where you buy it from, it may take time to arrive at home.
HomeBridge [Software Solution]
HomeBridge is a lightweight node JS server. It is free to install to any device and most people including myself opt for a Raspberry Pi to do so. It opens Apple HomeKit to non-compatible devices which allows you to connect your Meross devices to HomeKit.
Why Chose HomeBridge?
Pros
- Offers a great solution.
- Allows you to connect any device to HomeKit.
Cons
- It requires a bit of coding knowledge.
- You need an all-day running device like a Raspberry Pi.
HOOBS
HOOBS (HomeBridge Out of the Box) is an update of HomeBridge. It is a plug and play system. It is very easy to use this solution. They also offer thousands of plugins for each device brand.
Why Chose HOOBS?
Pros
- Offer many plugins
- Easy to use
- Does not require coding knowledge
- User-friendly
Cons
- Occasional connection issues
- It serves almost the same purpose as HomeBridge but is expensive.
Step Guides to Operate Solutions
Add Meross to HomeKit with AddtoHomeKit
- Visit the AddtoHomeKit Website.
- Select the Meross Ecosystem.
- Choose your Preferred Solution
- Select the Operating System
- Install the Meross HomeBridge Plugin
- Click on AddtoHomeKit
- Follow the instructions
- Enjoy your Integration
Choose the Meross ecosystem from the available options on the website.
You will be redirected to a new page. On this page, select the solution that best suits your needs.
Once you've chosen your solution, you'll need to select the operating system that you're using (e.g., Windows, macOS, Linux).
Follow the instructions to install the Meross HomeBridge plugin on your device.
After installing the plugin, click on the AddtoHomeKit option.
Complete the setup by following the detailed instructions provided.
Once the setup is complete, you can start using your Meross devices with HomeKit!
Not only Meross devices, you can add any devices to Apple HomeKit using AddtoHomeKit solution.
Add Meross to HomeKit with HOOBS
- Prepare your Network:
- Visit the HOOBS Website:
- Boot up HOOBS:
- Access HOOBS Dashboard:
- Access HOOBS Configuration:
- Install Meross Plugin:
- Configure the Meross Plugin:
After the installation of HOOBS, connect your Raspberry Pi to power and wait for HOOBS to boot up. HOOBS will appear as a Wi-Fi network, namely "hoobs.local", connect your device to this network.
Visit and follow the on-screen instructions to complete the initial setup of HOOBS.
After completing the setup, you will be directed to the HOOBS dashboard where you can manage plugins and configure devices.
In the HOOBS dashboard, click on “Plugins” in the sidebar. Search for “Meross” in the Plugins Marketplace. Click “Install”.
Finally add Meross Devices to HomeKit.
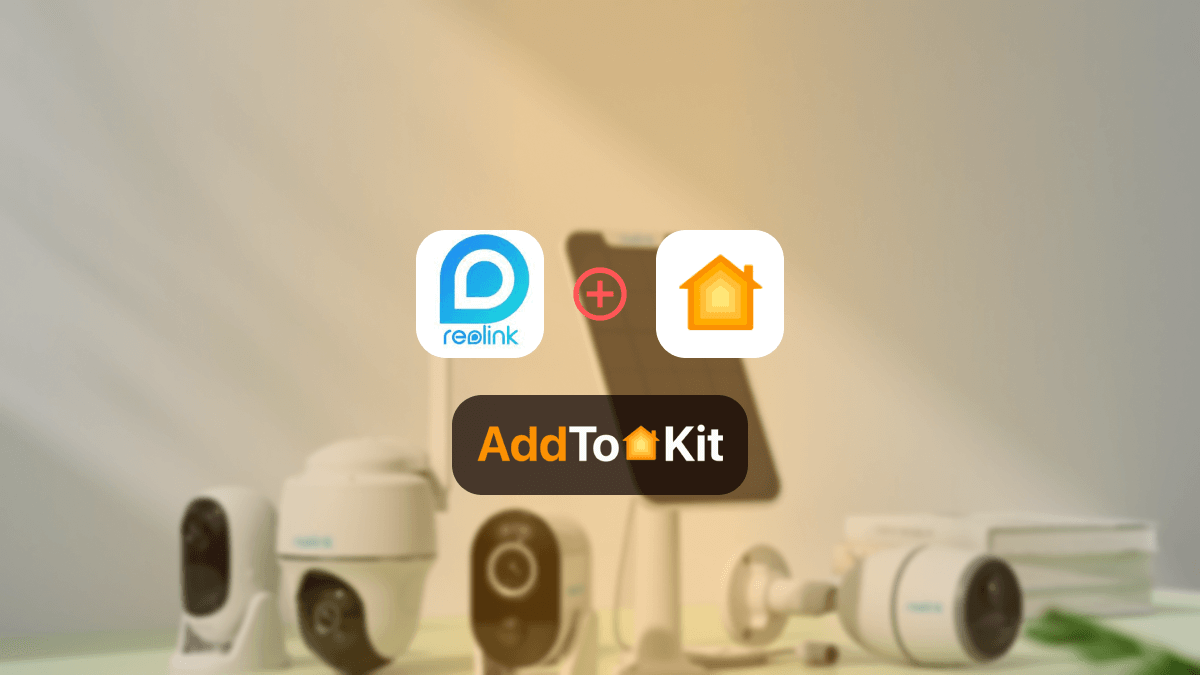
You can also integrate ADT HomeKit, Smartthings HomeKit using HOOBS solution.
Add Meross to HomeKit with HomeBridge
- Install Homebridge
- Install Homebridge Meross Plugin
- Obtain Meross Device Credentials
- Configure the Meross Plugin
- Restart Homebridge
- Add Homebridge to HomeKit
- Verify Meross Devices in HomeKit
Install Homebridge globally
sudo npm install -g homebridge
If you're using Homebridge UI, you can install it like this:
sudo npm install -g homebridge-config-ui-x
Once installed, start Homebridge:
homebridge
To add Meross devices to HomeKit, you'll need to install the Meross plugin for Homebridge.
sudo npm install -g homebridge-meross
Ensure your Meross device is set up and connected to the Meross app on your phone. The Homebridge Meross plugin needs your Meross account credentials to link to your devices. Make sure you have the correct credentials, as this will be needed for configuration.
Open the Homebridge config file, typically located at ~/.homebridge/config.json .
Add the Meross plugin configuration to the platforms section of the config.json file.
{
  "platforms": [
    {
      "platform": "meross",
      "email": "your-meross-email@example.com",
      "password": "your-meross-password",
      "refresh_interval": 300
    }
  ]
}
Replace "your-meross-email@example.com" and "your-meross-password" with your Meross account credentials.
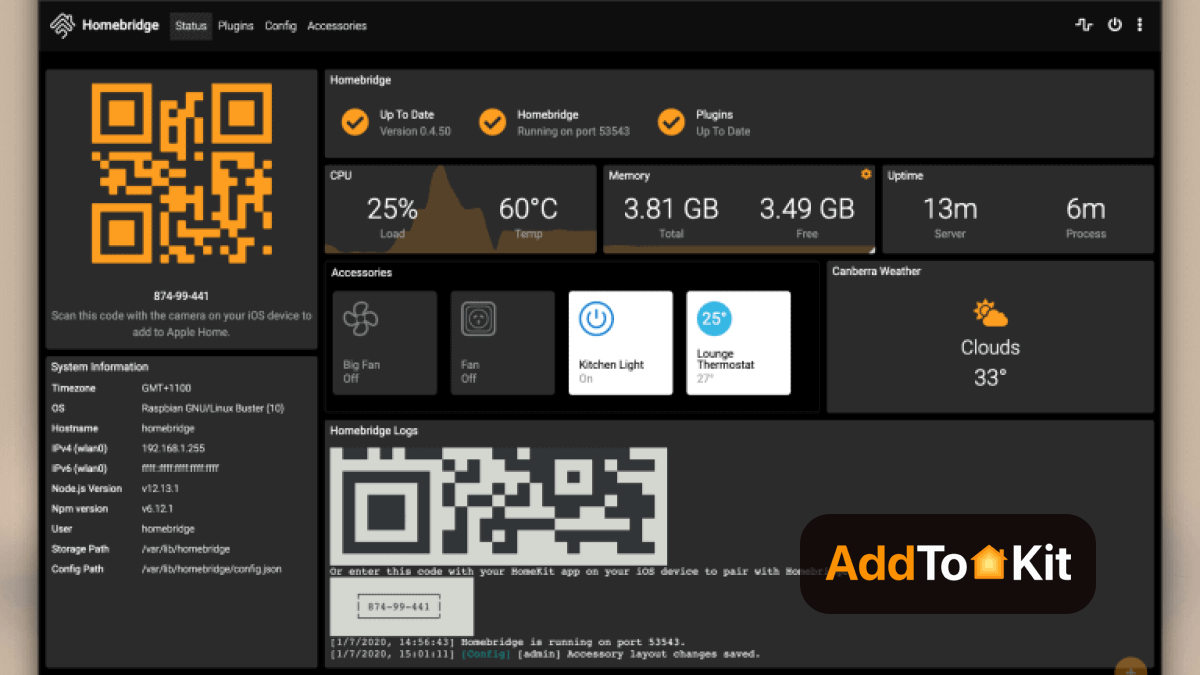
Open the Home app on your iPhone or iPad.
Tap the "+" icon in the top right and select "Add Accessory".
Scan the QR code displayed in your Homebridge terminal window or manually enter the 8-digit setup code.
Follow the on-screen instructions to finish setting up Homebridge with your HomeKit setup.
After successfully adding Homebridge to HomeKit, your Meross devices should now appear in the Home app. You can control them from within the app, or via Siri commands, as long as your Homebridge server is running.
You can also add any Bosch devices to HomeKit using HomeBridge.
Meross HomeKit VS Non HomeKit
| Feature | HomeKit-Compatible Devices | Non-HomeKit Devices |
|---|---|---|
| Ecosystem Integration | Works seamlessly with Apple's HomeKit | Typically works with Alexa, Google Assistant, IFTTT |
| Control App | Controlled via Apple Home app | Controlled via Meross app |
| Voice Control | Siri voice commands | Alexa and Google Assistant voice commands |
| Setup | Easy setup with HomeKit QR code | Standard setup via Meross app |
| Security | End-to-end encryption via HomeKit | Standard security protocols |
| Automation | Advanced automation through Home app. | Limited to Meross app capabilities. |
| Compatibility | Primarily Apple devices | Wider range of devices (iOS, Android)\ |
| Firmware Updates | Managed through Home app. | Managed through Meross app. |
| Price | Generally higher | Typically, lower |
| Geofencing | Integrated with iOS geofencing. | Depends on Meross app functionality. |
| Scene Creation | Advanced scene creation in Home app. | Basic scene creation in Meross app. |
How to Set Up Meross Without HomeKit
- Open the Meross App
- Tap on the + button on the home page
- Select the device model
- Select the Non-Homekit version
This way you can add your Apple-Compatible products to the Meross app, if you are not too keen on using the Apple Home App.
Meross HomeKit Troubleshooting
If your Meross HomeKit is still not responding, you might have to trouble shoot. A Meross HomeKit troubleshooting is not that difficult. If you are experiencing Meross Apple HomeKit problems or you are unable to connect to Meross to HomeKit, you will have to troubleshoot.
Here are somethings you can do to make sure of proper connectivity;
Ensure Proper Power and Connectivity
Check the Power:
-
Make sure your Meross device is properly plugged in and receiving power.
-
If it’s a battery-operated device, check the battery levels and replace them if necessary.
Verify Network Connection:
-
Ensure your Wi-Fi network is operational and that the device is within range of the router.
-
Restart your router to refresh the network connection.
Reset the Device
Soft Reset:
-
Unplug the device from the power source, wait for about 10 seconds, and then plug it back in.
-
For battery-operated devices, remove and reinsert the batteries.
Factory Reset:
-
Refer to the user manual for specific reset instructions for your device.
-
Usually, this involves pressing and holding a reset button on the device for a certain period (e.g., 5-10 seconds) until the LED indicator blinks.
Update Firmware and App
Firmware Update:
-
Open the Meross app and check for any available firmware updates for your device.
-
Follow the in-app instructions to update the firmware.
App Update:
-
Ensure you are using the latest version of the Meross app.
-
Update the app through your device’s app store if a new version is available.
Reconfigure HomeKit Setup
Remove and Re-Add Device:
-
Open the Apple Home app and locate the problematic Meross device.
-
Tap on the device, then select ‘Remove Accessory.’
-
Reset the device (refer to the reset instructions above) and add it back to HomeKit following the standard setup procedure.
Verify Home Hub Status:
-
Ensure your Home Hub (Apple TV, HomePod, or iPad) is online and properly configured.
-
Restart the Home Hub if necessary.
Check for Interference and Signal Issues
Minimize Interference:
-
Move the Meross device away from potential sources of interference such as microwaves, cordless phones, or other wireless devices.
-
Ensure the device is within a reasonable distance from the Wi-Fi router or access point.
Signal Strength:
-
Use a Wi-Fi analyzer app to check the signal strength around the Meross device location.
-
Consider moving the router closer or adding a Wi-Fi extender to boost the signal.
Comparison of the Solutions
| Feature | AddtoHomeKit | ATH Bridge | HOOBS | HomeBridge |
|---|---|---|---|---|
| Ease of Setup | Provides step guides and plugins | Simple setup, pre-configured | Moderate, user-friendly UI | Complex, requires CLI knowledge |
| Apple HomeKit Compatibility | Aids in HomeKit integration | Yes, acts as a bridge | Yes, supports plugins | Yes, supports plugins |
| Supported Devices | Works with various smart home ecosystems | Connects many Zigbee & Matter devices | Broad device support via plugins | Maximum flexibility with plugins |
| Plugin Availability | Limited to supported integrations | Limited but growing | Thousands of plugins | Thousands of plugins |
| Customization | Minimal, designed for simplicity | Moderate, some configuration | High, UI for customization | Maximum, CLI-based customization |
| Platform Requirements | Cloud-based, no local hardware needed | Requires ATH Bridge hardware | Runs on Raspberry Pi, macOS, Windows, Linux | Runs on Raspberry Pi, macOS, Windows, Linux |
| Price | Subscription-based | Hardware purchase | Free, open-source | Free, open-source |
| Best For | Users wanting an easy, cloud-based HomeKit integration | Users looking for a dedicated hub solution | Those who want easy installation with UI | Advanced users who prefer full control |
Editor's Pick
My pick would be AddToHomeKit. To elaborate on that, AddtoHomeKit is a versatile method of not only adding any Meross device to Apple HomeKit but also in adding any smart home device to Apple HomeKit. While I also loved ATH Bridge it would be good if you have a few days to spare waiting for the delivery, it is okay but still, I recommend AddToHomeKit. It is offers a wide variety of smart home brands as well.
FAQs
If the setup was successfully done, you will be able to find the HomeKit code on the Meross app product settings page.
Yes, some products are compatible with Apple HomeKit.
Yes! It is completely free. You do not need to make any monthly fees or any other subscription fee.
Yes! Home Assisstant currently supports all the Meross devices wxposed by the Meross IoT library. Devices such as bulbs, garage door openers, smart thermostates and switches are supported and integrated with Home Assistant.
You have to make sure that your device is the HomeKit version before going ahead with the setup code. If you are an Android user, go to Settings >>HomeKit Setup Code.
If you are an iOS user, you will have to:
- Power up the device and press and hold the power button for 5 seconds to factory reset.
- Keep the device in factory mode for 20 minutes.
- In the Meross app, tap on the “+” button > select smart device > select the Non-Homekit version. (If unavailable select any other device from the list.)
- Once the setup is successful, you will be able to find the HomeKit code on the Meross app product settings page.
- Open the Apple Home app and enter the code and add the device again.
Yes! Some products do work with Matter.