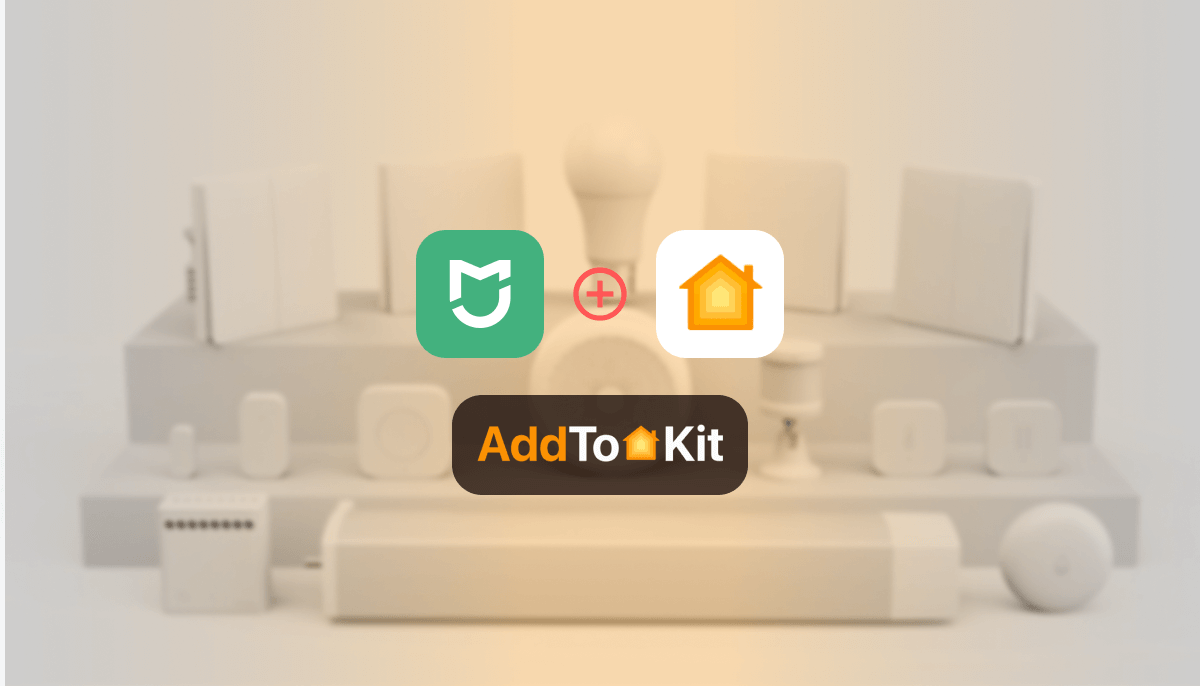
How to Add Any Xiaomi Devices to Apple HomeKit

Any other iPhone users who are huge fans of Xiaomi Home devices? Because I am the biggest fan of Xiaomi Home, and I have been using Xiaomi for a year now. But the only issue is that it is incompatible with Apple HomeKit. So, I discovered some of the best methods to add Xiaomi to HomeKit and tried them out. Let me explain each and every one of them.
Can I Add Xiaomi Devices to Apple HomeKit?
Yes, it is possible to add Xiaomi devices to Apple HomeKit. Since Xiaomi does not fully support HomeKit natively, you need to use third-party solutions like AddToHomeKit to make the integration work.
These solutions act as a bridge, allowing your Xiaomi devices to appear and function inside the Apple Home app.
Best Methods to Add Xiaomi to the Apple Home App
- AddtoHomeKit [My Personal Favourite]
- ATH Bridge
- HomeBridge
AddtoHomeKit [My Pick]
In my humble opinion, this is the one of the best third-party solution to add Xiaomi devices to Apple HomeKit. The Xiaomi AddtoHomeKit solution gives two options, you can go with the web solution or even the app solution. This software solution gives you all the necessary plugins and step guides to create a flawless HomeKit integration.
My opinion on this solution is after trying this solution out with many other devices as well!
See step guide for AddtoHomeKit.
My Favourite Aspects of AddtoHomeKit
- A huge variety of ecosystems we can choose from to AddtoHomeKit.
- Both app and web solutions are available.
- Provides plugins and step guides within the same place.
- Easy and requires low to no time and effort.
- One of the drawbacks would be that it requires a tiny bit of technical knowledge.
This is by far the easiest and least time-consuming solution I have ever tried out.
See the step guides to add Xiaomi to HomeKit.
ATH Bridge
The ATH Bridge is an affordable device solution to add Xiaomi devices to Apple HomeKit. The ATH Bridge is a specially compiled and pre-flashed server which is designed to allow you to add Xiaomi to Apple HomeKit.
Features of the ATH Bridge are:
- Allows you to add any device to Apple HomeKit.
- Budget friendly, and it was in my opinion, actually worth the money.
- Effortless set up process.
- Small and compact, it fits right in any home!
What Can You Achieve with Xiaomi HomeKit Devices?
- Xiaomi Camera - Enhance home security with MI camera, automating recording and notifications through HomeKit routines and scenes.
- Xiaomi Lamp - Use Apple Home app to control Xiaomi smart lamps, adjusting brightness and colour to create personalized lighting environments.
- Xiaomi Fan - Automate Xiaomi fans to maintain ideal temperature using HomeKit’s seamless integration for schedules and automation.
- Xiaomi Gateway - Centralize control of Xiaomi smart devices through the gateway, enabling cross-device automation and voice control.
- Xiaomi Bulb - Customize lighting with Xiaomi HomeKit bulbs, using HomeKit to set colours, intensity and schedules effortlessly.
- Xiaomi Air Purifier - Use HomeKit to automate Xiaomi air purifiers, ensuring consistent air quality with scene-based control and automation.
- Mi Home Kit Air Purifier - Integrate Xiaomi air purifiers into HomeKit for scheduled operation and real-time monitoring to improve your home’s air quality.
Comparison Between Xiaomi, HomeKit, Alexa and Home Assistant
| Category | Xiaomi App | HomeKit | Alexa | Home Assistant |
|---|---|---|---|---|
| Ease of Use | User-friendly, device-specific control. | Intuitive for Apple users, supports scenes. | Voice commands for convenience. | Advanced setup, customizable automations. |
| Automation | Basic routines within the app. | Advanced scenes and automation options. | Routines via Alexa app, voice triggered. | Highly flexible, supports complex workflows. |
| Compatibility | Limited to Xiaomi ecosystem. | Apple ecosystem integration. | Works with Alexa-enabled devices. | Supports a wide range of smart devices. |
| Voice Control | Not available natively. | Through Siri. | Supported via Alexa. | Requires integration via Assistant plugins. |
| Customizability | Limited to in-app settings. | Scene-based customizations. | Predefined routines, some limitations. | Fully customizable with extensive options. |
| Scalability | Good for small setups. | Works well with Apple HomeKit devices. | Scales with Alexa-enabled devices. | Best for large mixed ecosystems. |
| Privacy | Moderate, reliant on Xiaomi’s servers. | High, follows Apple’s privacy standards. | Data linked with Amazon servers. | Varies, depends on cloud or local setup. |
| Limitations | Confined to Xiaomi only devices. | Requires iOS and HomeKit compatible devices. | Alexa dependency, fewer device integrations. | Learning curve and manual configurations. |

Why I Recommend AddtoHomeKit for Xiaomi HomeKit?
After trying multiple methods, AddToHomeKit is one of the easiest ways to connect Xiaomi devices to Apple HomeKit.
What makes it stand out:
- Beginner-friendly setup – no complex coding required
- Step-by-step guides included – everything is explained clearly
- Wide compatibility – supports many Xiaomi and other smart home devices
- Flexible options – available as both a web and app solution
From my experience:
- Setup takes very little time
- Devices connect smoothly
- Easy to follow even for non-technical users
What are the Other Methods to Add Xiaomi to Apple Home App?
HOOBS
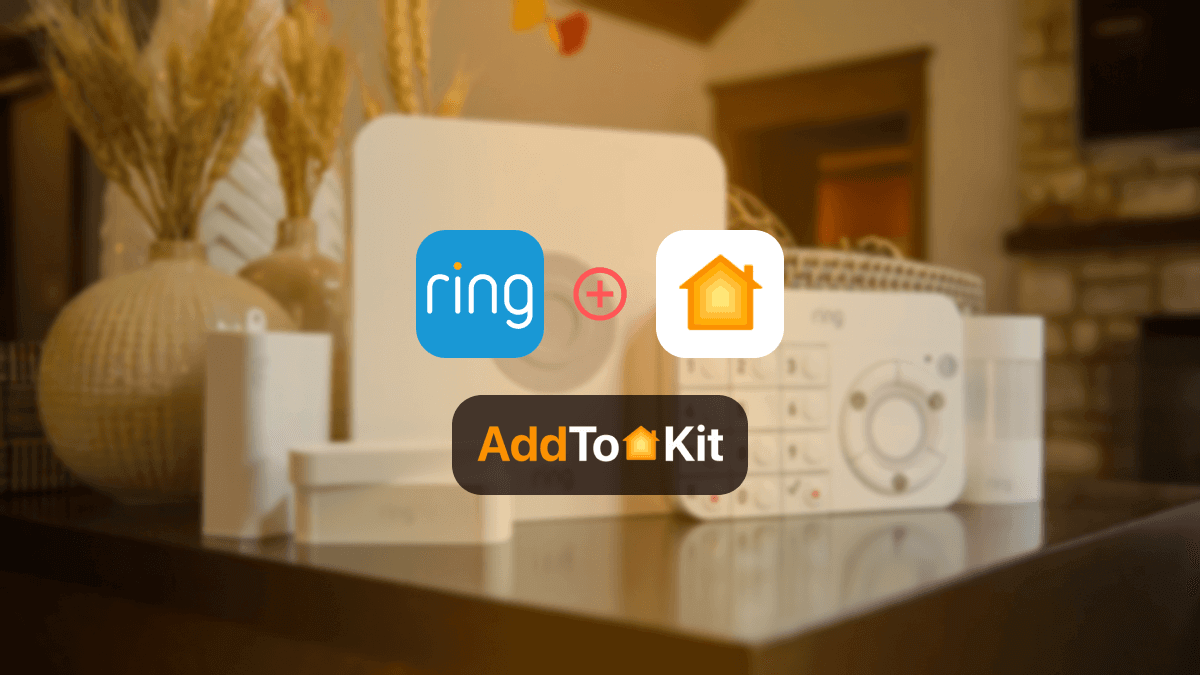
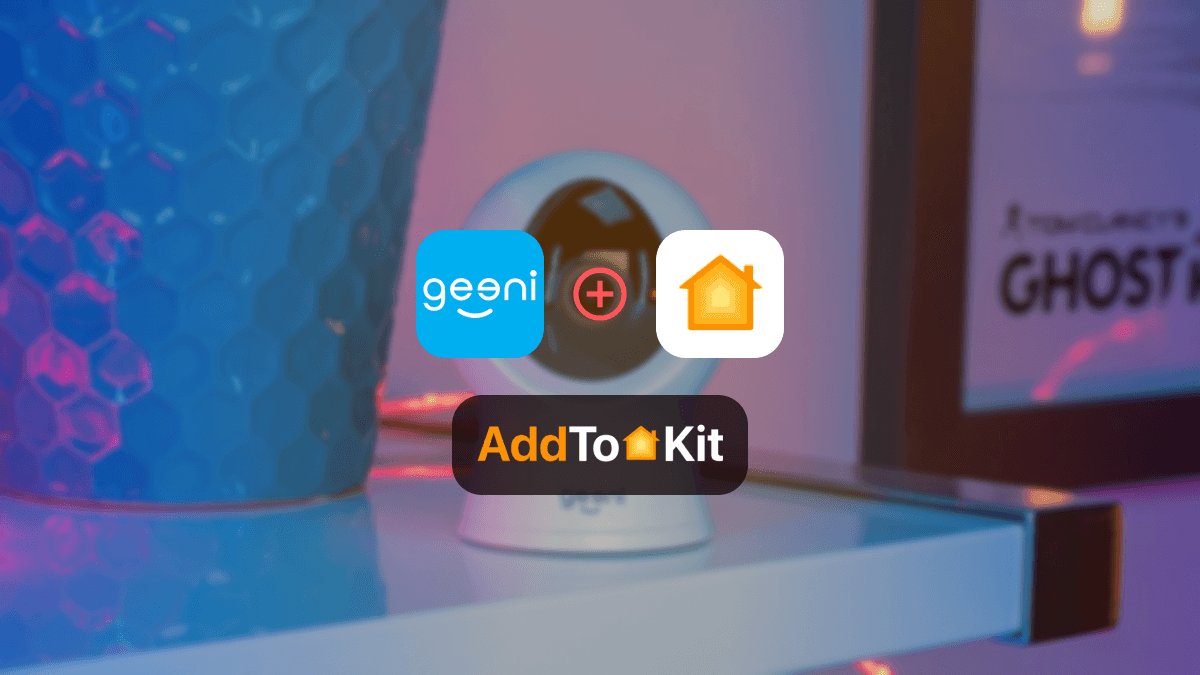
HOOBS or the HomeBridge Out of the Box solution is also another amazing method to create a Xiaomi HomeKit. Well, not just MI integrations but it allows you to add Geeni camera to HomeKit as well! HOOBS is an improved version of HomeBridge, and it adds some amazing features such as pre-built images, it also includes a fully assembled Raspberry Pi. Another fantastic update is that the Raspberry Pi comes with a copy of the HOOBS HomeBridge server pre-installed on a microSD card.
HomeBridge
To simply put it in words, HomeBridge is a lightweight NodeJS server that emulates the iOS HomeKit API. It is an open-source software that supports a huge variety of plugins. The only issue is you will need a bit of complex coding experience for this.
See step guide for HomeBridge.
Step Guides to Operate the Above Solutions
How to Operate AddtoHomeKit for MI HomeKit
- Go to the AddtoHomeKit official website.
- Select the Xiaomi ecosystem.
- You will be redirected to the next page, select your preferred solution.
- Afterwards, you must select the Operating System.
- Install the HomeBridge Plugin.
- Tap on the AddtoHomeKit.
- Follow the instructions provided and enjoy!
How to Operate HOOBS for MI HomeKit?
- Prepare your Network:
- Visit the HOOBS Website:
- Boot up HOOBS:
- Access HOOBS Dashboard:
- Access HOOBS Configuration:
- Install Xiaomi Plugin:
- Configure the Xiaomi Plugin:
Make sure you have a stable WiFi network available, both your iOS device and HOOBS to the same Wi-Fi network.
You must flash the HOOBS image onto a microSD card using appropriate software (eg: BalenaEtcher or Raspberry Pi Image). Now, insert the microSD into the Raspberry Pi. Acquire and install HOOBS.
After the installation of HOOBS. Connect your Raspberry Pi to power and wait for HOOBS to boot up. HOOBS will appear as a Wi-Fi network namely “hoobs.local”, connect your device to this network.
Visit http://hoobs.local and follow the on-screen instructions to complete the initial setup of HOOBS. You would most likely need to set up your admin account and connect HOOBS to your Wi-Fi network.
After completing the setup, you will be directed to the HOOBS dashboard where you can manage plugins and configure devices.
In the HOOBS dashboard, click on “Plugins” in the sidebar. Search for “Xiaomi” in the Plugins Marketplace. Click “Install”.
Add Xiaomi Devices to HomeKit.
Not only Xiaomi, you can also integrate Aladdin Connect HomeKit using HOOBS.
How to Operate HomeBridge for MI HomeKit?
- Install HomeBridge
- Add the Xiaomi Plugin
- Obtain Device Token
- Configure Plugin
- Restart HomeBridge
- Pair with HomeKit
Set up HomeBridge on a compatible device like a Raspberry Pi, or your Computer.
Use the HomeBrigde UI or terminal to install the Xiaomi plugin homebridge-miot or similar. A plugin that is specific to your devices.
Retrieve your Xiaomi device token using tools like the Mi Home App or third-party scripts.
Edit the HomeBridge configuration file config.json with the device token, IP address and plugin settings.
Restart HomeBridge to load the Xiaomi plugin.
Open the Home app, scan the HomeBridge QR code, and enjoy Xiaomi devices in HomeKit.
Troubleshooting Tips: Xiaomi Not Showing in HomeBridge
- Check the Plugin
- Ensure you are using the correct plugin for Xiaomi devices in HomeBridge. The most common plugin for Xiaomi devices is
homebridge-miotorhomebridge-xiaomi-mi-smart-home. You can check if the plugin is installed by running the following command in your terminal: - If it is not intalled, you can install it using:
- Check HomeBridge Configuration File (
config.json - Double check your
config.jsonfile to ensure that the Xiaomi device is correctly listed. Here is an example configuration: - Ensure the IP address and token for your device are correct. Tokens can usually be extracted from the Mi Home app using specific methods or tools.
- Check your Network
- Ensure that both your Xiaomi device and the Homebridge server are connected to the same network.
- Sometimes, Xiaomi devices may have issues communicating on certain networks, especially with routers that have specific settings like dual-band Wi-Fi or mesh networks. Try setting up your network in a way that both devices are on the same frequency band.
- Obtain the Token for Xiaomi Devices
- Many Xiaomi devices require a token for integration with Homebridge. To obtain the token, you can:
- Use tools such as Xiaomi Token Extractor to grab the token from your Mi Home app.
- Use an Android emulator or a real device with the Mi Home app and retrieve the token from the app’s cache.
- Update HomeBridge and Plugins
- Ensure that both Homebridge and the Xiaomi plugin are up to date. Run the following commands to update:
- Check HomeeBridge Logs
- Review Homebridge logs for any error messages or warnings that may give you more insight into what's wrong. You can view the logs in the Homebridge UI or via the command line:
- If you find any specific errors, search for them online or consult the plugin's documentation for potential fixes.
- Reboot HomeBridge
- After any changes, make sure to restart Homebridge:
- Check Xiaomi Device Compatibility
- Make sure the specific Xiaomi device you're trying to integrate is compatible with Homebridge. Not all Xiaomi devices are supported out-of-the-box, and some may need additional configuration.
- Try Removing and Re-Adding the Device
- If the device has shown up before but is not showing now, try removing it from Homebridge, restarting the system, and adding the device again.
- Ensure Proper Permissions
- Ensure that Homebridge has the necessary permissions to access your network and interact with your Xiaomi devices.
npm list -g --depth=0
sudo npm install -g homebridge-xiaomi-mi-smart-home
  {
  "platform": "XiaomiMiHome",
  "name": "Xiaomi",
  "devices": [
    {
      "ip": "192.168.1.x",
      "token": "your_device_token"
    }
  ]
}
sudo npm install -g homebridge
sudo npm install -g homebridge-xiaomi-mi-smart-home
homebridge -D
sudo systemctl restart homebridge
Make sure to follow a more comprehensive guide to add Xiaomi to the Apple Home App with HomeBridge.
What is Xiaomi Smart Home Hub 2?
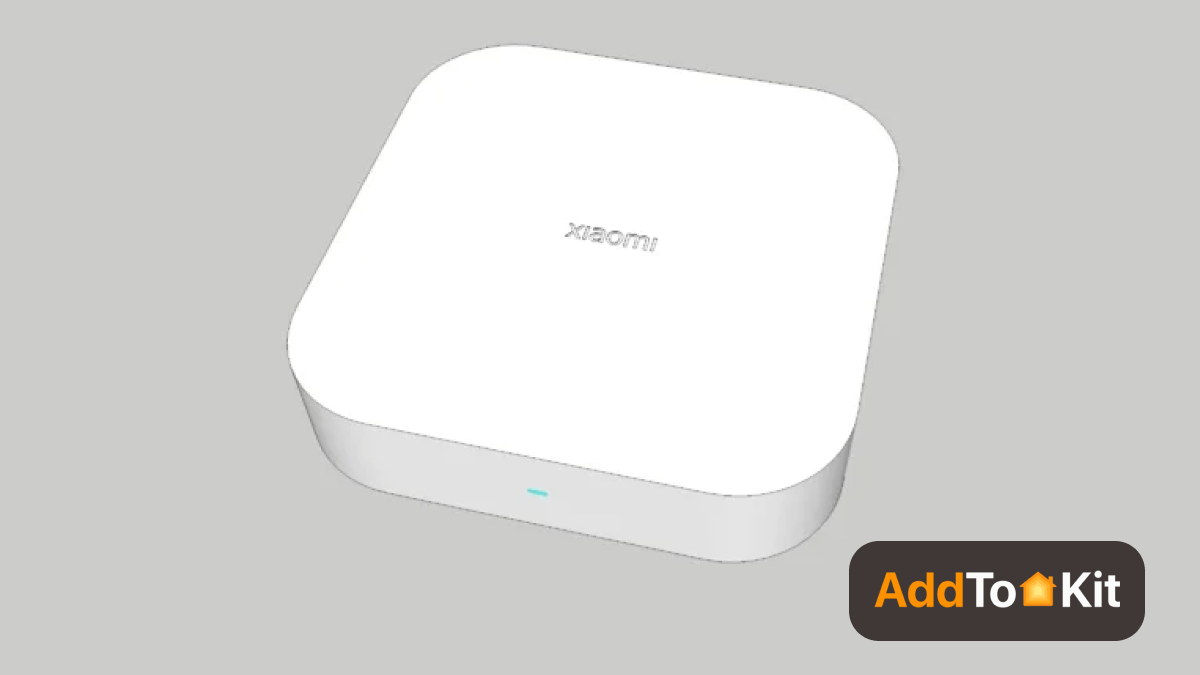
The Xiaomi Smart Home Hub 2 allows you to add Xiaomi devices to HomeKit as well. The Xiaomi Smart Home Hub 2 is a sleek and powerful gateway designed to unify the smart home experience. It supports Zigbee 3.0, Bluetooth Mesh and Wi-Fi. This hub bridges the gap between Xiaomi and HomeKit which makes it an amazing choice for you. This hub is also Matter compatible which allows it to work with ecosystems like Apple HomeKit, Google Home and Amazon Alexa.
I personally have not used the Xiaomi Smart Home Hub 2 but I heard that it is pretty good and has great connectivity as well.
Key Features
- Matter Compatibility - Easily integrate Matter-certified devices.
- Multi-Protocol Support – Zigbee 3.0, Bluetooth, Bluetooth Mesh and Wi-Fi ensure compatibility with a wide range of devices.
- Apple Home App Integration – Xiaomi ecosystem can be directly managed through the Apple Home app on iOS.
- Fast Response Time - Zigbee 3.0 ensures low latency device communication and stable connections.
- Automation Ready – Create complex automation routines using the MI Home app, connecting sensors, lights and more.
What are some Matter Compatible Xiaomi Devices?
- Xiaomi Smart Home Hub 2
- Aqara Hub M3
- Xiaomi Smart Door Lock
- Xiaomi Smart Air Purifier
- Xiaomi Robot Vacuum Cleaner
How to Integrate MI TV with Home Assistant?
Xiaomi devices can also be integrated with Alexa using the Mi Home app.
This allows:
- Voice control
- Routine automation
- Cloud-based control
However, Alexa integration is cloud-dependent and may not be as reliable as local solutions.
The xiaomi_tv integration allows you to control the Xiaomi TV. The Xiaomi TV integration only supports Xiaomi TVs running MIUI.
Make sure that the TV is connected to the internet, and that the HA instance is on the same network.
To add a TV to your installation, you have to add the following to your configuration.yaml After changing the configuration.yaml file, restart Home Assistant and the changes will be applied. You will be able to see the integrate in the page under Settings > Devices & Services. The entities will be listed on the intergration card itself and also on the Entities tab.
# Example configuration.yaml entry media_player: - platform: xiaomi_tv
If the host in the configuration file is not set, the local TVs will automatically be discovered.
To manually add a TV, use the following configuration:
# Example configuration.yaml entry media_player: - platform: xiaomi_tv host: YOUR_TV_IP name: YOUR_TV_NAME
How to Controlling MI with Alexa?
One of the best advantages of Alexa and its platform is that it cloud-based, making the integration with other apps and services so much easier. All you have to do is develop a “Skill” that will interpret commands and that is it for a Xiaomi integration.
How to Control Xiaomi with Alexa?
- Visit the MI Home app on your iOS/ Android.
- In case you have not already, configure every device you own after logging in.
- Launch the Alexa app on your mobile device or visit Alexa Amazon to access the Alexa web interface.
- Navigate to the Devices section after selecting one of the options.
- Turn on Your Digital Home Skills.
- Locate and set up the My Home skill.
- To grant permission, log in using your Mi Home login credentials and follow the instructions.
- That's all!
Create Custom Routines
- Navigate to More located in the Alexa app’s lower left corner.
- Select Workouts.
- Tap the + button located in the top-right corner of the screen.
- Give your routine a name so you can recognize it later on in the menu.
- Assign a trigger that will initiate the action in the When field. It could be a sound, a voice command, actions of a sensor, activity that was previously recirded by another device or a specific moment in time.
- Select Add Action. There will be a long list of options.
Example of time-based trigger: Select TimeTable. The routine’s action date will then be set up as “10:00am XNUMX.
What More to Do with Alexa Intergrated Devices?
- Automate Lighting - Use Xiaomi Mi Motion-Activated Night Light 2 with Alexa to create routines for automatic on/off, brightness and colour adjustments.
- Smart Bulbs – Control Xiaomi Smart Bulbs via Alexa to regulate intensity, colour, or stimulate presence when travelling.
- Energy Efficiency – Transform regular devices into smart ones with Refoss Smart Plugs, automating power usage for convenience and savings.
- Air Quality Automation – Schedule Xiaomi (MI home kit) air purifiers or humidifiers to operate at specific times, ensuring optimal indoor air quality
- Enhanced Security – Integrate Xiaomi Basic Camera Privacy with Alexa routines and sensors for custom, automated security setups.
- Temperature Control – Pair Xiaomi Smart Convector Heater 1S with a temperature sensor and Alexa to maintain ideal room conditions automatically.
- Effortless Cleaning – Program Xiaomi Mi Robot Vacuum-Mop 2 Ultra to clean when you are away, avoiding noise and maximizing efficiency.
- Sensor-Based Workflows – Automate lighting, heating or cooling using Xiaomi sensors like motion or temperature, creating smart routines with Alexa.
These are basically what I did with the Xiaomi Alexa integration, there might be more benefits of creating an Alexa integration. If anyone is wondering, yes, I use Alexa Echo Dots instead of HomePods! I have also created an Alexa HomeKit and an Alexa Echo Dot HomeKit integration.
What is Xiaomi Mijia Multimode Gateway?
The Xiaomi Mijia Multimode Gateway is one of the latest hubs designed to connect different Xiaomi smart home devices into one system.
It supports multiple protocols such as:
- Zigbee 3.0
- Wi-Fi
- Bluetooth and Bluetooth Mesh
This makes it easier to manage devices like sensors, lights, and switches from a single platform.
One of the key advantages is that it supports Apple HomeKit, allowing some Xiaomi devices to appear directly in the Apple Home app. It also supports more devices compared to older gateways, thanks to the upgraded Zigbee 3.0 standard.
However, this solution still has limitations.
- Not all Xiaomi devices are supported
- Compatibility depends on specific models
- Some features may not fully sync with HomeKit
What is MI Home App?
The MI Home app is Xiaomi’s official platform for managing smart devices.
It allows:
- Device control
- Automation setup
- Room organization
- Remote access
- While it works well
within the Xiaomi ecosystem, it is limited when trying to connect with Apple HomeKit.
Editor's Pick
I would definitely go for AddtoHomeKit because it is an easy, affordable way to add any device to HomeKit. Also, not to mention how easy the process is! The AddtoHomeKit solution is game changer! I hope this article helped you with your MI Home app integration!
FAQs
Yes! However, it requires iOS 11.0 or later/watchOS 6.0 or later.
Yes, some devices such as the Xiaomi Smart Speaker IR are compatible with Siri and HomeKit. However, most Xiaomi products do not support Siri and HomeKit. For this, you can use third-party solutions such as AddtoHomeKit to create a Xiaomi HomeKit integration.
Yes! Like most ecosystems, Xiaomi has its own voice assistant too. Mi AI is Xiaomi’s voice assistant. It is similar to other popular voice assistants such as Siri, Alexa, Cortana, and Google Assistant.
To add it to Home Assistant, follow these steps:
- Visit your Home Assistant instance.
- Go to Settings > Devices & Services.
- In the bottom right corner, select the Add Integration button.
- From the list, select Xiaomi Miio.
- Follow the instructions on screen to complete the setup.
It mostly depends on the model, but there are many Xiaomi smart devices that work well with Alexa and some that work with HomeKit and Siri as well.
Most of the Xiaomi Miio devices are compatible with configurations using the Home Assistant UI. However, the Xiaomi device tracker and Xiaomi IR Remote are not compatible.