How to Add AirGradient Smart Devices to Apple HomeKit

AirGradient makes some of the most accurate and open-source air quality monitors available. The trade-off is that they were built for local network access and open platforms, not Apple's closed HomeKit ecosystem.
If you want to monitor PM2.5, CO2, temperature, and humidity from the Apple Home app or ask Siri about your indoor air quality, you need a bridge.
In this guide, I'll show you how to add your AirGradient devices to HomeKit and take full advantage of smart automation and voice control. Let’s get started!
AirGradient monitors do not support Apple HomeKit natively. The company prioritizes open-source firmware and local network communication over proprietary protocols. To use AirGradient as a HomeKit air quality sensor, you need a bridging method. The three most reliable options are AddToHomeKit, ATH Bridge, Home Assistant, and the Homebridge.
AddtoHomeKit – Editor's Pick
AirGradient AddToHomeKit is a third- party solution to add any device to Apple HomeKit. It offers HomeKit configuration plugins and step-by-step guides to follow when adding AirGradient devices to HomeKit. It gives you web solution and app solution also to integrate your incompatible devices with Apple Home Kit.
Connect AirGradient to HomeKit Using AddtoHomeKit
- Go to the AddtoHomeKit official website.
- Select the AirGradient ecosystem.
- Once you are directed to the next page, select your preferred solution.
- Now select the operating system.
- Install the HomeBridge Plugin.
- Tap on Add to HomeKit.
- Click on the Activation package to activate your account.
- Follow the instructions displayed on screen.
ATH Bridge - Affordable Solution
ATH Bridge is the most affordable method to integrate AirGradient devices with Apple Home Kit. In simple words the ATH Bridge is a plug and play solution that provides you Air Gradient Apple Home Kit integration. It is a pre-flashed and compiled server which is designed to have perfect integration.
AirGradient ONE - Indoor Air Quality Monitor
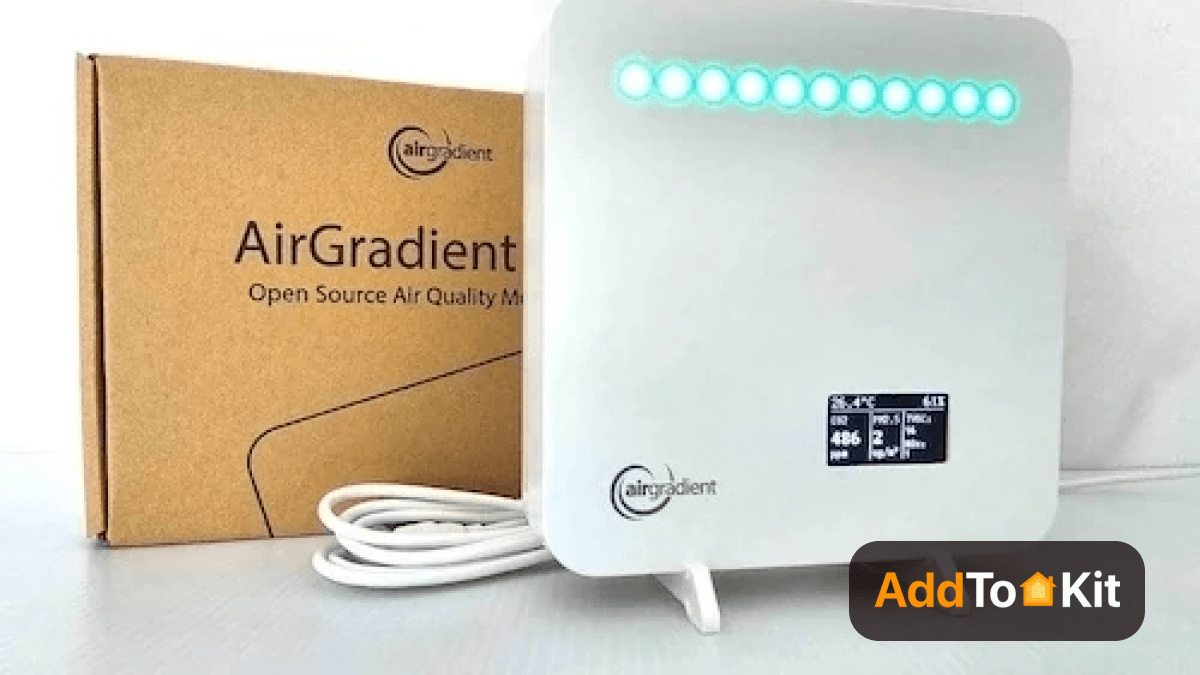
The AirGradient ONE (Model I-9PSL) is an indoor air quality monitor enabling you to know if the air quality is healthy or not. It’s fully open-source and customizable, so you can extend it in whatever way you like.
This is important because AirGradient brings fresh, clean air and a pleasant atmosphere to your home.
Technical Data
| Model | I-9PSL (AirGradient ONE, 9th Generation) |
| Microcontroller | ESP32-C3-MINI (32-bit RISC-V single-core processor, up to 160MHz, 384 KB ROM, 400 KB SRAM, 8 KB SRAM in RTC, 4 MB flash in chip package) |
| Wi-Fi | 2.4GHz IEEE 802.11 b/g/n-compliant |
| Display | OLED display 1.3 inch (I2C 128x64px) |
| Bluetooth | Bluetooth LE: Bluetooth 5, Bluetooth mesh |
| Extensions | Broken out on PCB: I2C, 3 GPIO, 2 UART |
| Peripherals | 11 RGB-LEDs, Push Button, Reset Button, USB C Connector |
| External Hardware Watchdog | Texas Instruments TPL5010 |
| CO2 Sensor Module | Sense Air S8 (NDIR). 0 to 10000ppm. Accuracy: ±40 ppm ±3% of reading at 5 to 30°C, 0-85% RH (400 - 2000ppm range) |
| Particle Sensor Module | Plantower PMS5003 (laser scattering principle). Accuracy: ±10%@100~500μ g/m³, ±10μg/m³@0~100μ g/m³ |
| Temperature and Humidity Module | Sensirion SHT40. Accuracy: Temperature ±0.2°C @ -40 to + 125°C; Humidity ±2% RH @ 0 - 100% RH |
| TVOC/NOX Module | Sensirion SGP41. Accuracy: TVOC <±15 @ 0 to 500 VOC Index; NOX ±50 @ 0 - 500 NOX Index |
| Enclosure | ASA Plastic, UV Resistant and Weatherproof |
| Cable | 2m USB C Cable including Data Lines for Flashing |
| Power Plug | 2A 5V USB A Power Plug is Required |
| Dimensions & Weight | 130 x 130 x 35mm, 350 grams |
| Certifications | CE, RoHS, REACH, RESET Air, FCC ID: 2AC7Z-ESPC3MINI |
Key Characteristics

Home Assistant Bridge (Best for Existing HA Users)
Home Assistant is the most stable and widely recommended method for AirGradient HomeKit integration, according to the AirGradient community forum. It pulls sensor data locally over your network, then exposes it to Apple Home through the built-in HomeKit Bridge integration. No cloud dependency, no API polling delays.
What you need: An active Home Assistant instance running on your local network.
Your AirGradient ONE or DIY Pro will now appear as a HomeKit-compatible air quality sensor in Apple Home, accessible via Siri and usable in automations.
External reference: Home Assistant HomeKit Bridge documentation
Connect AirGradient Devices with Apple Home using Home Assistant
Home Assistant is an open-source software to integrate many devices with the home app. So, you should integrate AirGradient Home Assistant with the Home app. Then you can monitor the air quality sensor on the home app.
- Browse to your Home Assistant instance.
- Go to Settings > Devices & Services.
- In the bottom right corner, select the Add Integration button.
- From the list, select AirGradient.
- Follow the instructions on screen to complete the setup.
Use AirGradient to HomeKit via Homey Pro
If you are a homey pro user, use this guide to automate and control the Monitor on Apple HomeKit.
- First, connect Homey with HomeKit.
- Then, unbox the Airgadient device and connect it with a Wi-Fi connection.
- Install the AirGradient app on Homey Pro.
- Choose the indoor or outdoor monitor.
- Next, pair the device with the Homey Air Gradient app.
- Then, follow the onscreen prompts.
- Now you can automate the AirGradient to HomeKit using Homey Pro.
AirGradient HOOBS Integration
HOOBS stands for "HomeBridge Out of the Box System." It is a plug and play Hub that allows users to easily set up and use a HomeBridge. It is a hardware solution that is an easy method to integrate your incompatible devices to Apple HomeKit.
- Click the Bridges option.
- Click Add Bridge.
- Enter a new bridge name (Ex: “AirGradient Bridge”).
- Click Save. After that, you can now see a notification in the bottom right corner.
- Tap on the bridge name in the list. then a QR code will appear for HomeKit pairing.
- Go through the HomeKit ‘Add Accessory’ and scan the code.
- Choose a Room to place the bridge.
AirGradient HomeBridge Integration
HomeBridge is one of the most popular methods used as it is an open-source software platform. You need a little coding knowledge to operate HomeBridge.
- Install HomeBridge
- For Windows/Mac/Linux: Install Node.js
- For Raspberry Pi: You can use the HomeBridge image, which simplifies the installation.
- Install the HomeBridge Config UI X Plugin
- Install AirGradient Plugin for HomeBridge
- Configure HomeBridge
- Restart HomeBridge
- Add HomeBridge to Apple HomeKit
- Verify Device Integration
sudo npm install -g homebridge-airgradient
Open the HomeBridge configuration file. You can usually find it at ~/.homebridge/config.json.
Add the AirGradient plugin configuration to the file.
    {

  "platform": "AirGradient",

  "devices": [

    {

      "name": "Living Room AirGradient",

      "ip": "",

      "pollingInterval": 60,

      "sensors": {

        "pm2_5": true,

        "co2": true,

        "temperature": true,

        "humidity": true

      }

    }

  ]

}
Once added, your AirGradient devices should appear in the home app. Test them to ensure they are functioning as expected.
If you want to these step-guide with more details check out how to add AirGradient to Apple HomeKit using Homebridge.
DIY Custom Firmware (Advanced Users Only)
If you built an older AirGradient DIY Pro monitor on PCB version 3.7 or lower, you can flash a community-developed firmware that broadcasts a native HomeKit pairing code directly over Wi-Fi.
The firmware is available at github.com/gohai/airgradient-homekit. It is Arduino-based and allows the device to pair directly with Apple Home using the code 1111-1111, without any bridge software.
Critical limitations:
- Compatible with DIY Pro PCB v3.7 only. Not supported on the AirGradient ONE (I-9PSL).
- The firmware is experimental and rarely updated.
- It may break with standard Arduino core updates.
- No official support from AirGradient.
This method is not recommended for everyday use. It is documented here for completeness.
What can you do with Air Gradient Apple Home Kit integration?
- Monitor Air Quality: You can view real-time air quality data directly on your Apple devices.
- Control Airgradient Devices: You can adjust devices settings from the home app or through Siri.
- Automate Air Quality Management: Set triggers and automations using the home app to control your Airgradient device based on conditions.
- Integrate with Other HomeKit Devices: Combine Airgradient devices with other HomeKit-compatible smart devices.
- Siri Voice Commands
Read also,
- How to Add Any Hikvision Devices to Apple HomeKit
- How to Add Levoit Smart Devices to Apple HomeKit
- How to Add Google Nest Thermostat to Apple HomeKit
- How to Add Dahua Smart Devices to Apple HomeKit
What AirGradient Shows in Apple Home
Not all air quality parameters display natively in the Apple Home app. Here is what you can expect after a successful integration, regardless of which method you use.
| Sensor | Displays in Apple Home Natively | Requires Third-Party App |
|---|---|---|
| Temperature | Yes | |
| Humidity | Yes | |
| CO2 (Carbon Dioxide) | Yes | |
| PM2.5 (Particulate Matter) | Yes | |
| PM10 (Particulate Matter) | No | Eve, Controller for HomeKit |
| TVOC (Volatile Organic Compounds) | No | Eve, Controller for HomeKit |
| NOx (Nitrogen Oxides) | No | Eve, Controller for HomeKit |
Apple's Home app does not support individual tiles for TVOC and NOx data. To view these readings from your HomeKit air quality sensor, install a third-party HomeKit client such as Eve for HomeKit or Controller for HomeKit. Both apps read the same HomeKit data and display the full sensor cluster.
Compatible AirGradient Models
| Model | Home Assistant | Homebridge | AddtoHomeKit | DIY Firmware |
|---|---|---|---|---|
| AirGradient ONE (I-9PSL) | Yes | Yes | Yes | No |
| AirGradient DIY Pro (PCB v3.7) | Yes | Yes | Yes | Yes |
| AirGradient DIY Pro (PCB v3.8+) | Yes | Yes | Yes | No |
| AirGradient Open Air (Outdoor) | Yes | Yes | Yes | No |
The AirGradient ONE is the recommended starting point for new users. It is a fully assembled indoor monitor with a Sensirion SHT40 temperature and humidity sensor, a Sense Air S8 NDIR CO2 sensor accurate to plus or minus 40 ppm, and a Plantower PMS5003 particle sensor accurate to plus or minus 10 micrograms per cubic meter.
Editor's Pick
In my opinion, AddtoHomeKit stands out as the easiest and most efficient way to connect Airgradient devices to Apple HomeKit, it saves time and effort compared to solutions like HomeBridge and HOOBs, especially if you are not very experienced in the technical side.
FAQs about AirGradient HomeKit
Yes, it's possible to integrate AirGradient monitors with Apple HomeKit using custom firmware. It allows your AirGradient device to send data directly to HomeKit and enabling you to monitor air quality parameters through the Apple Home app.
The AirGradient DIY PRO version 3.7.
Yes, you can successfully integrated AirGradient monitors with HomeKit through Home Assistant. By using ESPHome on the monitors and Home Assistant's HomeKit integration.
For the most complete air quality monitoring, I recommend the AirGradient ONE.
Air monitoring uses electronic devices to provide real-time readings of contaminants in the air.
Air sampling involves trapping air over a period of time in a container that is then sent to a laboratory for analysis to identify and quantify specific compounds.