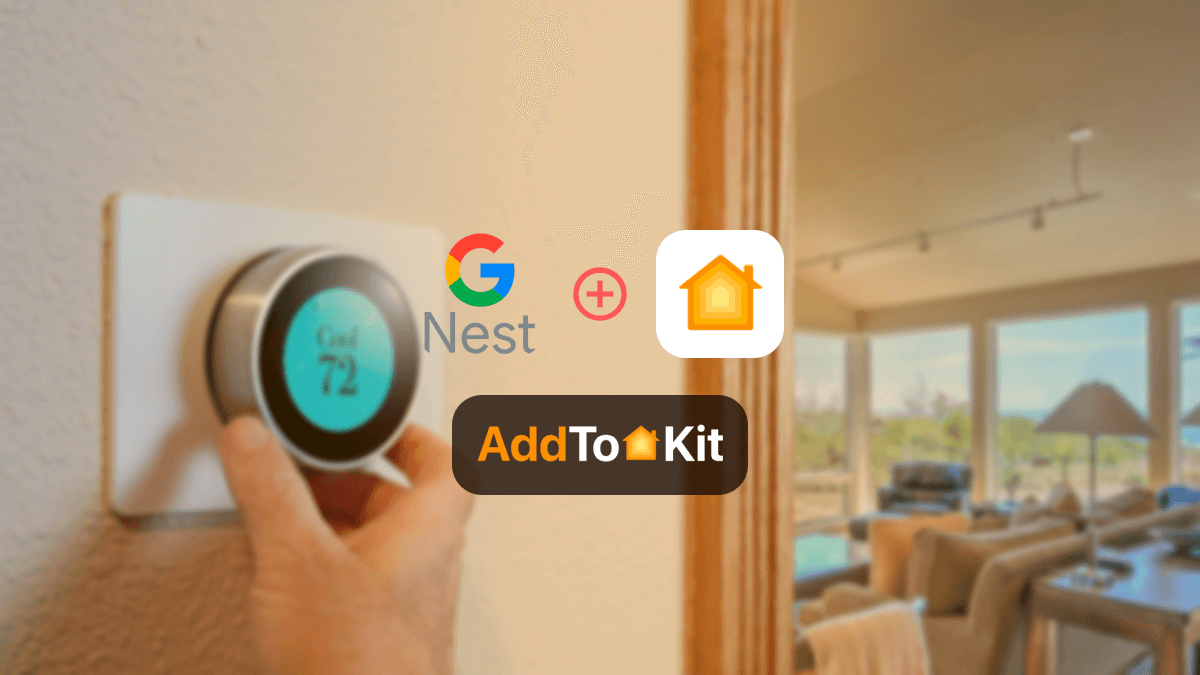
How to connect Nest Learning Thermostat to Apple HomeKit


Have you ever wondered how to add Nest Thermostat to Apple Home? As an iPhone user, I was mostly confused about how to connect Google Nest to Apple Homekit and control them using Apple Home App and Siri. So, here is an article on what I found and experienced in the process, as well as the best ways to connect Nest Thermostat to Apple HomeKit.
Can I Add My Nest Thermostat to Apple HomeKit?
Yes, you can add a Google Nest Thermostat to Apple HomeKit using the Matter smart home standard. Supported Nest models can generate pairing code in the Google Home app, which can then be scanned in the Apple Home app to connect the thermostat to Apple Home.
What is Google Nest Learning Thermostat?
The Google Nest Learning Thermostat is a smart device that manages the temperature in your home. You can control it remotely using the Google Home app or via voice commands with Google Assistant. Plus, it's designed to help you cut costs by adjusting settings when you're not at home and giving you detailed insight into your energy usage.
How to connect Google Thermostat with HomeKit?
I found 04 major methods to link Nest thermostat to Apple HomeKit.
- AddtoHomeKit [Recommended Solution]
- ATH Bridge
- HOOBS
- HomeBridge
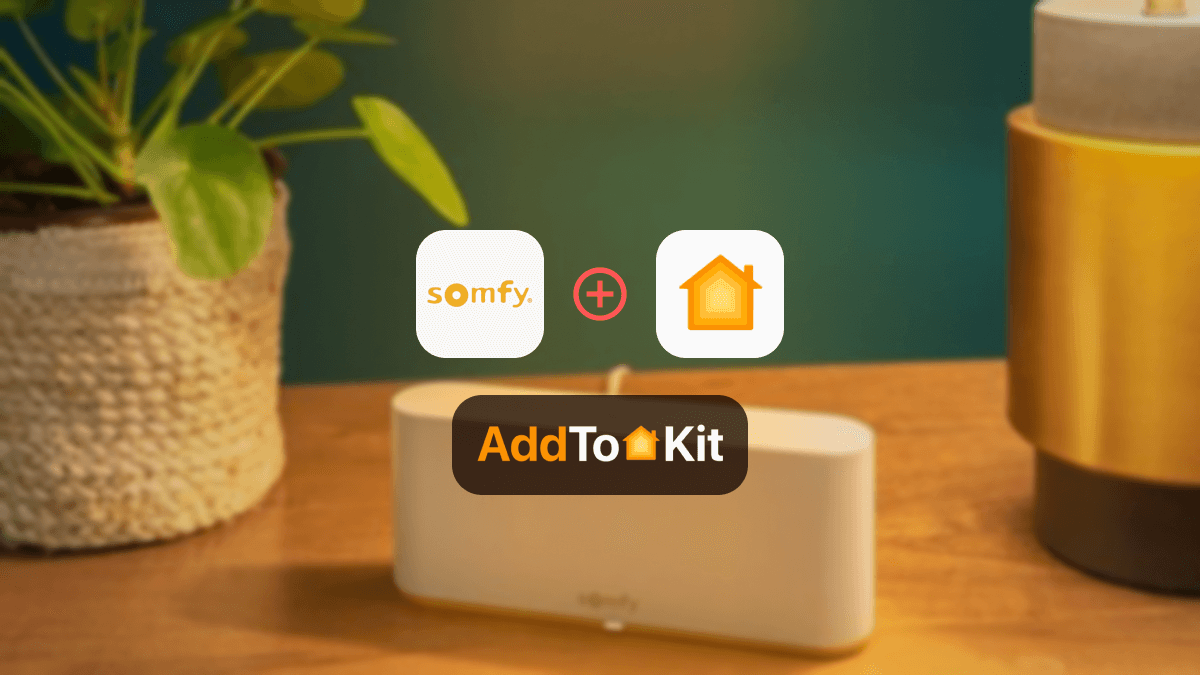
AddToHomeKit - Best Recommended Desktop Solution
Nest Thermostat AddToHomeKit is the easiest solution for integrating your smart devices with HomeKit. It simplifies the process of connecting any smart device to Apple HomeKit, allowing you to manage your nest thermostat or other smart devices using the Apple Home app and Siri voice commands.
With just a few easy steps, I was able to control my google nest thermostat apple homekit, which enhanced my whole smart home experience.
Why Choose AddtoHomeKit?
- A user-friendly tool to effortlessly connect google thermostat to Apple HomeKit.
- Overcomes the limitations of the HomeBridge solution.
- Ensures a straightforward installation experience.
- Solutions for various ecosystems and operating systems.
- Can control nest devices using Siri voice commands and the Apple Home app.
- HomeKit Notifications for nest devices.
How To Connect Nest Thermostat to HomeKit Using Addtohomekit?
- Visit the official AddToHomeKit page.
- Choose your preferred ecosystem.
- Select your desired solution (e.g., Athom Bridge).
- Pick the operating system you’re using.
- Download and install the HomeBridge plugin.
- Choose the activation package.
- Follow the on-screen instructions provided.
Which Nest Thermostat Work with Apple HomeKit?
| Nest Thermostat Model | Apple HomeKit Support | Method |
|---|---|---|
| Nest Thermostat (2020) | ✅ Yes | Matter |
| Nest Learning Thermostat 4th Gen | ✅ Yes | Matter |
| Nest Learning Themorstat 3rd Gen | ⚠️ Partial | HomeBridge or Starling Hub |
| Nest Thermostat E | ⚠️ Partial | HomeBridge or Starling Hub |
Note: The Starling Home Hub is not available anymore. The manufacturers has stopped manufacturing the Hub.
What are Some Alternative Solutions to Add Nest Thermostat to HomeKit
I tried out a few other methods to add google nest thermostat to apple homekit. All these methods can be used to add Ring Camera to Apple HomeKit as well.
ATH Bridge [Affordable Solution]
The ATH Bridge proved to be a game-changer when I needed an affordable solution. This simple device enables you to connect google nest to homekit. But it’s not limited to just nest thermostat it supports a wide range of smart devices.
With the ATH Bridge, you can integrate any smart device with Apple HomeKit. It comes pre-configured as a HomeBridge server. So, you only need to download and set up the appropriate plugins, and your google nest thermostat will be instantly compatible with HomeKit.
Why choose ATH Bridge?
- Budget-Friendly
- Straightforward
- Plug-and-Play
- Unlimited HomeBridge plugins
- Tiny design
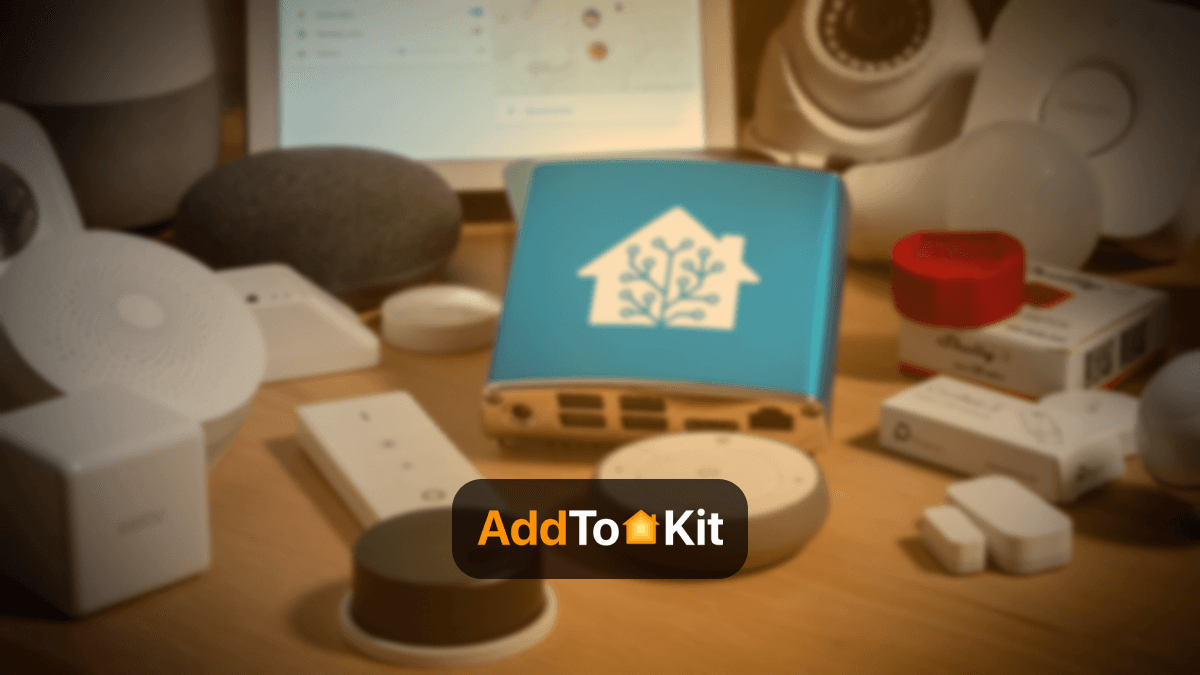
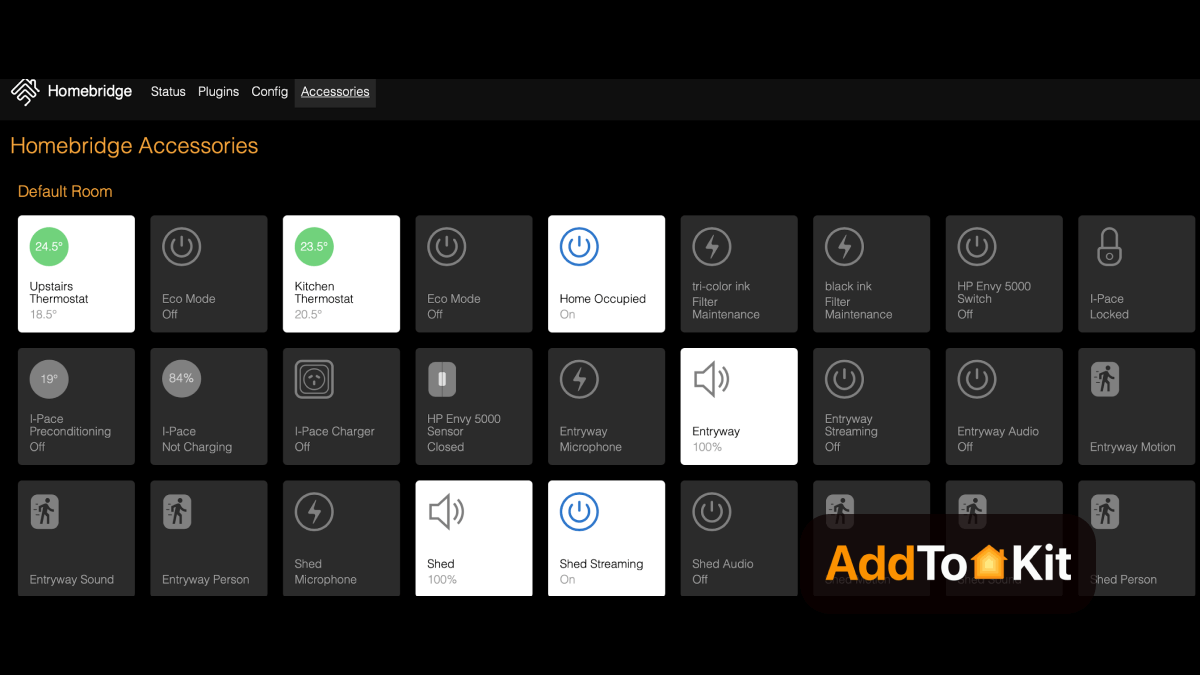
HOOBS (HomeBridge Out of the Box)
Another fantastic solution I found is HOOBS (HomeBridge Out of the Box). It’s a user-friendly and compatible software platform that simplifies the setup and operation of HomeBridge. From what I’ve seen, HOOBS stands out as one of the most popular open-source options available. I used it to create a Smartwings HomeKit as well!
Using HOOBS as a bridge was straightforward for me, and it also allows users to connect nest thermostat to apple homekit. HOOBS serves as a bridge to connect your nest devices, ensuring they work seamlessly with Apple HomeKit.
Why choose HOOBS?
- Compact device
- Dedicated smart home bridge
- Seamless connectivity for over 2,000 accessories
- Supports integration with any of these platforms (Google Home, Amazon Alexa, or Apple HomeKit)
How To Add Google Nest to HomeKit Using HOOBS?
- Install HOOBS on a Raspberry Pi or compatible hardware.
- Open the HOOBS dashboard.
- Go to the Home app.
- Select “Add Accessory.”
- Choose the HOOBS server.
- Scan the QR code.
- Follow the on-screen instructions provided.
HomeBridge Solution
Finally, there's the HomeBridge Solution, an open-source software platform designed to integrate non-HomeKit compatible devices into Apple HomeKit. If you’re tech-savvy and enjoy a hands-on approach, this is likely the best solution for you to achieve seamless integration.
Why choose HomeBridge?
- Integrates non-HomeKit devices with Apple HomeKit.
- Extensive plugins for tailored functionality. Extensive plugins for tailored functionality.
- Manage all smart devices in one app.
- Avoid replacing existing devices for HomeKit compatibility.
How to Add Nest Thermostat to Apple HomeKit Using HomeBridge?
- Install HomeBridge
- Install Plugins
- Configure the Plugin
- Restart HomeBridge
- Pair with HomeKit
Set up HomeBridge on your chosen platform. This is typically done on a device like a Raspberry Pi or a computer running Node.js.
Find a compatible HomeBridge plugin for nest thermostat, available from the npm registry or GitHub.
After installing the plugin, you need to configure it. Edit your HomeBridge config.json file. Add a new platform for the nest plugin and include username and password as below:
Install the plugin using npm: Make sure to replace "your_nest_email@example.com" and "your_nest_password" with your nest login authorization.
{
  "name": "nest",
  "username": "your-nest-email",
  "password": "your-nest-password",
  "platform": "nest"
}After configuring the plugin, restart HomeBridge to apply the changes.
Open the Home app. You should see the Nest devices you configured in HomeBridge. Add them to your HomeKit setup, and you’ll be able to control them through the home app or with Siri.
HomeBridge is Not Working?
- Ensure Proper Homebridge Setup
- Homebridge is Installed and Running: Make sure Homebridge is properly installed and running. If you're using a Raspberry Pi or another system, check the Homebridge logs to ensure there are no errors.
- Homebridge-Nest Plugin: The Homebridge Nest plugin (which connects Nest with HomeKit) must be installed and configured correctly. Check that you're using the latest version of this plugin.
- Check Nest Account Permissions
- Nest API Access: Ensure that you’ve connected Homebridge to your Nest account properly via the Google Nest developer API. Verify that the
client_id,client_secret, andaccess_tokenare correctly set up in your Homebridge configuration. - Reauthorize Access: Sometimes, the access token can expire or be revoked. Try reauthorizing access through the Nest Developer Console or Homebridge config.
- Verify Homebridge Configuration
- Configuration File: Double-check your Homebridge configuration file (
config.json) for any errors. Ensure that the Nest plugin is correctly configured with the required parameters such as: - Check Network and Connectivity
- Local Network: Ensure that your Nest Thermostat and the device running Homebridge are connected to the same local Wi-Fi network.
- Firewall: If you're using a firewall, make sure that Homebridge and the Nest API have the required ports open to communicate effectively.
- Restart Devices
- Restart Homebridge: Restart your Homebridge server to apply any changes to the configuration or updates to plugins.
- Restart Nest Thermostat: Sometimes, the thermostat itself may need to be rebooted if it’s not responding or syncing properly with HomeKit.
- Update Software
- Update Homebridge & Plugins: Ensure that Homebridge and the Nest plugin are updated to their latest versions. Updates often contain bug fixes or improvements that can resolve compatibility issues.
- Update Thermostat Firmware: Make sure your Nest Learning Thermostat has the latest firmware. Check the Nest app for any available updates.
- HomeKit Troubleshooting
- Re-pair with HomeKit: If the thermostat isn't showing up in HomeKit, try unpairing it and then re-pairing it by scanning the HomeKit code in the Nest app.
- Reset HomeKit Cache: Sometimes HomeKit’s cache might cause issues with devices. You can try removing the thermostat from the Home app and adding it back.
- Check Homebridge Logs
- View Logs: The Homebridge logs can provide valuable insight into what might be going wrong. Look for any error messages or warnings related to the Nest plugin or HomeKit integration.
- Use Homebridge Web Interface
- If you're using the Homebridge UI, check if your Nest thermostat appears as a device in the dashboard. If not, try restarting the Homebridge service or reloading the plugin.
- Factory Reset (Last Resort)
- If nothing else works, you might need to perform a factory reset on the Nest thermostat and go through the entire setup process again. Be sure to note down your configuration settings before doing this.
- Additional Tip: Use Alternative Plugin
{
  "platform": "Nest",
  "client_id": "YOUR_CLIENT_ID",
  "client_secret": "YOUR_CLIENT_SECRET",
  "code": "YOUR_AUTHORIZATION_CODE",
  "access_token": "YOUR_ACCESS_TOKEN",
  "homebridge": {
    "platforms": [
      {
        "platform": "Nest",
        "client_id": "your-client-id",
        "client_secret": "your-client-secret",
        "access_token": "your-access-token"
      }
    ]
  }
}
If you are using an access_token method, ensure it hasn’t expired.
If the official Homebridge Nest plugin is causing too many issues, consider trying an alternative plugin (such as homebridge-nest-thermostat or others) that supports integration between Nest and HomeKit.
Which Nest HomeKit Integration Method is Best?
Choose AddtoHomeKit if:
- You want to control Nest Thermostat with Apple Home, without many hardware.
- You want a simple setup
- You prefer native Apple Home Integration
Choose ATHBridge if:
- You have a little technical knowledge
- Prefer DIY projects
- Want to control Nest Thermostat with Apple HomeKit.
Choose Matter Integration if:
- You own Nest Thermostat (2020 or newer)
- You want the simplest setup
- You prefer native Apple Home integration
Choose HomeBridge if:
- Your Nest Thermostat does not support Matter
- You already run a HomeBridge server
What are the Nest Thermostat HomeKit Supported and Unsupported Features
According to my experience with Nest Thermostat HomeKit, below are the supported and the unsupported features.
What are the Nest Thermostat HomeKit Suppoted Features?
| Feature | Apple Home | Google Home |
|---|---|---|
| Temperature Control | ✅ Yes | ✅ Yes |
| Siri Voice Control | ✅ Yes | ❌ No |
| Automations | ✅ Yes | ✅ Yes |
| Energy Reports | ❌ No | ✅ Yes |
What are the Nest Thermostat HomeKit Unsupported Features?
While Nest Thermostat can connect Apple Home through Matter, some Nest features remain limited.
Current limitations include:
- Nest temperature sensors may not appear inside Apple Home
- Advanced scheduling still requires the Google Home app
- Energy usage reports remain exclusive to Google Home
- Some eco mode features are not fully exposed in Apple Home
Despite these limitations, core thermostat controls such as adjusting temperature, switching modes and running automations work reliably through Apple Home.
Is Google Nest Doorbells Compatible with Apple HomeKit?
Google Nest doorbells are not compatible with Apple HomeKit. Nest devices are designed to integrate with Google’s ecosystem, including Google Home and Google Assistant. If you’re looking for a doorbell that works with HomeKit, you’ll need to choose a compatible option from brands that support Apple’s smart home platform.
Is Google Nest Devices Compatible with Matter?
Google Nest devices are compatible with Matter. Matter is a smart home standard developed to improve interoperability between any smart home devices and ecosystems. Google Nest products (thermostats, cameras, and smart speakers) have been updated to Matter, allowing them to work more seamlessly with other Matter-compatible devices and ecosystems, including Apple HomeKit.
With Matter-compatible devices and hub, you can integrate Nest devices with HomeKit and any smart home platforms with Matter. Just make sure your devices and the hub are updated with the latest firmware to ensure compatibility.
How to do a Google Nest Thermostat Matter Integration
Prerequisites
- 2020 Nest Thermostat with Matter update
- Android smartphone
- Google Home app
- iPhone or iPad with iOS 16.4 or higher
- Nest Thermostat software version 1.3 or higher
Steps
- Open the Google Home App on your iPhone or iPad (running iOS 16.4 or higher).
- Tap on Devices and navigate to your Nest Thermostat.
- Tap on the settings icon.
- Tap Linked Matter apps & services.
- Tap Link apps & service.
- Copy the pairing code that appears and open the Apple Home app on your phone.
- Tap + in the top-right corner.
- Choose Add Accessory from the drop-down menu.
- Scan a code. For that, tap more options.
- Tap Google Nest Thermostat in the list of accessories that appear.
- If it doesn’t show up, tap My Accessory isn’t Shown Here and then tap Enter code.
- Paste the code you copied into the Setup Code dialogue box that appears.
- Tap Continue.
- Choose a room to add the thermostat to.
- Name the thermostat.
How to Change the temperature on a Nest thermostat Via Home app?
- Open the Google Home app.
- Tap Favorites or Devices
- Select your thermostat.
- Change the mode, tap Temperature mode and select the one you want.
- Tap and drag the dial clockwise or counterclockwise to increase or decrease the temperature
- Tap + or – to increase or decrease the temperature 1° at a time.
How We Tested Devices and Solutions
To verify compatibility, we tested Nest Thermostat integration with Apple Home using several real smart home setups.
Devices Tested
- Nest Thermostat (2020)
- Apple HomePod mini
- iPhone running iOS 17
- Google Home app
Testing Scenarios
- Adding Nest Thermostat through AddtoHomeKit
- Adding Nest Thermostat through ATHBridge
- Adding Nest Thermostat through Matter
- Controlling temperature using Siri
- Running automation scenes in Apple Home
- Monitoring response time and reliability
Testing Results
In our testing, Nest Thermostat connected successfully using Matter and appeared inside the Apple Home app within seconds. Basic temperature control and automation worked reliably through Siri and Apple Home scenes.
Editor’s Pick
From my experience, I highly recommend AddtoHomeKit. It's incredibly user-friendly and easy. There’s no need to download additional apps. It works seamlessly! While AddtoHomeKit is a great choice for integrating google nest apple homekit, it's important to evaluate your specific needs and preferences to determine the best solution for you.
FAQs
Yes, compatible Nest Thermostat models can work with Apple HomeKit through Matter. If your model does not support Matter, you may need a bridge solution such as Homebridge or Starling Hub.
Nest Thermostat models that support Matter can work with Apple HomeKit. Older Nest thermostats usually need a bridge solution such as Homebridge or Starling Hub to appear in the Apple Home app.
Yes. The 2020 Nest Thermostat supports the Matter smart home standard, which makes it possible to connect it to platforms such as Apple Home.
Yes. After adding a compatible Nest Thermostat to Apple Home, you can use Siri to adjust the temperature, change modes, and run automations.
This usually happens when Matter pairing is not enabled, the device firmware is outdated, or the thermostat model does not support native Apple Home integration.
Yes. Apple Home requires a home hub such as a HomePod, HomePod mini, or Apple TV for remote access and automations.
In many setups, Nest temperature sensors do not appear as separate accessories in Apple Home when the thermostat is connected through Matter.
Yes. A Nest Thermostat can still function as a basic thermostat without Wi-Fi, but remote control, app access, voice control, and smart home integrations will not work until it reconnects.
Yes. You can lock your Nest Thermostat from the thermostat settings or through the Google Home or Nest app, depending on your model.
Yes. You can use voice commands through Google Assistant to control thermostat settings, adjust temperature, and manage other compatible smart home features.
Yes. After adding your Nest Thermostat to your Google account, you can control it using the Google Home or Nest app on your phone, tablet, or computer.
Nest Cam does not natively support Apple HomeKit in most setups. Some users add Nest cameras to Apple Home using bridge solutions such as Starling Home Hub, and certain transferred first-generation Nest cameras may support HomeKit Secure Video in supported environments.
Nest Doorbell is not natively HomeKit compatible, but it can be added to Apple Home using a bridge such as Starling Home Hub. This allows it to function more like a HomeKit-compatible doorbell inside the Apple Home app.
It depends on your ecosystem. Google Nest works well for users invested in Google Assistant and Google Home, while Apple Home is often preferred by users who want tighter integration with iPhone, Siri, and other Apple devices.