How to Add Any Blink Smart Devices to Apple HomeKit

I know you clicked on the article because your Blink device is not working with Apple HomeKit. Well, I am here to get you out of that problem. To make your Blink devices work with Apple HomeKit, you need a third-party solution. During my research I found some amazing solutions and let me share them with you.
4 Solutions:
AddToHomeKit [Recommended Solution]
AddtoHomeKit is an affordable third-party software solution that provides thousands of plugins to add Blink devices to Apple HomeKit. Their plugins and step-guides are amazing and really eases the process of creating a Blink HomeKit integration.
Pros and Cons of AddtoHomeKit
Pros
- Software solution
- Installing apps are not required - less bulky
- Less time-consuming
Cons
- Must activate an account before getting started
- Require some coding knowledge
Key Takeaways
- Blink doesn’t work with Apple HomeKit natively.
- You need a third-party solution to connect with them.
- AddtoHomeKit is the easiest option for most users.
- HomeBridge is cheaper but more technical.
- The Blink Home Monitor app is required even with HomeKit.
ATH Bridge
ATH Bridge is an affordable method to add Blink to Apple Home app. ATH Bridge is a plug and play method, pre-flashed and compiled server designed to perfectly integrate and create a Blink HomeKit.
HOOBS
HOOBS is a bridge that helps you to connect all smart home devices to HomeKit. HOOBS is the ideal option if you’re looking for home automation which is easy to use.
Pros and Cons of HOOBS
Pros
- Very small allowing it to fit with any home decor.
- Affordable
- Allows you to connect your incompatible devices to HomeKit
- Easy operations
Cons
- Depending on where you buy it from, it may take time to arrive at home.
- Need some coding knowledge
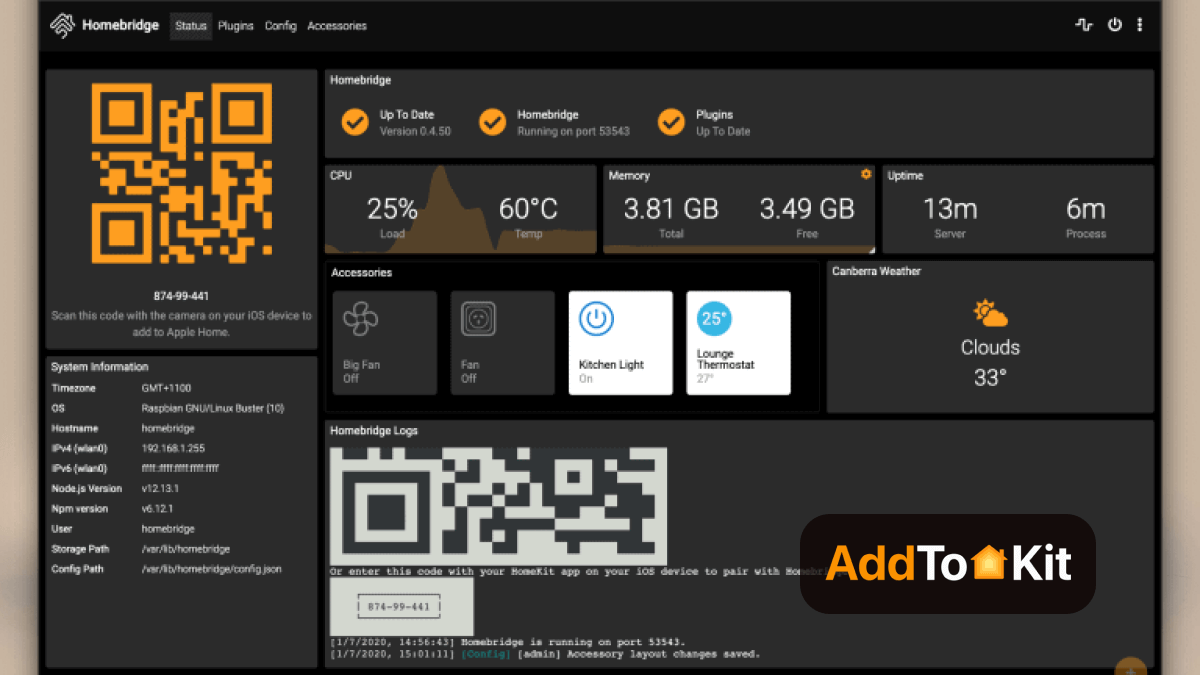
Homebridge
Homebridge is the software method that you can use to connect any device to Apple HomeKit. This is the cheapest available method so far. The only concern is that you need to have the computer every time you add and access the smart home devices via HomeKit. But I think this is also great solution to integrate your incompatible devices to HomeKit.
Pros and Cons of HomeBridge
Pros
- Offers a great solution.
- Allows you to connect any device to HomeKit.
Cons
- It requires a bit of coding knowledge.
- You need an all-day running device like a Raspberry Pi.
SmartThings
You can do Blink-HomeKit integrations by using Samsung’s SmartThings as well. The app lets you manage every smart device in one place.
Pros and Cons of SmartThings
Pros
- Wide device compatibility
- Scalable
- Automations and routines
- User-friendly app
- Works with Zigbee and Z-Wave devices
- Integration with Samsung ecosystem
Cons
- Complex setup for beginners
- Reliability issues
- Cloud reliance
- Limited local control
How to add Blink to HomeKit using AddtoHomeKit Solution
- Visit the AddtoHomeKit official page
- Select the preferred ecosystem
- Select the preferred solution
- Select the preferred Operating System
- Select and install the HomeBridge Plugin
- Now select the Activation Package
- Then, Follow the on-screen instructions as mentioned
Like this so far? Read More:
How to add Blink to HomeKit using HOOBS Solution
Once you get your HOOBS hub, you can follow these steps:
- Plug in the HOOBS to the internet with an Ethernet cable or Wi-Fi.
- Launch the HOOBS UI through a browser from any device by typing ‘hoobs.local’.
- To set up the HOOBS with HomeKit, go to the ‘Add Accessory’ section.
- Then, scan or input the HomeKit code.
- You will now find it under ‘bridges’.
- When you click it, it shows everything that you need to know and do to connect Blink-HomeKit.
HOOBS is a tiny box that comes with thousands of plugins that can be used. It takes only a few clicks to connect any device of Blink with HomeKit. I do some integrations like, D-Link HomeKit with HOOBS.
- Blink video doorbell HomeKit
- Blink camera HomeKit
- Blink mini HomeKit
- Blink Homekit Secure Video
- Blink HomeKit Lights
And more!
It’s simply a user-friendly hub that can be recommended for any user.
How to add Blink to HomeKit using Homebridge Solution
- Install HomeBridge on a device such as Raspberry PI or a device running Node.js
- Find a HomeBridge plugin that is compatible with Blink Devices (you can find it through npm registry or GitHub) and install the Plugin.
- After installing the plugin, you must configure it.
- Edit your HomeBridge config.json file and add a new platform for the Blink plugin and enter the username and password.
- Install the plugin using npm.
- After configuring the plugin, restart HomeBridge.
- Pair with HomeKit: Open the Home App, you will see the Bilnk Devices that you configured earlier in the HomeBridge plugin. Now you can add the items to your HomeKit setup.
There are so many Blink HomeKit compatible devices you can buy. Using Blink HomeKit Homebridge will be as easy as that!
Troubleshooting Tips
- HomeKit setup not working
- Check firmware
- Restart device
- Re-pair with HomeKit
- Blink devices not responding in HomeKit
- Check Wi-Fi connection
- Reboot devices
- Update HomeBridge or HOOBS
- Check Blink settings
- Blink devices Works, But Doesn't update
- Sync module
- Check Blink app
- Network Interference
- Blink devices not triggering scenes or automations
- Reconfigure automations
- Check permission
Solutions
Solutions
Solutions
Solutions
How to add Blink to HomeKit using SmartThings Solution
You can create Blink HomeKit integration with SmartThings solution. Here are the steps that I followed,
- Download the ‘SmartThings’ app and install it on your device.
- Open the app and create an account by following the instructions provided.
- Install IFTTT on your device as well.
- Launch IFTTT and create an account.
- Click on the ‘Explore’ option and search for SmartThings. Tap on it when it appears.
- You will see an option that says ‘connect’. Click on it and sign into the SmartThings account.
- After connecting, search for the Blink device that you want to connect with HomeKit and pair it with the SmartThings app.
- Again, go to Explore and search for ‘HomeKit’. Pair it up with the Blink device via the SmartThings hub.
And there you go! You have now linked your Blink with HomeKit through SmartThings. Easy right?
If you are looking for another great home security smart devices brand, ADT devices are also recommended.
Blink has great home security devices that can be used with Apple HomeKit with the help of hubs. You just must play it smartly and do some workarounds to get these two connected. Just keep in mind that everything has drawbacks and limitations as well. But with a little effort, you can still use it!
Comparison Between AddtoHomeKit and HomeBridge
| Feature/Aspect | AddtoHomeKit | HomeBridge |
|---|---|---|
| Type of Solution | Web-based software solution | Node.js server (local software) |
| Purpose | Adds non-HomeKit devices to Apple HomeKit via plugins and step-by-step guides | Acts as a bridge to integrate non-HomeKit devices into Apple HomeKit |
| User Interface | Amazing and user-friendly | Requires configuration via a UI (Homebridge UI) or manual config files |
| Plugins/Device Support | Thousands of plugins; supports almost all brands | Community-developed plugins; supports a wide range of devices |
| Ease of Use | Provide clear instructions; Requires some technical knowledge | Requires some technical knowledge for setup and configuration |
| Platform Compatibility | Web-based (no specific platform dependency) | Runs on Raspberry Pi, macOS, Windows, Linux, etc. |
| Local Control | Likely requires internet connection (web-based) | Local network control; works without internet |
| Customization | Limited customization (focused on ease of use) | Highly customizable through configuration files and plugins |
| Updates | Adds new brands and updates weekly | Plugin updates depend on community; core updates are periodic |
| Lifetime Services | Lifetime services included | Free and open-source; no lifetime service guarantee |
| App Requirement | No bulky apps required (web-based) | Requires installation of Homebridge on a local device |
| Community Support | Proprietary solution; limited community involvement | Large open-source community; extensive community support |
| Cost | Likely paid (lifetime services mentioned) | Free and open-source |
| Best For | Users who want a simple, no-fuss solution with minimal technical involvement | Tech-savvy users who want flexibility, customization, and local control |
Disclaimer: Third party integrations can be risky and dangerous.
Blink Home Monitor App
The Blink Home Monitor app is the official mobile app used to control all Blink smart devices, including cameras, doorbells, and Sync Modules.
Whether you integrate Blink with Apple HomeKit using third-party solutions, the Blink Home Monitor app remains mandatory for initial setup and ongoing management.
Through the app, users can arm and disarm cameras, view live feeds, receive motion alerts, manage activity zones, and adjust recording settings.
One of the best limitations is that the Blink Home Monitor app operates entirely through Blink’s cloud infrastructure. This means internet connectivity is required for live view, notifications, and automation.
Another key point for HomeKit users is that Blink does not expose native HomeKit Secure Video (HKSV) features through the app.
In short, the Blink Home Monitor app is not optional, it’s the foundation of any Blink setup. HomeKit integrations work alongside it, not instead of it.
What does the Blink Sync Module do?
The Blink Sync Module acts as the central hub for most Blink cameras and doorbells. It connects your Blink devices to the internet and helps manage features like motion alerts, live view, and video syncing.
When using Apple HomeKit through third-party solutions such as HomeBridge, HOOBS, or AddtoHomeKit, the Sync Module plays an important role by keeping all Blink devices stable and connected. Without it, some Blink cameras may have limited functionality or may not work at all.
Editor's Pick
When evaluating these four methods, my top choice is AddtoHomeKit. It is a great fit for people who lead busy lives because it takes little time and effort compared to other solutions. However, it's important to consider what best aligns with your specific needs and preferences. I hope this information helps you make an informed decision!
FAQs
You need to install the Blink app on your smart device and make sure it is connected to WiFi. Now open the Blink app and click on ‘+’ icon. Select add device and follow the instructions.
There are subscription plans for Blink. But you don’t need to buy it if you don’t need standard features.
It should be able to work from over 100m distance from each other. Keep them close for optimal performance.
Blink doesn’t directly work with HomeKit. But there are certain ways that allow integration of Blink with HomeKit. With the help of applications like AddtoHomeKit, and hubs like HOOBS and HomeBridge, these two will go together like PB and J!