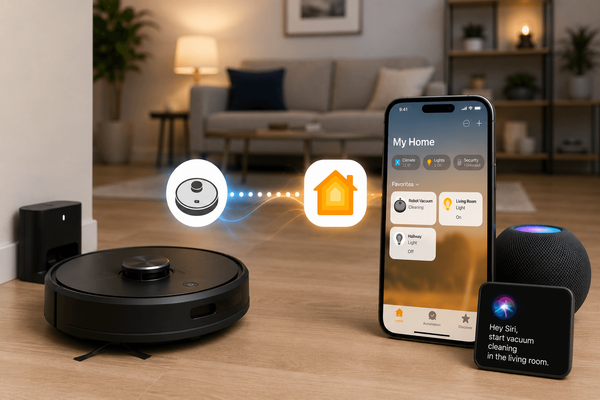
How to Add Any D-Link Devices to Apple HomeKit
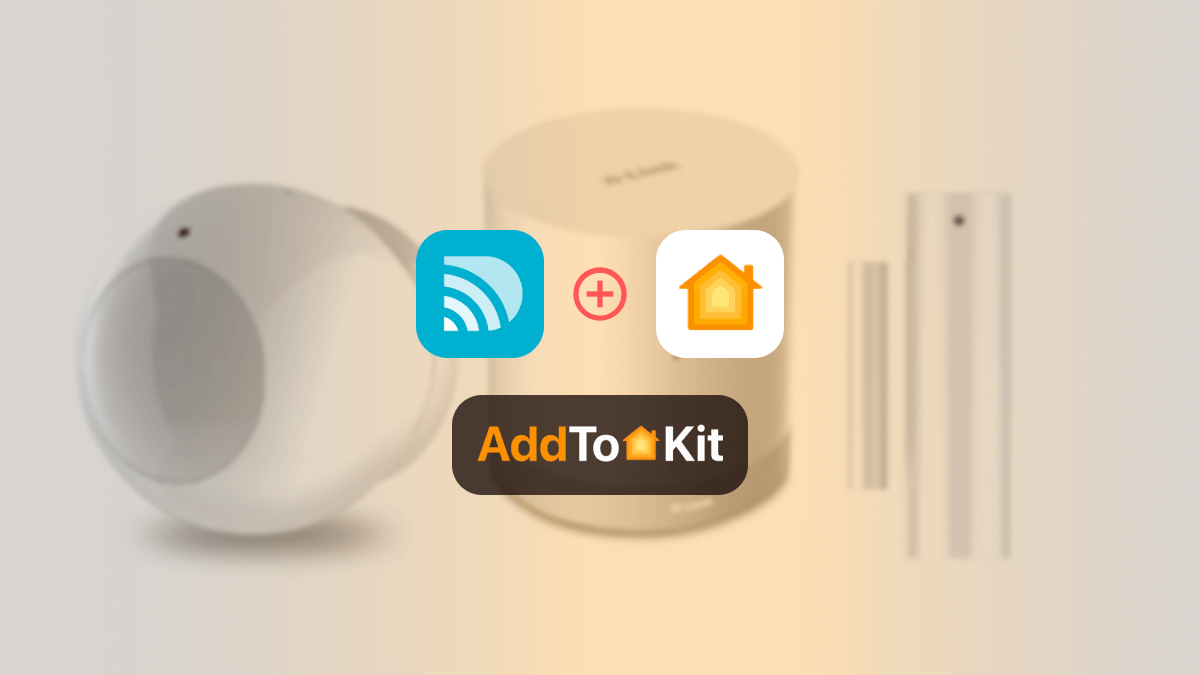

If you love the D-Link routers get on board cause me too. The only issue I have is that it is not compatible with HomeKit. I wanted to create a Dlink HomeKit integration which is why I did some research. There are a few methods available for add Dlink with Apple Home Kit. These solutions are not limited to a Dlink Wifi HomeKit, you can even add a D link Camera with HomeKit.
Let’s discuss the solutions!
- AddtoHomeKit [Best for Beginners]
- ATH Bridge [Affordable Solution]
- HOOBS
- HomeBridge
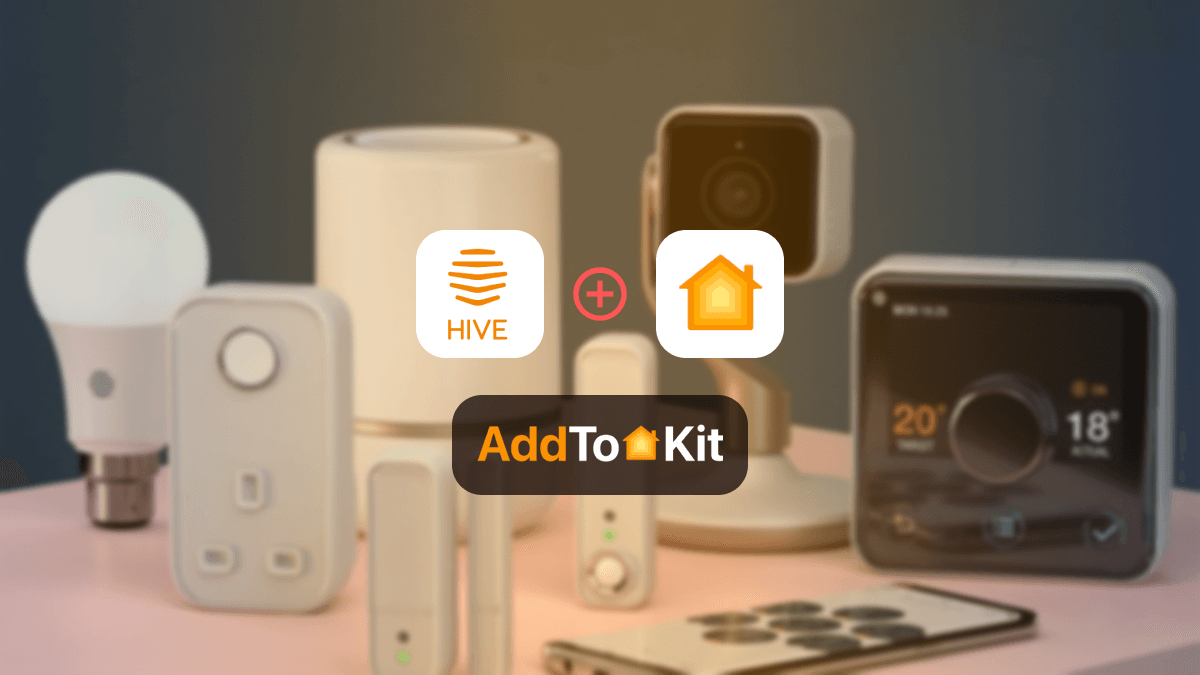
AddtoHomeKit [Best for Beginners]
D-Link AddtoHomeKit, oh how I love this solution. AddtoHomeKit is amazing because it is easy to operate rather than the other solutions. It requires little bit coding knowledge to integrate any smart device with apple homekit. Yes, any device! Moreover, you only need to make a one-time payment for a lifetime service and have access to unlimited smart home ecosystems! You can also integrate D link Camera to Apple Home Kit with AddtoHomeKit.
Pros and Cons of AddtoHomeKit
Pros
- App solution
- Requires low effort
- Less time-consuming
Cons
- Must activate an account before getting started
- Require a little bit of coding knowledge
Step-by-Step Guide for AddtoHomeKit
- Visit the AddtoHomeKit Website
- Select the D-Link Ecosystem
- Choose your preferred Solution
- Choose your preferred Operating System
- Choose your preferred plugin
- Install the plugin
- Follow on-screen instructions
ATH Bridge
This is a great option for you if you are looking for a device solution. So, ATH Bridge or the AddtoHomeKit Bridge pre-configured HomeBridge server, all you need to do is download the necessary plugins and configure them and you are good to go! I love that this option is cost-effective and is a very easy method of adding any device to HomeKit.
Pros and Cons of ATH Bridge
Pros
- Affordable
- Plug and play easy solution
- Low effort required when setting up
- Simple and easy intallation
Cons
- Installation and configuration can be a bit slow (depending on your personal experience)
I used ATH Bridge to add HikVision devices to HomeKit, add Schlage devices to HomeKit and it was very easy to do so.
The Native Route (HomeKit & Matter Support)
A select number of D-Link devices feature native Apple HomeKit or Matter support. If your device box features the "Works with Apple Home" or "Matter" logo, you do not need any external software.Step-by-Step Native Setup
- Prepare the Device: Connect your D-Link device to power. If it has been used before, perform a factory reset by holding down its physical reset button for 10 seconds.
- Check Your Network: Ensure your iPhone or iPad is connected to your home’s 2.4 GHz Wi-Fi band. Most smart home hardware cannot communicate over 5 GHz networks.
- Open Apple Home: Launch the Home app on your iOS device.
- Scan the Code: Tap the + icon in the top-right corner, select Add Accessory, and use your camera to scan the 8-digit HomeKit setup code or Matter QR code. This sticker is typically located on the back or bottom of the hardware.
- Finalize: Follow the on-screen prompts to assign the device to a specific room, name it, and include it in your favorite automations.
HOOBS Solution
HOOBS or HomeBridge Out of the Box is an updated version of HomeBridge. It is a user-friendly compatible platform. You would need a little coding knowledge to operate this. It is probably one of the most popular methods used. You can connect your Dlink Camera to Apple Home Kit.
Pros and Cons of HOOBS
Pros
- Ease of Use
- Plug-and-Play
- Wide Device Compatibility
- Dedicated Support
- Provide regular Updates
- Cross-Platform Integration
- Local Control
- Customizable
Cons
- Cost
- Limited Flexibility for Advanced Users
- Dependency on Plugins
- Performance Limitations
- Maintenance Required
- Not Officially Supported by Apple
- Potential Security Risks
Step-by-Step Guide for HOOBS
- Prepare your Network:
- Visit the HOOBS website:
- Boot up HOOBS:
- Access HOOBS Dashboard:
- Access HOOBS Configuration:
- Install D-Link Plugin:
- Configure the D-Link Plugin.
- Add DLink Devices to HomeKit.
Make sure you have a stable WiFi network available, both your iOS device and HOOBS to the same wi-fi network.
You must flash the HOOBS image onto a microSD card using appropriate software (eg: BalenaEtcher or Raspberry Pi Image). Now, insert the microSD into the Raspberry Pi. Acquire and install HOOBS.
After the installation of HOOBS. Connect your Raspberry Pi to power and wait for HOOBS to boot up. HOOBS will appear as a Wi-Fi network namely “hoobs.local”, connect your device to this network.
Visit http://hoobs.local. And follow the on-screen instructions to complete the initial setup of HOOBS. You would most likely need to set up your admin account and connect HOOBS to your Wi-Fi network.
After completing the setup, you will be directed to the HOOBS dashboard where you can manage plugins and configure devices.
In the HOOBS dashboard, click on “Plugins” in the sidebar. Search for “DLink” in the Plugins Marketplace. Click “Install”.
You can add Abode devices to HomeKit, add Aqara devices to HomeKit using HOOBS.
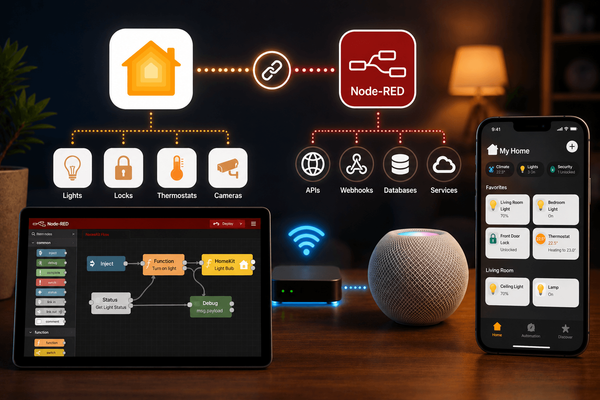
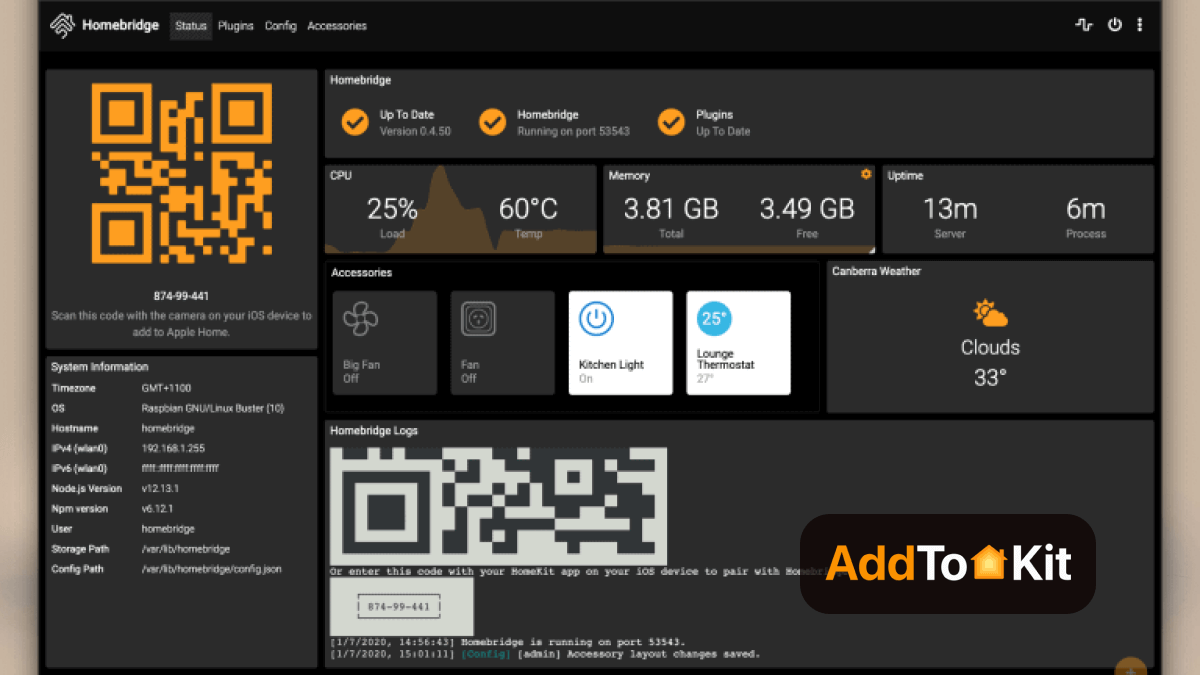
HomeBridge Solution
HomeBridge is another amazing solution to connect a DLink Camera to Home Kit. Not just a D-link Camera with Apple Home integration but even a Blink Camera HomeKit integration. To give you a small explanation, HomeBridge is a server built Node.js that allows you to create a DLink Apple Home.
Now you can follow the below steps to integrate your D Link to Home Kit using HomeBridge.
Pros and Cons of HomeBridge
Pros
- Expands HomeKit Compatibility
- Cost-Effective
- Customizable
- Local Control
- Open-Source Community
- Cross-Platform Integration
Cons
- Technical Complexity
- Time-consuming
- Reliability Issues
- No Official Support
- Hardware Requirements
- Potential Security Risks
- Limited Performance for Large Setups
Step-by-Step Guide to HomeBridge
- Install HomeBridge
- Install D-Link Plugins
- Configure D-Link Plugins
- Restart HomeBridge
- Pair with HomeKit
Start by setting up HomeBridge on a Raspberry Pi (or any compatible platform).
Locate the HomeBridge plugins that are compatible with DLink devices. (you can find HomeBridge plugins through AddtoHomeKit).
After add the Dlink plugins are installed, configure it by editing the HomeBridge config.json file. Add a new platform entry for the D’link plugin and input your D’link login details as displayed below:
{
    "name": "DLink",
    "username": "your-dlink-email",
    "password": "your-dlink-password",
    "platform": "DLink"
}
Restart the HomeBridge after the plugin configuration to app the changes.
Open the Home App on your device. You would be able to locate the DLink devices you have configured with the HomeBridge plugin. Now you will be able to add any D’link device to the Apple HomeKit setup and control them through the Home app or via Siri.
The Home Assistant Route (Best for Power Users)
For advanced users looking for deep automation capabilities, Home Assistant (HA) is a powerful open-source smart home hub. It communicates locally with hardware, making your smart home faster and less reliant on external internet servers.Step-by-Step Home Assistant IntegrationStep 1: Discover Your D-Link Hardware
- Open your Home Assistant dashboard.
- Navigate to Settings > Devices & Services.
- If your D-Link device is on the same local network, Home Assistant may automatically discover it. If not, click Add Integration in the bottom right corner.
- Search for
D-Linkand choose the specific integration category (e.g., D-Link Wi-Fi Smart Plugs or ONVIF for D-Link IP cameras). - Follow the authentication prompts to link the hardware to your HA database.
Step 2: Configure the HomeKit Bridge Integration
- In Home Assistant, click Add Integration again under Devices & Services.
- Search for and select HomeKit Bridge.
- Choose the domain you want to expose to Apple (e.g., check
switchif you are porting over smart plugs, orcamerafor security feeds). Click Submit.
Step 3: Pair HA with Apple Home
- Look at your Home Assistant Notifications panel in the lower-left sidebar.
- Open the notification titled HomeKit Pairing. It will display a unique QR code and setup PIN.
- Launch your iOS Apple Home app, tap + > Add Accessory, and scan that specific notification QR code.
- Your Home Assistant entities will instantly sync to your iOS device as native HomeKit accessories.
Why Go for a D-Link Apple HomeKit Integration
- Easy Automation - D’link devices like cameras, sensors and smart plugs can be effortlessly controlled alongside other Apple HomeKit integrated products with HomeKit. Allowing you to create a unified ecosystem for automating tasks like turning on lights when motion is detected.
- Enhanced Privacy - HomeKit’s strict privacy measures ensure that your data is secure. As the DLink devices are integrated to HomeKit your smart home remains protected with Apple’s privacy policies and encryption.
- Voice Control with Siri - Control your D’link devices with a simple voice command via Siri. It makes your everyday tasks so much easier!
- Remote Access - Allows you to control your devices from wherever you are.
D-Link has Announced HomeKit Integration
D-Link announced Apple HomeKit which gives Apple users like myself (add most probably you) the ability to control the HomeKit enabled devices through the Home app on iOS, iPadOS and macOS. Most importantly it allows you to have voice control through Siri. Just like Eero HomeKit, D-Link also announced two HomeKit compatible devices.
D-Link announced Matter compatibility on their AQUILA PRO AI Series however according to their website it is yet to be released.
D-Link Omna HomeKit Enabled

D link Omna 180 Cam HD is a World's first HomeKit-enabled camera. The Dlink Omna 180 Cam HD also works seamlessly with other Apple HomeKit enabled devices. This Camera provides amazing features:
- Get a 180-degree view.
- High-Definition Quality – 1080p.
- You can create Scenes and Control.
- Siri Voice Control.
- Night Vision.
- 2-Way Audio- with Built Microphone and Speaker.
- Motion Detector Alerts.
- Offers you a MicroSD Slot – 128 GB for Local Storage.
- Record Clips which you can access on the Omna App.
Specification of D-Link Omna 180
| Feature | Details |
|---|---|
| Indoor/outdoor | Indoor |
| Connectivity | Wireless |
| Resolution | 3 megapixel |
| Lens | F2.0 Fixed |
| Infrared-Cut Removable Filter | Included |
| Night vision | Included |
| Night vision range | 5 m |
| 2-way audio | Included |
| Built-in Microphone | Included |
| Built-in Speaker | Included |
| External Card Slot | MicroSD SDHC SDXC (max 128 GB) |
| App Support | Omna |
| Features | Apple HomeKit |
| Video Format | H.264 MJPEG |
| Motion Detection | Included |
| Event Recording | Included |
Pros and Cons of Omna 180 HD Cam
Pros
- Excellent video quality
- Wide-angle lens
- Motion detection can control other devices
Cons
- Only 720p recording
- No Android support
- No IFTTT channel
Connect D-Link HomeKit on Home App
- Install the Apple Home App on your iPhone and open it.
- Tap on Get Started and then Allow.
- Click on the + icon and Select Add Accessory.
- Turn ON your Bluetooth on your iPhone.
- Find and Select your D-Link DSH -C310 Camera on the App.
Add D-Link Camera with HomeKit
- Click on Allow to connect D-Link Camera to Home kit.
- Now, Scan the Code printed on the back of the camera.
- Type the 8-digit code in the required space.
- Wait until your Omna 180 Cam is pairing.
- Once it is done, move on to Adjust the Settings.
- Select your Location and Tap Next>Done.
- On the Apple Home App Dashboard, Select the Favorite Cameras.
- Choose your Connect D-Link to HomeKit to stream Live Video.
How to Connect D-Link Smart Plug to Apple HomeKit?
Unfortunately, The D-Link Smart Plug does not support Apple Home kit. There are two options that you can use to access controls on the Smart Plug.
- Connect D-Link Smart Plug to Amazon Alexa and Google Assistant.
- Get a HomeKit Compatible Smart Plug.
D-Link Matter Compatibility
They have announced two devices to have Matter compliance, but they are yet to be released! Look forward to the release!
- D-Link AQUILA PRO AI Wi-Fi 6 Smart Mesh Router System MS30
These are some of the first Matter compatible products D-Link released. It is a part of a Series, the AQUILA PRO AI series. This router in particular is ideal for anyone who is interested in streaming and managing a lot of smart home devices.
| Feature | Details |
|---|---|
| Product Type | Wi-Fi 6 Smart Mesh Router |
| Model | MS30 |
| Bands/ Speed (mbps) | Dual/ 3000 |
| Ethernet Ports | 1x1 Gbps WAN
4x1 Gbps LAN |
| Antenna | 5 |
| Channel Size | 20, 40, 80, 80+80, 160MHz |
| Google Assistant/ Alexa | Yes |
| Mobile App | AQUILA PRO AI |
| Matter Compatible | Yes |
- D-Link AQUILA PRO AI Wi-Fi 6 Smart Home Gateway MS60
As I mentioned above, these are some of their first Matter devices and this too is a part of the AQUILA PRO AI range. From the entire series, these are the only two Matter compatible devices which is yet to be released. This Smart Home Gateway is ideal for anyone who engages in a lot of online activities and also an essential for smart home management.
| Feature | Details |
|---|---|
| Product Type | Wi-Fi 6 Smart Home Gateway |
| Model | MS60 |
| Bands/ Speed (mbps) | Dual/ 6000 |
| Ethernet Ports | 1x2.5 Gbps WAN
4x1 Gbps LAN |
| Antenna | 8 |
| Channel Size | 20, 40, 80, 80+80, 160MHz |
| Google Assistant/ Alexa | Yes |
| Mobile App | AQUILA PRO AI |
| Matter Compatible | Yes |
Troubleshooting Tips for HomeBridge
- Verify Device Compatibility
- Check Plugin Support: Ensure the D-Link device is supported by a Homebridge plugin. Popular plugins like
homebridge-dlinkorhomebridge-camera-ffmpeg(for cameras) may be required. - Firmware Updates: Make sure your D-Link device is running the latest firmware to avoid compatibility issues.
- Install the Correct Plugin
- Search for the appropriate plugin in the Homebridge UI or via npm
- Double-check the plugin’s documentation for specific configuration requirements for D-Link devices.
- Configure the Plugin Correctly
- Check Network Connectivity
- IP Address: Ensure the D-Link device has a static IP address or a reserved IP on your router to prevent it from changing.
- Ping the Device: Use a tool like ping to confirm the D-Link device is reachable on your network.
- Firewall/Router Settings: Ensure your router or firewall is not blocking communication between Homebridge and the D-Link device.
- Restart Homebridge
- After making changes to the configuration file or installing a new plugin, restart Homebridge to apply the changes.
- Use the Homebridge UI or command line to restart:
- Update Homebridge and Plugins
- Check HomeKit Integration
- Re-add Accessory: If the D-Link device is not appearing in the Home app, try removing and re-adding the Homebridge bridge in the Home app.
- HomeKit Code: Ensure you are using the correct HomeKit setup code from the Homebridge UI.
- Use a Compatible Plugin Alternative
- Check for Plugin-Specific Issues
- Verify Device Limits
- Test on a Different Network
- Factory Reset the D-Link Device
sudo systemctl restart homebridgeIf the D-Link plugin is not working, consider using a more generic plugin like homebridge-camera-ffmpeg for cameras or homebridge-http for other devices.
Editor's Pick
My pick would be to go with AddtoHomeKit because it is the easiest option. I love the user-friendliness of the interface. AddtoHomeKit provides a lifetime premium service for just a one-time purchase. They provide thousands of HomeBridge plugins! The steps you need to follow are minimal and require minimal effort compared to other solutions!
FAQs
To connect D-Link to the iPhone, go to to Settings>>Open Wi-Fi Settings>>Select preferred Wireless Network>>Enter Password>>Tap Join.
Mydlink supports WindowsOS and MacOs. However, Microsoft Edge is not supported. It is advisable to use IE 11, Chrome or Firefox.
The D-Link camera supports up to 10 viewers or users simultaneously, both local and remote PCs/devices included. However, only 3 Live View viewers will have access remotely, if the camera is not connected to a router that doesn’t support UPnP.