How to Add Any Abode Devices to Apple HomeKit
If you are wondering how to control your Abode Camera HomeKit or Abode Lock HomeKit via the Apple Home App and Siri voice control? Excited? I have found several ways to add any Abode devices to Apple Home without any problem. Let’s find the possible ways to add Abode devices to Apple Home!
Possible Methods to Add Abode Devices to Apple HomeKit
- AddToHomeKit [Editor’s Pick]
- HOOBS
- HomeBridge
- ATH Bridge
AddToHomeKit [Editor’s Pick]
Abode AddToHomeKit is the most recommended solution for an Abode Apple HomeKit integration. It is a web and app solution that allows you to connect any Abode devices to Home Kit. With a few steps I could control my Abode devices with Home Kit seamlessly.
AddtoHomeKit is a third-party software solution that allow you to add any devices to Apple HomeKit. Also, it provides recommended software solution, recommended hardware solution and sometimes it provide some brand specific products.
Benefits of Using AddToHomeKit
- Easy to use
- User friendly
- Little bit of coding required
- Seamless integration
- Has more than 2000 devices enabling them to plug in
Step-By-Step Guide to connect Abode to Apple HomeKit Using AddToHomeKit
- Visit the official website.
- Select the Abode Ecosystem.
- Choose your preferred solution.
- Select the operating system.
- Install the HomeBridge plugin.
- Tap on AddToHomeKit.
- Follow the on-screen instructions.
By following these steps, I was able to easily connect my smart home devices to Apple HomeKit.
There are a few alternative options to add Abode to HomeKit. I used this method to add wemo devices to Apple HomeKit and connect Nest Thermostat to Apple HomeKit.
HomeBridge
HomeBridge is one of the best solution for adding your Abode camera to Apple HomeKit ecosystem. It is an open-source software that acts as a bridge between Abode devices and HomeKit. By using preferred plugin within homebridge, you can easily integrate your Abode Camera HomeKit. If you’re a tech-savvy person, I think HomeBridge is the best solution for you.
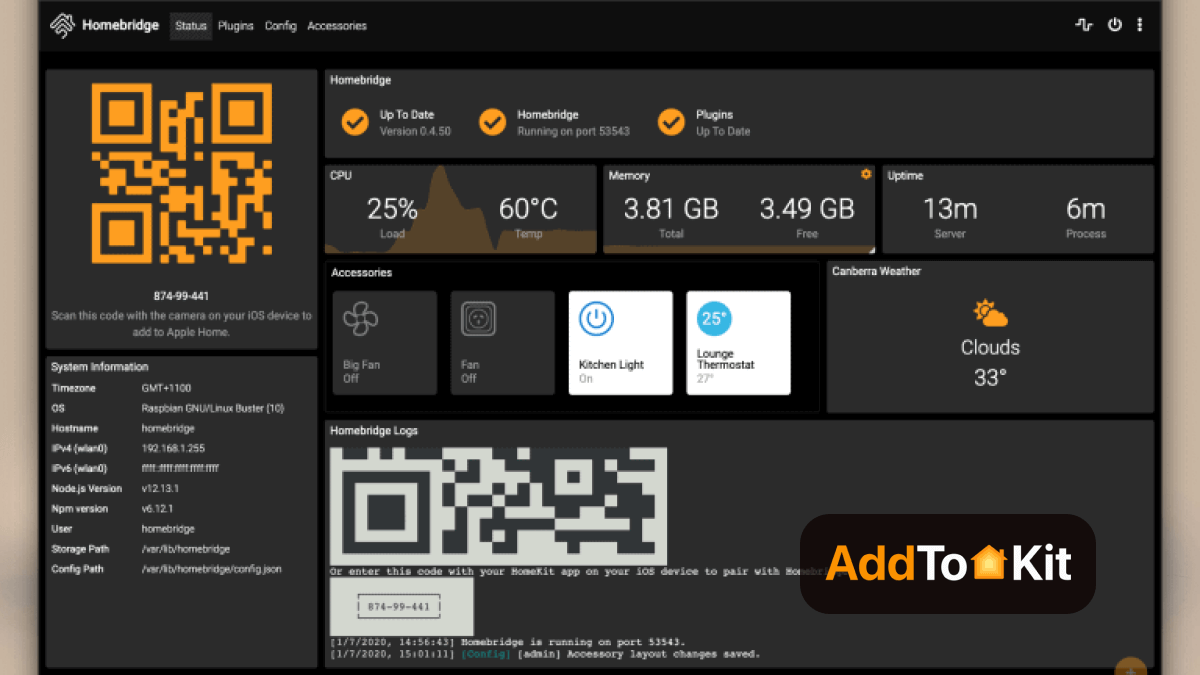
Step-By-Step Guide to Add Abode to Apple HomeKit Using HomeBridge
- Install HomeBridge
- Abode Plugins Install
- Configure Plugin
- After configuring the plugin, restart HomeBridge
- Pair with HomeKit
First, set up HomeBridge on your chosen platform. HomeBridge is normally installed on a device like a Raspberry Pi or a computer running Node.js.
Find a HomeBridge plugin that is compatible with Abode devices. It can be done from the npm registry or GitHub.
After the plugin is installed, you need to configure it as below:
{
    "name": "Abode",
    "username": "your-abode-email",
    "password": "your-abode-password",
    "platform": "Abode"
}
Open the Home app and you can see the Abode devices that you've configured in the HomeBridge plugin. now you can add them to your HomeKit setup.
HOOBS
Another great solution is HOOBS (HomeBridge Out of the Box). It is a user-friendly, compatible software platform. Also, HOOBS is the most popular open-source software available. HOOBS is the ideal option if you’re looking for home automation which is easy to use.
Follow these steps to add Abode devices to Apple Home using HOOBS.
Step-By-Step Guide to connect Abode to Apple HomeKit Using HOOBS
- Install HOOBS on a Raspberry Pi or any other suitable hardware.
- Go to the HOOBS dashboard.
- Visit the Home App.
- Select "Add Accessory".
- Select the HOOBS server.
- Scan the QR code displayed on-screen.
- Follow the on-screen instructions.
ATH Bridge
ATH Bridge is a HomeBridge pre flashed server that allows you to control your Abode devices using HomeKit. With the ATH Bridge, you can integrate any smart device with Apple HomeKit.
Benefits of Using ATH Bridge
- Seamless integration with Apple HomeKit
- Easy to set up
- Affordable Solution
Abode Matter Integration
As of now, Abode does not yet have full Matter integration across its device lineup. However, the company has announced its commitment to supporting Matter in the future, as it recognizes the growing importance of this open-source, cross-platform standard for smart home devices.
Best Abode Smart Home Devices
Abode Cam 2
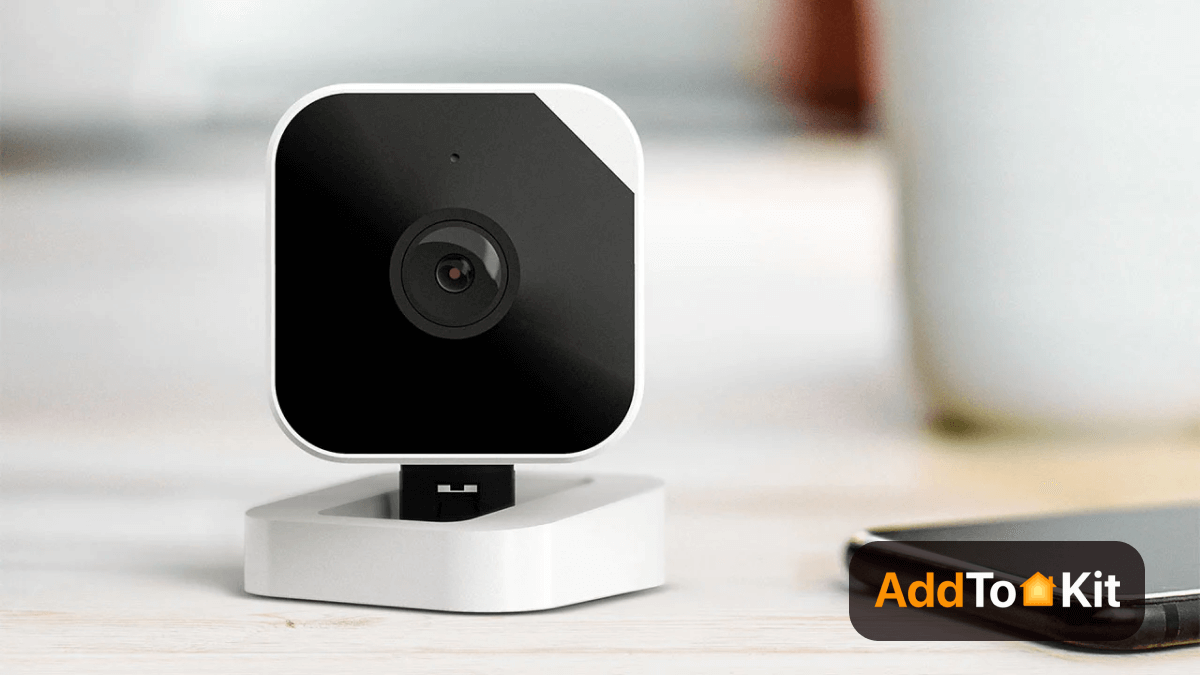
Abode camera 2 is a cloud-based security camera that works with indoor and outdoor. You can integrate the Cam 2 into an existing Abode home security. The Abode Cam 2 works with Alexa and Google voice commands, but it doesn’t support Apple HomeKit or IFTTT applets.
Key Features of Abode Cam 2
- Works with top brands
- Motion and Person Detection
- Live video accessible
- Full color low-light vision
- 24/7 video recording
Specification
| Connectivity | Wi-Fi |
| Integrations | Amazon Alexa, Google Assistant |
| Field of View | 121 degrees |
| Resolution | 1080p |
| Storage | Cloud |
Abode Smart Lock
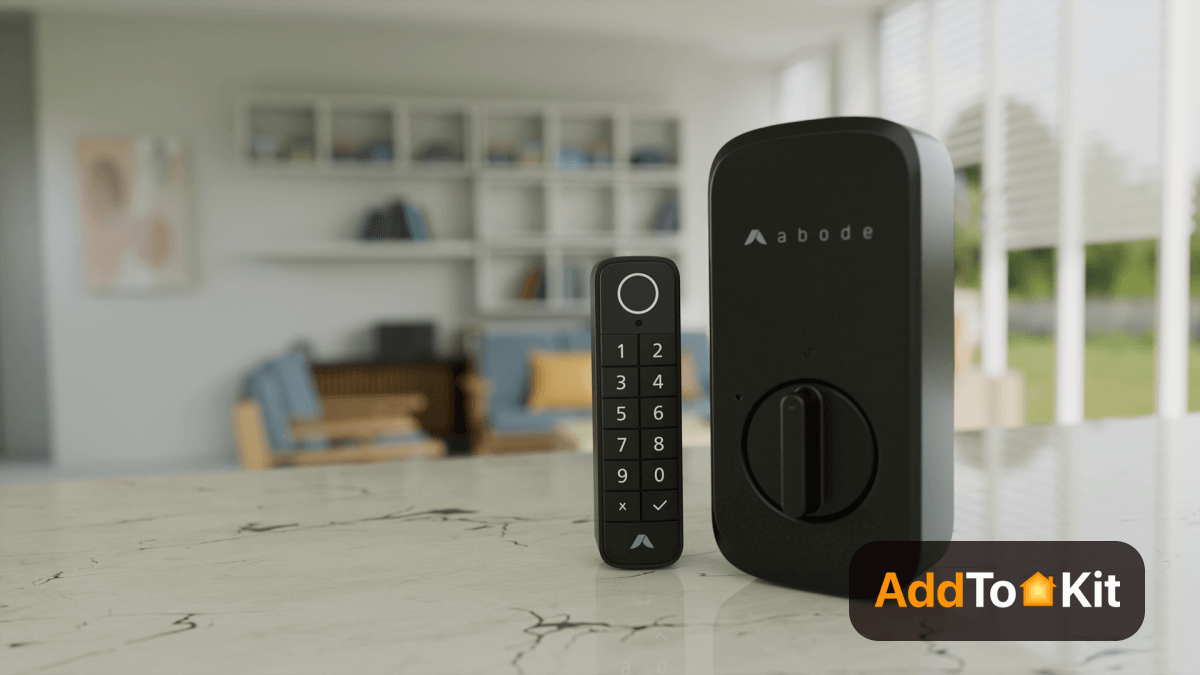
Abode Lock is a Wi-Fi-connected retrofit smart lock that comes with a Bluetooth keypad and fingerprint reader. This retrofit smart lock at least the outside of your house will remain unblemished by this device’s lackluster design.
Key Features of Abode Smart Lock
- Works with Amazon Alexa and Android
- Easy Installation
- Remote control access
Specification
| Lock Type | Keypad |
| Style | Modern |
| Controller Type | Amazon Alexa, iOS, Android |
| Control Method | App, Voice |
| Connectivity Protocol | Bluetooth |
| Package Dimensions | 7.2 x 5.7 x 3.5 inches |
| Batteries | 2 AAA batteries required |
Abode Troubleshooting
When I added Abode devices to HomeKit using Homebridge, I ran into a few common issues:
- Devices Not Detected: I had trouble pairing Homebridge with HomeKit. After ensuring both devices were on the same Wi-Fi network, I resetted Homebridge and re-scanned the QR code in the Home app, which fixed the issue.
- Devices Not Showing: Sometimes devices didn’t show up. I checked the Homebridge logs for errors and enabled debug mode for more details. Refreshing HomeKit or restarting Homebridge often did the trick.
- Devices Not Responding: This was often a network issue. I made sure my Wi-Fi was stable, and rebooting Abode devices and Homebridge helped restore responsiveness.
- Crashing: Homebridge kept crashing due to resource limitations. I ensured my device had enough CPU/memory, and updating Homebridge resolved some crashes.
Disclaimer: Third party integrations can be risky and dangerous.
Editor's Pick
Personally, I like to work with AddToHomeKit solution. Because it is suitable for people with a busy lifestyle because it only requires low effort, and it supports a wide variety of brands and items. However, you must ensure that whatever solution you pick will match the criteria for which you are looking. Make sure to consider other factors that will affect the decision about your purchase as well.
FAQs
Yes, Abode works with HomeKit, and it offers an unparalleled HomeKit-compatible security experience.
No, Abode doesn't work without the internet.
Abode doesn't automatically work with every device connected to the IFTTT platform. So, you can't connect Abode to a Ring doorbell cam even though Ring works with IFTTT.
Yes, you can control your Abode devices via Google Assistant.

