How to Connect Any Eero Devices to Apple HomeKit

Adding Eero devices to HomeKit is not a big deal hereafter. Yes, it is possible! Eero HomeKit integrations were probably one of the most demanded integrations which is why I got to work.
I have tried out a few solutions that allow you to add any Eero devices to Apple HomeKit, so you don’t have to. There are many things you can do with Eero HomeKit integration that opens avenues to a better home automation so without further ado let’s get into it!
The best solutions:
These solutions are the best out of what I tried out, let me elaborate on these solutions and breakdown the step-by-step guides for each solution.
AddtoHomeKit
Eero AddtoHomeKit is probably one of the best solutions out there. AddtoHomeKit is basically a third-party software solution that offers thousands of plugins. One of my favourite things about AddtoHomeKit is that there is no need to download any apps, and you can get the plugins and step-by-step guides in one place.
Also, they provide recommended software solution, recommended hardware solution and some brand specific product solution. That's why I love AddtoHomeKit! But you need to little bit of coding experience to integrate it.
Step-By-Step to Operate AddtoHomeKit
- Visit the official AddtoHomeKit website.
- Choose the Eero ecosystem and proceed to the next page.
- Select your preferred solution.
- Choose the appropriate Operating System.
- Install the HomeBridge Plugin.
- Tap on Add To Home
- Follow the provided instructions and enjoy!
It supports a huge range of ecosystems which means you can pretty much add any smart device to Apple HomeKit with AddtoHomeKit.
ATH Bridge [Affordable Solution]
ATH Bridge is the most affordable method to add Eero to Apple HomeKit. In simple words the ATH Bridge is a plug and play solution that provides you an Eero HomeKit integration. It is a pre-flashed and compiled server which is designed to have perfect integration.
HOOBs
HOOBS or HomeBridge Out of the Box is a bridge that allows you to connect all smart home devices to HomeKit. It is an open-source software which is very user-friendly. It is ideal if you are looking for easy automation.
Step-by-Step Guide to Operate HOOBS
- Install HOOBS on a Raspberry Pi or any other suitable hardware.
- Go to the HOOBS dashboard.
- Visit the Home App.
- Select "Add Accessory".
- Select the HOOBS server.
- Scan the QR code displayed on-screen.
- Follow the on-screen instructions.
You can also add D-Link devices to HomeKit, add Aqara devices to HomeKit, add UniFi devices to HomeKit using HOOBS.
HomeBridge
Eero HomeKit integration is possible with HomeBridge. Not only that, but it also even provides Hikvision HomeKit integrations! HomeBridge is one of the most popular methods used as it is an open-source software platform. You need a little coding knowledge to operate HomeBridge. I wouldn’t recommend this for new users as it could get a little confusing.
Step-by-Step Guide to Operate HomeBridge
- Set Up HomeBridge
- Install HomeBridge on a computer or a Raspberry Pi and follow the installation provided in the HomeBridge website.
- Install the HomeBridge Eero plugin. You must use the command line interface by running `npm install -g homebridge-eero.
- Configure the HomeBridge Plugin
- Edit the HomeBridge config.json file to include Eero devices.
- Edit your HomeBridge config.json file and add a new platform for the Alexa plugin and enter the username and password given below”
- Restart HomeBridge
- When the configuration is completed, restart HomeBridge
- Pair with HomeKit
- Open the Home App, you will see the Eero devices that you configured earlier in the HomeBridge plugin. Now you can add the items to your HomeKit setup.
"platforms": [

    {

   "platform": "Eero”,

   "name": "Eero",

   "email": "your_eero_email@example.com",

   "password": "your_eero_password"

    }

]
You can achieve integrations such as Alexa HomeKit, Blink HomeKit, Abode HomeKit and even Ring HomeKit with this solution!
HomeKit Compatible Eero Devices
1. Eero (2nd Generation)
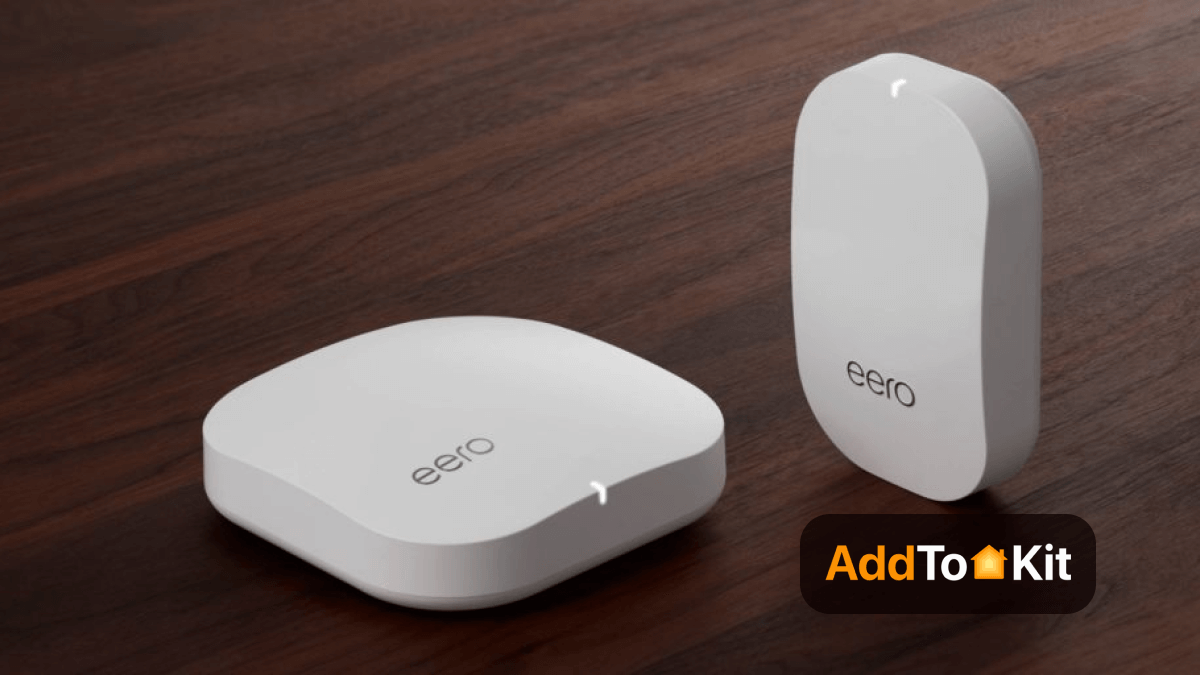
It is a simple, reliable Wi-Fi system that covers small to medium homes, offering HomeKit security features for Apple smart home users.
-
Dual Band Wi-Fi (2.4 GHz and 5 GHz)
-
Apple HomeKit security for smart home devices
-
Up to 1500 sq. Ft. Coverage per unit.
Pros and Cons
Pros
- Affordable price
- Easy setup with Eero app
- Supports HomeKit security
Cons
- No Wi-Fi 6 support
- Limited speed in larger homes
2. Eero Pro (2nd Generation)
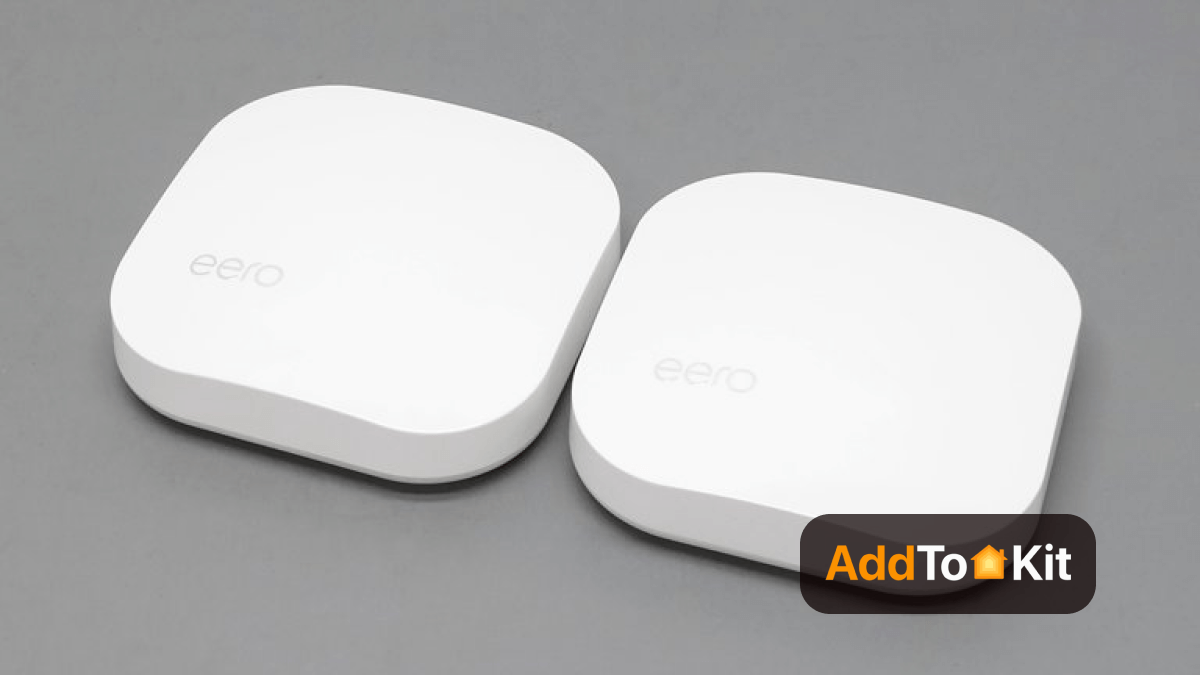
A faster, tri-band Wi-Fi system with HomeKit support, designed for better performance in larger homes or with more devices.
- Tri band Wi-Fi
- HomeKit integration
- 1750 sq.ft coverage per unit
Pros and Cons
Pros
- Tri-band for better performance
- HomeKit security
- Good coverage for larger spaces
Cons
- No Wi-Fi 6 support
3. Eero 6
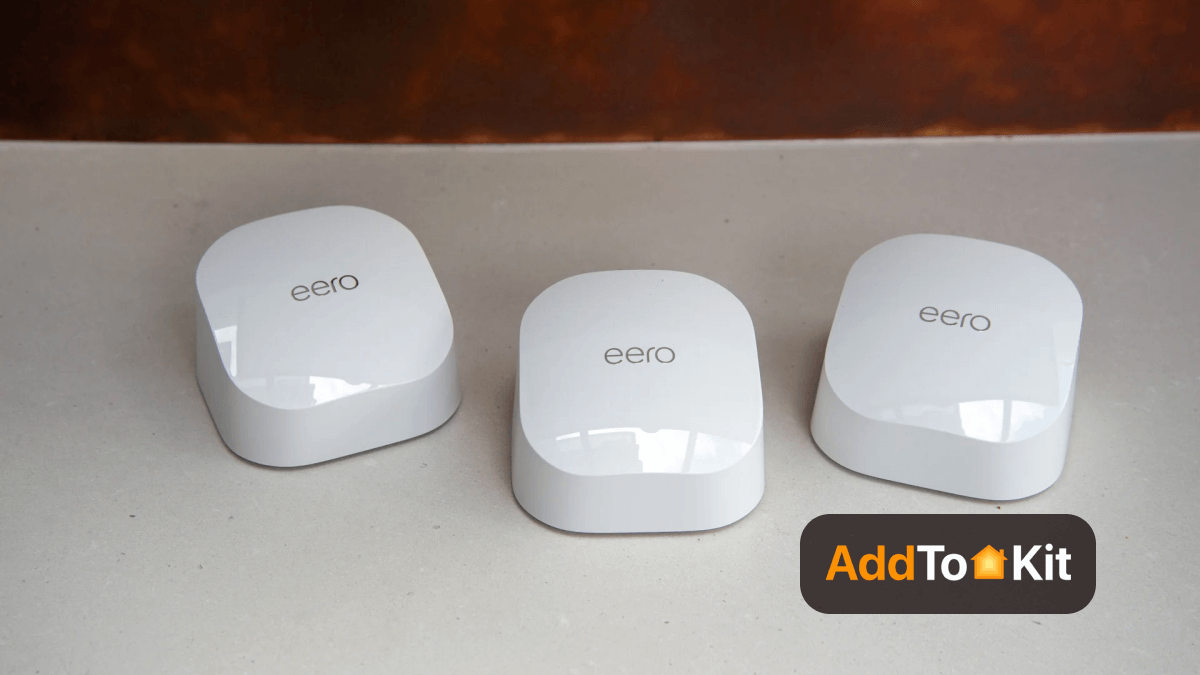
A dual-band Wi-Fi 6 system designed for better performance and device handling, with HomeKit security built in for medium-sized homes.
-
Dual-band Wi-Fi 6
-
HomeKit compatibility
-
1500 sq.ft coverage per unit
Pros and Cons
Pros
- Wi-Fi 6 support
- Affordable for Wi-Fi 6 system
- HomeKit enabled
Cons
- Only dual-band
- Limited range for large homes
4. Eero 6 Pro
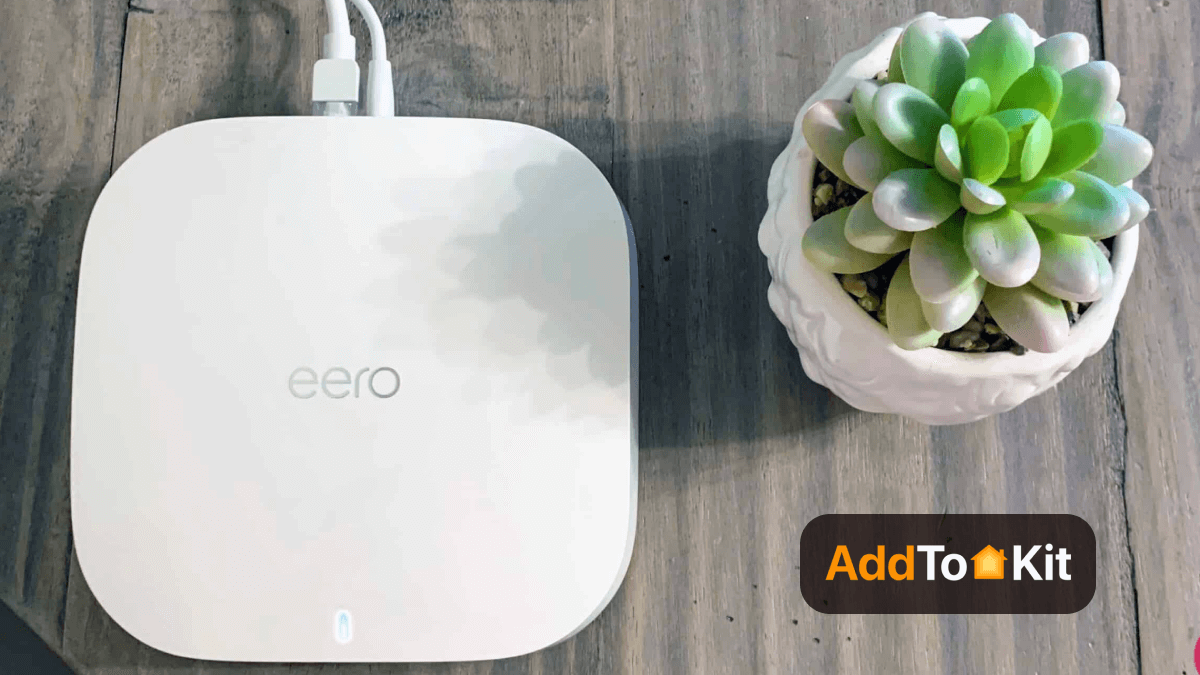
A powerful, tri-band Wi-Fi 6 system ideal for larger homes with many connected devices, featuring HomeKit security integration.
-
Tri-band Wi-Fi 6
-
HomeKit support
-
2000 sq.ft coverage per unit
Pros and Cons
Pros
- Tri-band Wi-Fi 6
- HomeKit security
- Supports many devices
Cons
- More expensive
5. Eero 6+
An amazing Wi-Fi 6 system, providing access to the new 6 GHz band for ultra-fast speeds and HomeKit security, ideal for modern homes.
-
Tri-band Wi-Fi 6E
-
HomeKit support
-
6 GHz band for faster speeds
Pros and Cons
Pros
- Wi-Fi 6E
- Handles many devices flawlessly
- HomeKit integration
Cons
- HomeKit integration
6. Eero Pro 6E
A top-tier Eero with Wi-Fi 6E and tri0band support, offering the best performance and HomeKit security for smart homes with heavy internet usage.
-
Tri-band Wi-Fi 6E
-
HomeKit support
-
2000 sq.ft coverage per unit
Pros and Cons
Pros
- Wi-Fi 6E for amazing speed
- Tri-band ensures smooth performance
- HomeKit integration
Cons
- May be excessive for small homes
Eero and Google Home Compatibility
Eero devices are not limited to Apple HomeKit integration. You can also add them to Google Home using Google Home-compatible smart speaker or display. This allows you to control your Eero network with Google Assistant.
How to Connect Eero Devices to Google Home
- Open the Google Home app.
- Tap + in the top left and select Set Up Device.
- Choose Works with Google and search for Eero.
- Log in to your Eero account.
- Once linked, you can control your Eero network with Google Assistant voice commands.
Eero and Amazon Alexa Compatibility
Eero natively supports Amazon Alexa. You can use Alexa to control your Eero mesh network, check Wi-Fi status and pause the internet on connected devices with simple voice commands.
How to Connect Eero Devices to Amazon Alexa
- Download and open the Amazon Alexa app.
- Tap Devices at the bottom.
- Tap + and select Add Device
- Choose Eero from the list of brands.
- Sign in to your Eero account and follow the prompts to complete the setup.
Once connected, you can use Alexa commands such as:
- "Alexa, pause the internet for the kids."
- "Alexa, what's my Wi-Fi status?"
Troubleshooting
When I was setting up my eero devices with HomeKit, I ran into a few issues, but here's what worked:
- Check Compatibility: I made sure my eero system was HomeKit-compatible and that both my eero and iPhone were updated.
- Stable Wi-Fi: I verified that both my eero and iPhone were on the same Wi-Fi network.
- Eero App Update: I updated the eero app to the latest version to avoid compatibility issues.
- Enable HomeKit in Eero App: I enabled HomeKit in the eero app and scanned the HomeKit setup code correctly.
- Restart Devices: I power cycled the eero and restarted my iPhone and the Home app.
- Factory Reset: As a last resort, I reset my eero and set it up again.
- Home App Check: I confirmed the eero system appeared in the Home app.
- Disconnect Other Devices: Temporarily disabling other devices on my network helped the setup.
- iCloud Sync: I made sure iCloud and Home settings were synced across my devices.
- Software Updates: I updated iOS and the Home app to the latest versions.
These steps got my Eero working with HomeKit! If you’re still having trouble, try contacting support.
Editor's Pick
In my personal opinion, AddtoHomeKit stands out as the easiest and most efficient way to connect Eero devices to Apple HomeKit, it saves time and effort compared to solutions like HomeBridge and HOOBs, especially if you are not very experienced in the technical side.
FAQs
Not all Eero devices natively support HomeKit, but you can use third-party solutions like AddtoHomeKit to integrate Eero with HomeKit.
Depending on if you are connecting an AirPort Extreme or a Time Capsule to the Eero network, you will have to disable the wireless and routing functions on either your AirPort devices or your Eeros.
Yes! Eero is designed to replace your current router with better internet connection and reliability throughout the house.