How to add ESPHome Devices to Apple HomeKit

Here's the best methods to add ESPHome devices to HomeKit. Control ESPHome devices with the Apple Home App and Siri with this guide. Also, these are the best solutions I have found so far.
Let’s jump right into it!
How to add ESPHome Devices to HomeKit
ESPHome is a simple system that allows users to control ESP boards using YAML configuration files. It allows you to quickly and easily build custom firmware for sensors and devices without any programming skills.
AddToHomeKit [Recommended Solution]
AddtoHomeKit — Best Recommended Solution
If you need to add your ESPHome devices to Apple HomeKit, I suggest the ESPHome AddtoHomeKit is the best solution to it from my experience. Because if you use this, you have very few steps to follow when adding devices to HomeKit through AddtoHomeKit.
AddtoHomeKit is very easy to use. It is less time-consuming which I loved because with my busy lifestyle. I added my ESPHome Dimmer to HomeKit but you can even add ESPHome Smart Plug to HomeKit.
Why AddtoHomeKit is the Best?
- Very simple and requires little effort and time.
- User-friendly.
- Premium service.
- It has more than 200 devices enabling them to plug in.
- Offers seamless integration.
Now let's see the alternative methods to get started with ESPHome HomeKit.
Alternative Methods to Add ESPHome devices to HomeKit
While AddtoHomeKit can also be used to add any Ring doorbell to Apple HomeKit as much as a ESPHome apple HomeKit integration. The below solutions can also be used to not only add ESPHome integration but also add any Nuki smart devices to Apple HomeKit.
ATH Bridge [Affordable Solution]
To give a brief explanation, ATH Bridge is a device solution. It is a pre-flashed and compiled server designed to seamlessly and effortlessly integrate ESPHome devices to Apple HomeKit. I loved ATH Bridge because it is budget friendly, straightforward, easy to plug-and-play and tiny design. I even used ATH Bridge to Connect any Reolink smart devices to Apple HomeKit.
HOOBS Solution
HOOBS (HomeBridge Out of the Box), the hardware solution is an easy method to integrate your incompatible devices to Apple HomeKit. It is a plug and play system and it offers a wide variety of plugins. Amazing solution to control ESPHome with HomeKit and Siri.
HomeBridge Solution
If you’re a tech-savvy person, this is the best solution for you. HomeBridge is a third-party software solution. It offers Apple Home integration for your smart home devices that don’t directly support Apple HomeKit for ESPHome devices. Also, this is a cost-effective solution. This is a great way to add ESPHome to Home Kit if you have the tech-head.
Step-By-Step Guide to add ESPHome Devices to HomeKit using AddToHomeKit
- Go to the AddToHomeKit website.
- Select the ESPHome ecosystem.
- Choose the preferred solution.
- Select the operating system.
- Install the HomeBridge plugins.
- Select the activation package.
- Follow on-screen instructions.
Step-By-Step Guide to add ESPHome Devices to HomeKit using HomeBridge
- Install HomeBridge on Mac / PC
- Edit the configuration file
- Run the ESPHome Plugin
- Control devices on HomeKit
To use add ESPHome plugin to your HomeBridge config.json using the below command:
{
    "name": "ESPHome",
    "username": "your-esphome-email",
    "password": "your-esphome-password",
    "platform": "ESPHome"
}
Step-By-Step Guide to add ESPHome Devices to HomeKit using HOOBS
- Install HOOBS on a Raspberry Pi or any other suitable hardware.
- Visit the HOOBS dashboard.
- Go to the Home App.
- Select "Add Accessory".
- Select the HOOBS server.
- Scan the QR code displayed on-screen.
- Finally, follow the on-screen instructions.
Getting Started with ESPHome and Home Assistant
ESPHome is a tool that aims to simplify the management of your supported devices. Any devices or sensors defined in the ESPHome configuration will automatically appear in the Home Assistant's user interface.
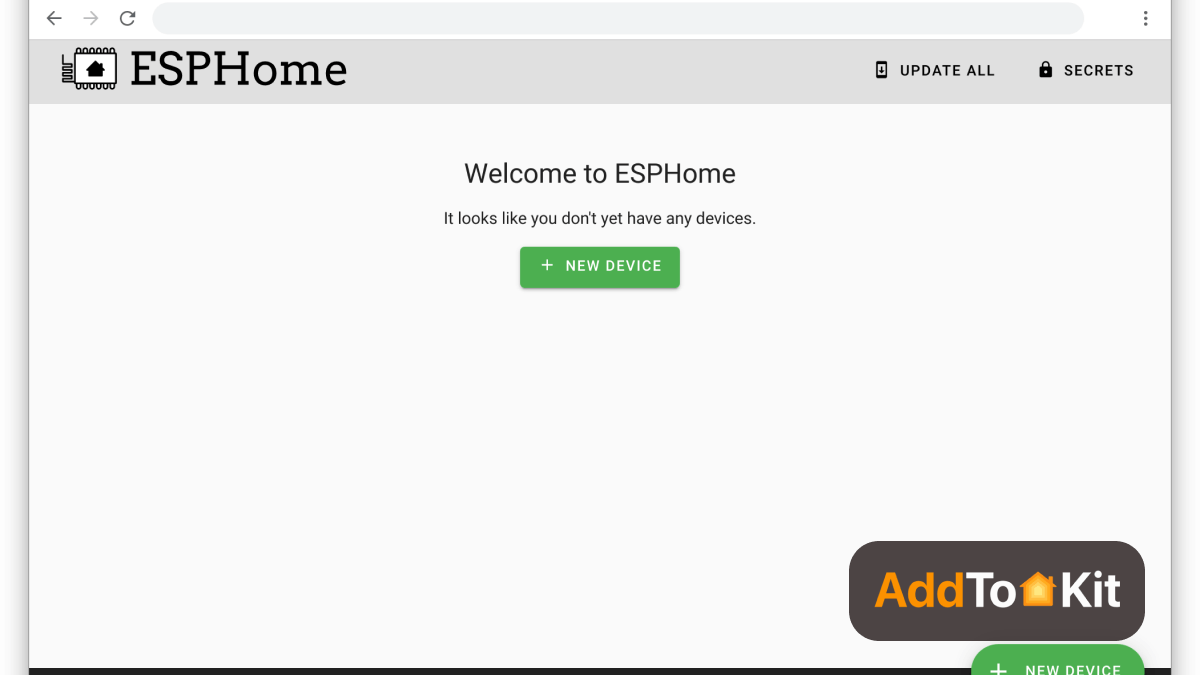
- Installing the ESPHome dashboard
- Create the configuration
- Dashboard Interface
- Update
- Edit
- LOGS
- Overflow menu
- Connecting your device to Home Assistant
First the ESPHome dashboard must be installed as a Home Assistant add-on. You can find it in the add-on's repository in the admin panel. After that, you have to wait until it is installed. Then click "Start" and click "Open Web UI".
You will need to name your configuration and enter your wireless network settings so that the ESP device can come online and communicate with Home Assistant.
On the home page you will see all the configurations for the nodes you have created. For each file, there are a few basic actions you can perform:
Once your configuration is installed on your ESP device and online, it will be automatically detected by Home Assistant.
Click on the “Add Integration” button (bottom right), search for esphome, and enter the host name. local” as the host. Use the same process to add multiple esphome devices.
After the first installation, all features of ESPHome are enabled remotely, so there's no need to use a USB cable ever again.
Read on How to Add Xiaomi Devices to Apple HomeKit.
TASMOTA and ESPHome Compatible Flashable Devices
Bulbs
- Switchbot 5 Channel ESP32-C3 Bulb
- Vont 5 Channel Smart ESP32-C3 Bulb
- Vont 4 Channel Smart ESP32-C3 Bulb
- CloudFree 5 Channel Bulb
- Kauf 5 Channel BR30
- Kauf 5 Channel A21 - Kauf A19 - Kauf A15
Switches
- Martin Jerry Single Pole Switch TASMOTA Pre-Flashed or Flashable Switch
- Martin Jerry 3 Way Switch TASMOTA Pre-Flashed (Secondary TuyaMCU unfortunately)
- Milfra Single Pole Motion Switch
- Milfra Dual Button Motion Switch
- Kauf Pre-Flashed LED Panel Switch
Dimmers
- Martin Jerry Single Pole Dimmer
- Hamilton Hills Touch Dimmer
Fan Controllers
- Martin Jerry Preflashed TASMOTA Fan Controller
Plugs
- Switchbot 15A ESP32-C3 Plug
- Sonoff S31
- Kauf Plug
- Wyze Dual Relay Outdoor ESP32 Plug WLPPO1
- GHome 6 Plug Outlet Extender
- Xuntiy 4 Plug Power Strip
- AHRISE 6 Outlet Extender
- POWRUI 3 Outlet Extender
LED Controllers
- Athom Sound Reactive Pre-Flashed WLED Controller
- Electrodragon LED Controller (get the ESP32-C3 version!)
Other
- Shelly 1
- Shelly Plus 1
- Shelly Plus 2PM
- Shelly Plus i4
Troubleshooting Tips
- Device Not Showing in HomeKit
- Check HomeKit Compatibility: Ensure that your ESPHome device is properly configured to work with HomeKit. You should have the `homekit` component enabled in your ESPHome YAML configuration.
- Network Connection: Make sure both your iPhone/iPad and the ESPHome device are connected to the same Wi-Fi network. HomeKit needs local network communication.
- Reset HomeKit Setup: If you’re having issues, try resetting the HomeKit pairing. In the Home app, remove the device and then re-pair it by scanning the HomeKit code again.
- Reboot Devices: Power cycle your router, iPhone, and ESPHome device. A simple reboot can often fix communication issues.
- HomeKit Update: Ensure that both your HomeKit setup and ESPHome device firmware are up to date. Update ESPHome firmware through the ESPHome web interface or using the `esphome` command line tool.
- Device Not Responding in HomeKit
- Check HomeKit Hub: Ensure that your HomePod, Apple TV, or iPad (acting as the HomeKit hub) is connected and functional.
- Re-pair Device: Remove the device from HomeKit and try re-pairing it again by scanning the HomeKit QR code. A fresh pairing might resolve connection issues.
- Check Firmware and Configuration: Ensure the ESPHome device has the correct firmware and that the HomeKit component in the YAML configuration file is correctly set up.
- Poor Device Performance or Lag
- Check Wi-Fi Signal Strength: Poor performance can occur if your ESPHome device is far from the router. Ensure it is within range or add a Wi-Fi extender if necessary.
- Network Traffic: Ensure your Wi-Fi network has enough bandwidth. Too many devices or heavy network traffic can slow down communication with HomeKit.
- Reduce Device Load: If your ESPHome device is running multiple tasks, try disabling unnecessary components to reduce the load and improve performance.
General Troubleshooting Tips
HOOBS Troubleshooting
- ESPHome Device Not Appearing in HOOBS
- Check HOOBS Plugin: Ensure the **ESPHome plugin** is installed and properly configured in the HOOBS interface.
- Reboot HOOBS: Try restarting HOOBS from the web interface to refresh device connections.
- API Access: Ensure that your ESPHome device’s API credentials are correctly entered in the HOOBS configuration. Incorrect credentials can prevent communication.
- Device Not Streaming or Displaying Data in HOOBS
- Network Settings: Ensure that both HOOBS and the ESPHome device are on the same network. If they are on different networks or subnets, they won’t be able to communicate properly.
- HOOBS Plugin Settings: Double-check the settings for your ESPHome device in HOOBS. You may need to adjust certain parameters or tweak the configuration within the plugin.
- Authentication Issues with ESPHome Device in HOOBS
- Reauthorize ESPHome Account: Ensure that your ESPHome device has the proper API credentials configured in HOOBS. Re-authorizing might help if you’re facing issues.
- Check for Plugin Updates: Ensure the ESPHome plugin for HOOBS is up to date. Developers often release patches for compatibility fixes.
- Manual Pairing: If automatic setup fails, try using manual pairing through HomeKit to resolve the authentication issue.
HomeBridge Troubleshooting Tips
- ESPHome Device Not Appearing in HomeBridge
- HomeBridge Plugin Configuration: Ensure the HomeBridge ESPHome plugin is correctly configured. Double-check your HomeBridge `config.json` file for any syntax errors or missing parameters.
- Reboot HomeBridge: Sometimes restarting HomeBridge can resolve device connection issues. Run
sudo systemctl restart homebridgein your terminal to restart the server. - Check Dependencies: Ensure that all required dependencies for the HomeBridge ESPHome plugin are installed. If any are missing, reinstall them using npm (Node Package Manager).
- Data Not Updating in HomeKit (via HomeBridge)
- Reconfigure Settings: Check the HomeBridge configuration file for settings that might affect data refresh or communication. Some parameters might need to be manually adjusted.
- Network Issues: Ensure that both the HomeBridge server and the ESPHome device are on the same Wi-Fi network and that the network has enough bandwidth for smooth communication.
- Device Fails to Respond in HomeKit (via HomeBridge)
- Plugin Reinstallation: If the device isn’t responding in HomeKit, try uninstalling and reinstalling the ESPHome plugin in HomeBridge.
- Device Power Cycle: Sometimes a power cycle of both the ESPHome device and HomeBridge server is necessary to reestablish the connection.
- Update HomeBridge & Plugin: Ensure both HomeBridge and the ESPHome plugin are updated to the latest versions to avoid compatibility issues.
Editor’s Pick
When comparing these four methods, my personal pick goes to AddToHomeKit. It is a great fit for people who lead busy lives because it takes very little time and effort. I can use AddtoHomeKit on my desktop, saving me from downloading huge apps or documents. But you must think about what best fits you and your unique demands. I hope this information was helpful to you in determining what the choice was.
FAQs
ESPHome allows you to create custom firmware for your ESP8266 or ESP32-based devices that can control lights and switches.
Yes, the new ESP32 C3 modules support Zigbee.
Yes, ESPHome can work without a Home Assistant.
You can connect the ESP32 board to the PC using the USB cable.