Adding Roomba Devices to Apple HomeKit [Top Ways]
![Adding Roomba Devices to Apple HomeKit [Top Ways]](/blog/content/images/size/w1200/2024/08/add-roomba-to-apple-homekit--1-.png)

If you’re in Smart Home DIY and obviously love the Apple HomeKit ecosystem, you’ll need to control your smart home device with the Apple Home App or Siri voice control. We’ll guide you on how to connect Roomba with HomeKit.
Can You Add Roomba to Apple HomeKit?
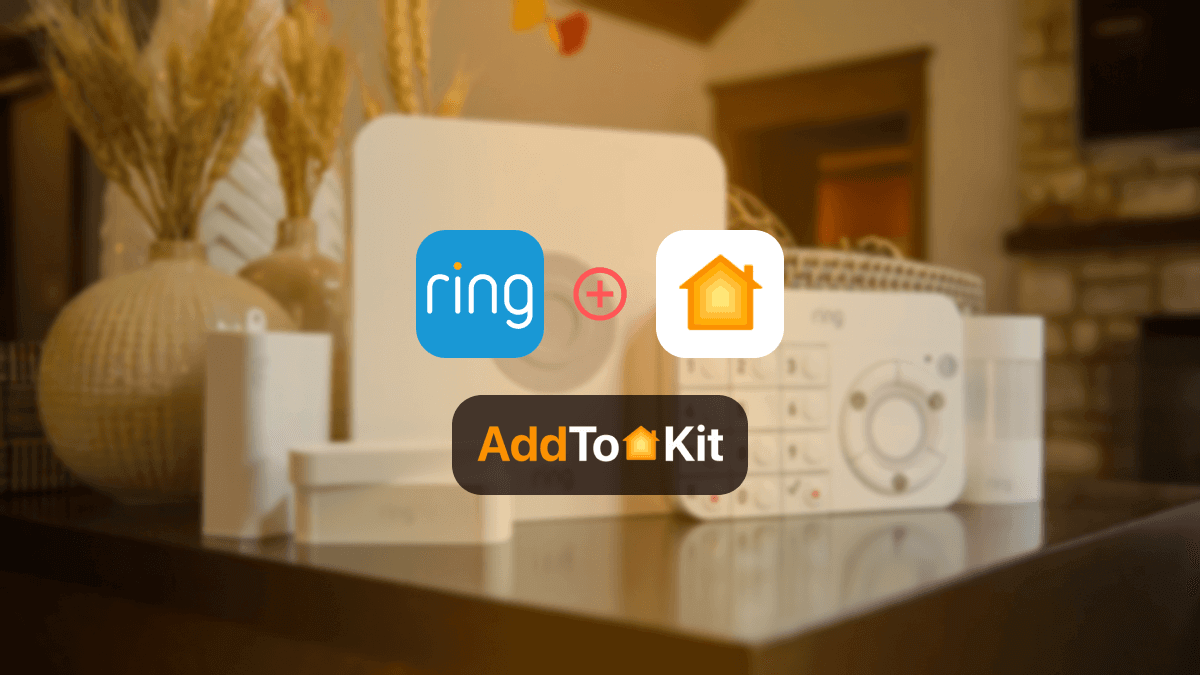
Roomba does not support HomeKit natively. But it is POSSIBLE by using third part solutions like AddToHomeKit.
Possible Ways to Add Irobot to Apple HomeKit
As well as our recommended AddToHomeKit solution. There are few solutions for that. Let’s see what they are.
App Method Solutions
Device Method Solutions
- ATH HomeKit Bridge [Affordable Solution]
- HOOBS
AddToHomeKit [Software Solution]
Most people want to add their smart home devices to Apple HomeKit to control their smart devices using the Apple Home App and Siri voice assistant. Roomba AddToHomeKit is an affordable and friendly way to use your Roomba with Apple Home and Siri.
This solution provides the recommended software and hardware solutions. Especially if you have a busy lifestyle, AddtoHomeKit is perfect for you. You can add any of your smart devices to Apple Home with this solution.
Why Use AddtoHomeKit Solution
- No need to download bulky apps.
- Both App and web based solution.
- Easy and low effort.
- Gives you a seamless experience.
- Less time-consuming.
- Little bit of coding knowledge (compared with other solution).
- Very much simplified.
Homebridge [Software Solution]
Homebridge is a lightweight JS server that emulates the iOS HomeKit API. If you have smart home devices that don’t support HomeKit, you can use HomeBridge to integrate your devices with HomeKit. If you have enough coding experience, you can download Homebridge yourself.
If you want to add iRobot devices to Homekit using simple device solutions, there are a few simple device solutions to add your Roomba iRobot to HomeKit. Let’s see what they are.
ATH HomeKit Bridge [Hardware Solution]
This ATH HomeKit Hub is a better and cheaper solution whose focus is on hardware out-of-the-box solutions. This is the best alternative to Homebridge, which makes smart devices compatible with Apple HomeKit. Also, it connects over 2000 accessories. You can save time as it is a Homebridge pre-installed device.
Our recommended hardware solution is an ATH HomeKit hub to make your Roomba HomeKit compatible. If you lack technical knowledge, then the ATH Homebridge Hub is for you. Other benefits of using Ath Hub are:
- Easy to use - Plug-and-play solution
- Modular - More than 2000 different plugins and devices to select
- No technical knowledge required
Overall, it would be an affordable, easier, and more efficient way to get an ATH Bridge rather than setting up a Homebridge.
HOOBS [Hardware Solution]
HOOBS is a hardware solution that stands for HomeBridge out of the box. It allows you to convert non-HomeKit devices into HomeKit-compatible devices. HOOBS also integrates many devices with HomeKit, and it is compatible with over 2000 accessories.
Using Matter [Newer, Supported Roomba Models]
If you have a recent, supported Roomba devices such as Combo 10 Max, Combo 500/700 series, you can add your Roomba devices to HomeKit easily. Apple HomeKit compatibility is built-in via the Matter smart home standard.
Steps:
- Open the iRobot Home App on your iOS device.
- Tap the "My Home" button at the bottom of the screen.
- Tap the User Account icon at the top of the screen.
- Select "Connected Services" and tap "Apple Home".
- Follow the in-app instructions to add your robot to your Apple Home ecosystem
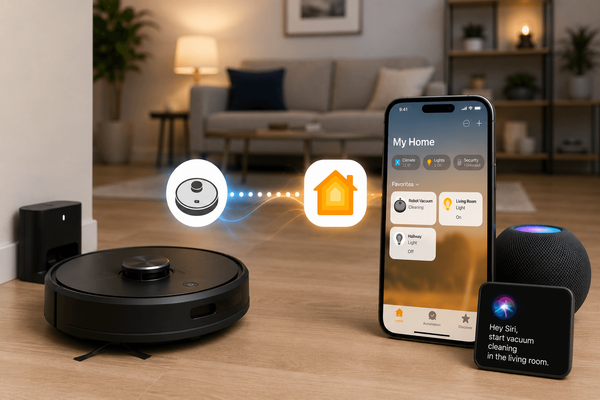
What Can You do With iRobot Roomba Home Kit Integration?
- Control your Roomba using Siri.
- Start cleaning remotely.
- Create automation scenes.
- Trigger cleaning when leaving home.
- Monitor battery and status.
Apart from Roomba devices, if you're interested in Tuya devices and IKEA devices, you can find Tuya Apple HomeKit and IKEA HomeKit articles further.
Which Roomba Models Can Work with HomeKit?
- iRobot Roomba s9+
- iRobot Roomba j7+
- iRobot Roomba i3
- iRobot Roomba 694
- iRobot Roomba j7
What Is the Latest Update for Roomba Siri Integration?
Although Roomba does not support Apple HomeKit natively, iRobot has introduced Siri integration through software updates.
Using this iRobot Genius 4.0 Home Intelligence update, you can now
- Control Roomba vacuums as well as Brava mops.
- Simply say “Hey Siri, clean my room”.
- Use Roomba Siri Shortcuts for custom control.
- iRobot Roomba Siri integration is handled through iRobot Home App.
Are you interested in the Roborock devices? Now, you can learn more about adding a Roborock device with Apple HomeKit using our informative article.
How to Control Your Roomba With Siri?
Controlling your Roomba smart vacuum is as simple as the iRobot app natively supports iOS shortcuts. Here are some quick tips for using Siri to operate your Roomba:
- Download the iRobot app from your iPhone.
- Then, open the Apple Shortcut app.
- Click on the plus button.
- On the search bar, type iRobot.
- Now, you’ll see commands like Clean everywhere, Send robot home, and more. You can also create custom shortcuts.
- Pick one shortcut for the first time.
- Tap robot in blue color > pick specific smart vacuum > tap the tiny arrow > set the cleaning mode.
- If you want to rename it, tap on the name and pick rename.
- Tap Done to build this and save it.
Congratulations! Roomba Siri HomeKit is as easy as you think.
We have provided three solutions to your problem, hoping that you can choose the most suitable one. We continue to learn how to use these methods to connect Roomba devices to Apple HomeKit.
Examples Using Siri Shortcuts for Roomba
- Start cleaning → “Hey Siri, start Roomba”
- Stop cleaning → “Hey Siri, stop Roomba”
- Return to dock → Trigger automation
- Start cleaning when leaving home
- Stop cleaning when arriving
How to Add Roomba to HomeKit Using Homebridge?
- Install Homebridge - Install Homebridge on Mac/PC
- Install Ring Plugin -
sudo npm i -g @homebridge-plugins/homebridge-roomba. - Follow Setup to get Roomba credentials.
- Enter Roomba's credentials in your
config. jsonfile. - Restart Homebridge.
Find the detailed step-by-step guide to add a Roomba to Apple HomeKit using Homebridge.
What Homebridge Plugins Work for Roomba?
- Homebridge iRobot- You can get amazing features like room-by-room control on models, on/off control, bin full detection, battery percent/charging information, and auto-discovery of all devices on your account.
- Homebridge Roomba STV- You’ll have many features when installing this plugin, such as Roomba start on demand, Roomba stop, demand, Roomba charging status, and checking the Roomba battery level.
- Homebridge Roomba- You can control your iRobot through Apple HomeKit. It is available only for the 800 and 900 series with V2.0 or higher.
How to Add Roomba to HomeKit Using HOOBS?
- Connect HOOBS to your network
- First, you need to unbox your HOOBS in a box, then connect it to your networkFirst, you need to unbox your HOOBS in a box, then connect it to your network
- Next, power on your device. It takes a few seconds for the initial installation
- After that, you’ll be needed to open the Wi-Fi setting on your device (Phone or Laptop) and connect to the HOOBS network
- Once you connect to the HOOBS network, a popup window will appear. Select your WiFi name > Enter your password
- Finally, HOOBS is connected to the Wi-Fi network
- Open the HOOBS interface on your Browser
- Now, you need to open your browser and go to http://hoobs.local.(For the first-time user, the username and password will both be “admin”)
- If you want to change the username and password, you can change them later
- Install the Roomba Plugin for HOOBS
- Before installing the Roomba Plugin, you need to go on to hoobs.local from your browser
- Then, you’ll see the plugin tab on the left side of the screen, and click on that. Type “Roomba stv” in the search bar. (Roomba stv is a HOOBS-certified plugin)
- Click on the install button and it takes a few minutes to download the Roomba Apple Homekit Hoobs
- Obtain the IP address of the Roomba
- Before obtaining the IP address of the Roomba, go to your iRobot app. After that, navigate to the settings, Wi-Fi settings, and then Robot Wi-Fi details
- Check whether the IP address number format is correct(192.168.XX.XX)
- Configure the Roomba Stv Plugin
- Go to the HOOBS page and then click on the three dots. Next, you’ll see the terminal and click on that
- Type the following command on the terminal
- You may see some warning message and don’t press any key After it is finished running
- Make sure your Roomba is powered on and on HomeBase
- When the power is on, you can see a green light. (Press and hold the home button > When you hear a tone release it > Roomba will flash the Wi-Fi light)
- Once your Roomba flashes the Wi-Fi light, go to the HOOBS window. Then, click on any key
- After that, you’ll see a message and section showing the BLID and Password
- Go to the settings in your HOOBS window and then go to Roomba > click Add Accessory > Enter your Roomba name and then model number > Fill in the BLID, IP address, and password
- Next, you’ll need to enable these settings
cd /home/hoobs/.hoobs/node_modules/dorita980 && npm install && node ./bin/get password.js "192.168.x.x"
(Note: Enter your IP address instead of 192.168.XX.XX)
Auto-refresh - Yes
Keep-Alive - Yes
TTL cache - 30
Not only Roomba devices, you can add any devices to Apple HomeKit using the HOOBS solution.
What Features Does the iRobot Home App Offer?
- Customizable maps
- Schedule your Robot to clean everywhere
- Clean without lifting a finger (Compatible with Google Assistant, and Alexa-enabled devices)
- Always getting smarter
Connecting Roomba to the iRobot Home App
- Setup your robot on the dock with the dock plugged
- Verify Bluetooth is turned ON and you are on the Correct Network
- Select “Add Robot” in the App
- Follow the app instructions to connect Roomba® to your Wi-Fi
- Setup complete
Best Roomba Robot Vacuums 2026
iRobot Roomba Combo j9+
A premium all-in-one robot vacuum and mop designed for fully automated cleaning.
- Vacuum + mop combo.
- AI obstacle detection.
- Self-emptying and self-refilling dock.
iRobot Roomba j9+
One of the smartest Roomba models with advanced navigation and powerful cleaning.
- Advanced AI object recognition.
- Smart mapping and room control.
- Strong suction performance.
iRobot Roomba S9+
A high-performance vacuum built for deep cleaning and pet hair removal.
- Powerful suction.
- D-shape design for corners.
- Self-emptying base.
iRobot Roomba i3+
An affordable self-emptying robot vacuum with reliable performance.
- Auto dirt disposal.
- Row-by-row navigation.
- Strong suction power.
iRobot Roomba Combo i5+
A versatile mid-range option that combines vacuuming and mopping.
- Vacuum + mop functionality.
- Smart mapping.
- Works well for everyday cleaning.
How to Troubleshoot Roomba HomeKit Integration?
- Check for Plugin/App Updates
- If you’re using a third-party plugin or app (e.g., Home Assistant, iRobot HOME app, or a custom integration), check if the developer has released an update to support the new Roomba firmware.
- Update the plugin or app to the latest version.
- Reconnect the Roomba:
- Sometimes, firmware updates can reset or disrupt the connection between the iRobot and the app or plugin.
- Check the Plugin/App Documentation
- Visit the official documentation or support page for the plugin or app you’re using. Look for any notes about compatibility with the latest Roomba firmware.
- If the plugin is community-developed (e.g., for Home Assistant), check the GitHub repository or forums for updates or workarounds.
- Roll Back the Firmware (If Possible)
- Some Roomba models allow you to roll back to a previous firmware version. Check iRobot’s support site or contact their customer service to see if this is an option.
- Note: Rolling back firmware may not always be possible or recommended.
- Use Official iRobot App
- If the third-party plugin is not working and no fix is available, consider using the official iRobot HOME app temporarily until the plugin is updated.
- Consider Alternative Integrations
- If the plugin is no longer maintained or compatible, look for alternative integrations or plugins that support your Roomba model and firmware version.
Conclusion
Roomba HomeKit integration is not native, but it is absolutely possible.With solutions like AddToHomeKit, ATH Bridge, HOOBS, and Homebridge, you can bring your Roomba into the Apple ecosystem and control it with Siri.
FAQs
Yes. Roomba isn't natively compatible with HomeKit. But, you can make it compatible with simple thrid-party solutions like AddToHomeKit.
Yes. You can add your Roomba to Apple Home App with AddToHomeKit. If you want to go with simple plug-and-play solution, you can select ATH bridge solution.
iRobot update brings Siri support to Robot vacuums. So, you can turn on Roomba with Siri voice commands via the iRobot Home App.
Yes. You can control Roomba from HomePod using Siri voice commands and shortcuts. Before that you need to add iRobot and Apple HomeKit with third-party solutions.
There're several Roomba iRobot vacuums that have Smart Mapping capabilities like i3/i4 and i5 Roomba.
If you want to control your Roomba remotely, you'll need Wi-Fi. But, you can also run your Roomba without Wi-Fi. You just need to push rhe clean button on the robot.