How to add any Sonos Smart Devices to HomeKit

Adding Sonos to HomeKit was probably one of the best decisions I have ever made. As we know most Sonos devices are HomeKit incompatible, so I tried out a few methods that allows the Sonos HomeKit integration. Let me introduce the third-party solutions that I found:
- AddtoHomeKit [Recommended Software Solution]
- ATH Bridge [Recommended Hadware Solution]
- Homebridge
- HOOBS
You can add Sonos speakers to Apple HomeKit but only models with built-in AirPlay 2 support. Compatible speakers can be added directly through the Apple Home app without scanning a HomeKit QR code. Once connected, you can control playback with Siri, include Sonos speakers in HomeKit scenes, and create automations.
If your Sonos speaker does not support AirPlay 2 (such as the Play:1, Play:3, or Play:5 Gen 1), it cannot be added directly to Apple Home. However, you can still integrate it using Homebridge, HOOBS, or an ATH Bridge, which expose unsupported Sonos speakers to Apple HomeKit.
What if My Sonos Speaker Doesn't Support HomeKit?
Older Sonos speakers such as:
- Sonos Play:1
- Sonos Play:3
- Sonos Play:5 (Gen 1)
do not include AirPlay 2 and therefore cannot be added directly to Apple Home.
You have four common alternatives:
AddtoHomeKit [Recommened Solution]
One of the simplest ways to integrate any smart device with Apple HomeKit is by using Sonos AddToHomeKit. I was able to control my Sonos devices with the Apple Home app and Siri voice control effortlessly.
With the below steps I was able to connect my Sonos devices with Apple HomeKit and was also able to manage them using both the app and voice commands.
- Visit the AddToHomeKit official website.
- Choose your preferred ecosystem.
- Select the solution you want to use.
- Pick your preferred operating system.
- Install the HomeBridge plugin.
- Choose the Activation Package.
- Follow the on-screen instructions to complete the setup.
ATH Bridge
With the help of AddToHomeKit Bridge, I was able to get the full potential of Sonos HomeKit integration. I was able to control and manage devices with Apple Home and Siri, the setup process was easy and quick.
To set up the ATH Bridge,
- Remove the pre-flashed SD card.
- Place the SD card inside the server.
- Connect the server to the router with the help of the cord.
- Turn on the server.
- With the help of the router, find the IP address of the server.
- Enter the IP address of the server with the port 8581 on your machine as:
http://192.168.4.12:8581. - Now enter the standard login credentials.
- Select the ‘sonos-plugin’ and download it.
- Log into the server and do the configuration settings.
Homebridge
Homebridge is software based third-party support that can be used to connect HomeKit and Sonos. This is an affordable method if you mind spending too much on smart home systems.
Here are the steps I followed to connect Sonos to HomeKit via HomeBridge:
- Install and open the Homebridge application.
- Select ‘Plugins’ from the menu.
- Search for ‘Sonos Plugin’.
- Click on it and install.
- Then you have to do the configuration. Follow and do the settings as required.
- When it’s done, the settings will be automatically saved, and now Sonos can be used with Apple HomeKit.
The only downside of using HomeBridge is that the PC has to always be powered on, which I didn't mind as I used a Raspberry Pi. However, if you are planning to use your PC, once it is turned off, it will be disconnected. I would say using the HomeBridge Out of the Box (HOOBS) is a great way to prevent this issue.
You can also integrate Dyson HomeKit, Ring Doorbell HomeKit, Aeotec HomeKit using Homebridge solution.
HOOBS
HOOBS acts as a physical ‘bridge’ to connect Apple HomeKit and Sonos. It is a user-friendly plug-and-play solution. HOOBS provides a collection of plugins that can be used to connect any devices to HomeKit. So HOOBS can be used to connect devices to HomeKit which are incompatible.
Not only these solutions, you can also connect any smart home device to Apple HomeKit with Enomek. Actually, it is a app solution!
Installation and configuration of the plugin
Once logged in, the Homebridge menu will be displayed. Select ‘plugins’ and search ‘Homebridge ZP plugin’. Click on it and install. Once it’s done, a pop-up screen will appear for the configuration. Click on it and give the code below to the console.
 "platforms": [

    {

      "platform": "ZP"

    }

  ]
Now you can manually add the features that you are wishing to use through Sonos and Apple HomeKit.
Add Sonos to Apple Home
Open the Apple Home app. Click on ‘+’ in the top right corner and tap on Add Accessory. Select ‘I don’t have a code/cannot scan/more options’. Select the Sonos product that you want to add. And now everything is set to use Sonos HomeKit automation.
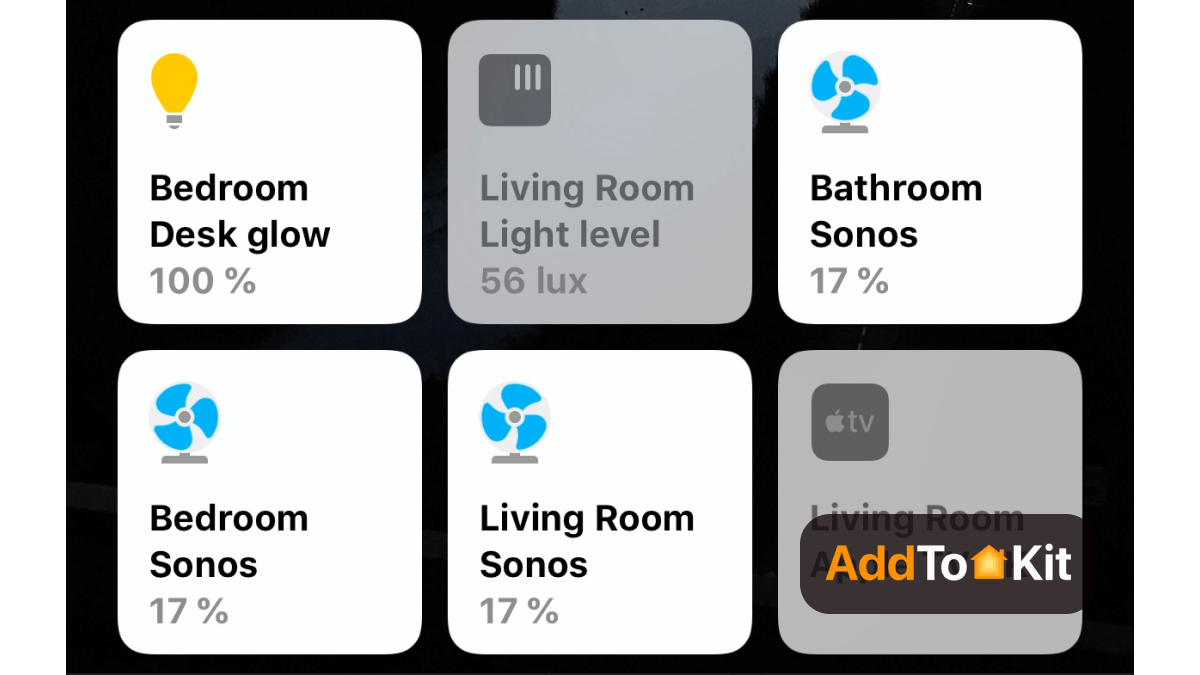
You can also add Eufy devices to HomeKit and even add Vivint devices to HomeKit or other incompatible devices using AddtoHomeKit.
Which Sonos Speakers Work with Apple HomeKit?
Only Sonos speakers with built-in Apple AirPlay 2 support can be added directly to the Apple Home app. Compatible models include:
Soundbars
- Sonos Arc
- Sonos Arc SL
- Sonos Beam (Gen 1 & Gen 2)
- Sonos Ray
- Sonos Playbase
Wireless Speakers
- Sonos Era 100
- Sonos Era 300
- Sonos Five
- Sonos Play:5 (Gen 2)
- Sonos One
- Sonos One SL
Portable Speakers
- Sonos Move
- Sonos Move 2
- Sonos Roam
- Sonos Roam SL
- Sonos Roam 2
Components & IKEA Speakers
- Sonos Amp
- Sonos Port
- IKEA SYMFONISK speakers
Note: If a Sonos speaker is configured as a surround speaker or subwoofer in a home theater setup, it will not appear as an individual accessory in Apple Home. Instead, it is managed through the primary soundbar.
How to Add Sonos to Apple Home
Adding a compatible Sonos speaker to Apple Home is quick and does not require scanning a HomeKit QR code.
- Open the Apple Home app on your iPhone or iPad.
- Tap the + button and select Add Accessory.
- Choose More Options or I Don't Have a Code or Cannot Scan.
- Wait for Apple Home to scan your local network.
- Select your Sonos speaker from the list of available accessories.
- Assign it to the appropriate room, ideally matching the room name used in the Sonos app.
Once setup is complete, the speaker becomes available within the Apple Home app and can be included in your HomeKit automations and scenes.
What You Can Do with Sonos in Apple Home
Although HomeKit provides basic speaker controls rather than full Sonos management, it still unlocks several useful features.
Control Music with Siri
Use Siri on your iPhone, iPad, HomePod, or Apple Watch to control playback using voice commands, such as:
- "Play music in the living room."
- "Pause the bedroom speaker."
- "Turn the kitchen speaker volume up."
Include Sonos in HomeKit Scenes
Compatible Sonos speakers can be added to HomeKit scenes alongside your lights, locks, and other smart home accessories. For example, a Good Morning scene can turn on your lights while automatically playing your favorite Apple Music playlist through your Sonos speaker.
Create Smart Automations
You can also use Sonos speakers in HomeKit automations. Examples include:
- Automatically pause music when everyone leaves home.
- Start playing music when you arrive home.
- Play a notification sound when a HomeKit motion sensor detects movement.
- Trigger music as part of bedtime or wake-up routines.
While advanced features such as grouping speakers, Trueplay tuning, and managing music services remain available through the Sonos app, Apple Home provides a simple and convenient way to control compatible Sonos speakers as part of your broader smart home ecosystem.
Why is adding Sonos to Apple HomeKit a better choice?
Sonos HomeKit is amazing as it allowed me to have a calm surround music experience at home. I liked the fact that, playing different songs in different locations within the house was possible with this integration.
Moreover, Apple HomeKit control allowed me to change the effects of the musin and customize it. Creating a soft effect or just adjusting the volume is possible with having Sonos on HomeKit.
My favourite fact was that I was able to use Siri voice commands with my Sonos speakers when HomeKit and Sonos are connected. Since most of the Sonos speakers now have built-in Airplay 2, streaming and playing music from Apple devices to Sonos is totally safe.
Compatibility Devices of Sonos to HomeKit
- Sonos Arc/Arc SL
- Sonos Beam (Gen 1 or Gen 2)
- Sonos PlayBase
- Sonos Ray
- Sonos One
- Second Generation Play: 5
- Sonos Port
- Sonos Move
- Sonos Roam/ Roam SL
Troubleshooting Sonos devices
There are always issues that come with any popular devices including Sonos. It there are any difficulties where Sonos Homekit is not working, follow these methods to troubleshoot.
Factory Reset
If Sonos are unable to add accessories to HomeKit, factory resetting the Sonos device might help. Only a few pieces of information will be lost when resetting. Here are the steps to do it correctly,
- Remove the Sonos device plug.
- Hold down the connect button behind the device.
- A white light will be flashing. Release the connect button now.
- Wait for a few minutes and the light will turn into green after finishing the factory reset.
- Now you can connect it to the WiFi and follow the steps above.
or you can do the below:
- Device Not Showing in HomeKit
- Check HomeKit Compatibility: Ensure that your Sonos device is officially compatible with HomeKit.
- Network Connection: Make sure both your iPhone/iPad and the Sonos device are connected to the same Wi-Fi network. HomeKit requires local network communication.
- Reset HomeKit Setup: If you're having issues, try resetting the HomeKit pairing. In the Sonos app, remove the device and then re-pair it with HomeKit by scanning the HomeKit code again.
- Reboot Devices: Power cycle your router, iPhone, and Sonos device. Sometimes a simple reboot resolves network communication issues.
- HomeKit Update: Ensure both your HomeKit setup and Sonos device firmware are up to date. Check for firmware updates in the Sonos app.
- Device Not Responding in HomeKit
- Check HomeKit Hub: Make sure your HomePod, Apple TV, or iPad (acting as the HomeKit hub) is connected and functional.
- Re-pair Device: Remove the device from HomeKit and try re-pairing it. Sometimes a fresh pairing resolves communication issues.
- Device Firmware: Ensure that the firmware on your Sonos device is up to date. Check for updates in the Sonos app.
- Poor Device Performance or Lag
- Check Wi-Fi Signal Strength: Poor performance can be caused by weak Wi-Fi signals. Ensure your Sonos device is within range of your router or consider using a Wi-Fi extender.
- Network Traffic: Ensure that your Wi-Fi network has enough bandwidth. Too many devices on the network may cause performance issues, especially for streaming devices.
- Reduce Audio Quality: If experiencing lag, try lowering the audio quality for streaming devices through the Sonos app settings.
General Troubleshooting Tips
HOOBS Troubleshooting
- Sonos Device Not Appearing in HOOBS
- Check HOOBS Plugin: Ensure the Sonos plugin is installed and properly configured in the HOOBS interface.
- Reboot HOOBS: Try restarting HOOBS from the web interface to refresh device connections.
- API Access: Verify that the Sonos device's API credentials are entered correctly in the HOOBS configuration. Incorrect credentials can prevent communication.
- Device Not Streaming or Playing Audio in HOOBS
- Network Settings: Ensure both HOOBS and the Sonos device are on the same network. Devices on different networks or subnets may fail to communicate properly.
- HOOBS Plugin Settings: Double-check the settings for your Sonos device in HOOBS. Adjust streaming parameters or tweak the device’s configuration settings in the plugin.
- Authentication Issues with Sonos Device in HOOBS
- Reauthorize Sonos Account: Ensure your Sonos account has the proper permissions for third-party integration. Re-authenticating in HOOBS may resolve authentication issues.
- Check for Plugin Updates: Ensure the Sonos plugin for HOOBS is up to date. Developers release patches to fix compatibility issues.
- Use Manual Pairing: If automatic setup fails, try manual pairing via HomeKit to see if it resolves the authentication issue.
HomeBridge Troubleshooting Tips
- Sonos Device Not Appearing in HomeBridge
- HomeBridge Plugin Configuration: Ensure the HomeBridge Sonos plugin is correctly configured. Check your HomeBridge config.json file for syntax errors or missing parameters.
- Reboot HomeBridge: Sometimes restarting HomeBridge resolves device connection issues. Run
sudo systemctl restart homebridgein your terminal to restart the server. - Check Dependencies: Ensure that all required dependencies for the HomeBridge Sonos plugin are installed. Reinstall missing dependencies via npm (Node Package Manager).
- Audio Stream Not Working in HomeKit (via HomeBridge)
- Reconfigure Audio Stream Settings: Some HomeBridge plugins require manual adjustments to audio streaming settings. Check the HomeBridge documentation for specific settings related to audio streaming.
- Network Issues: Ensure both the HomeBridge server and the Sonos device are on the same Wi-Fi network with sufficient bandwidth for streaming.
- Device Fails to Respond in HomeKit (via HomeBridge)
- Plugin Reinstallation: If the device isn’t responding in HomeKit after integration, try uninstalling and reinstalling the Sonos plugin in HomeBridge.
- Device Power Cycle: Power cycle both the Sonos device and the HomeBridge server to reestablish the connection.
- Update HomeBridge & Plugin: Ensure that both HomeBridge and the Sonos plugin are updated to the latest versions to avoid compatibility issues.
Apple HomeKit Updates
When it comes to Sonos HomeKit support, HomeKit also plays a major role in connecting. If you haven’t done the software update for so long, it might be an issue. So go to your Apple Home app and reach the Apple Home settings menu. Install the latest available updates and let it restart. Now it will be ready to use.
Keep in mind to eventually update these applications. It takes only a few minutes, and you don’t have to struggle with connecting any device to HomeKit once you have the latest versions.
Benefits of Sonos HomeKit support
Connecting HomeKit and Sonos gives many possibilities to enhance the sound experience of a smart home system. The automation and seamless control of Sonos speakers work well with HomeKit.
- Voice control
- Creating scenes
- Timed and automated actions
- Synchronization
With the use of iPhones and iPads that have enabled Siri, voice commands can be used to play, pause or adjust volume.
Having the ability to do Sonos Homekit integration to create scenes. I was able to create calming atmosphere or emergency situations through Sonos devices and activate them with just a voice command.
HomeKit and Sonos can also be used to automate or schedule different actions. I was able to schedule a calm playlist as a wakeup call or play relaxing music when having dinner. And when I go to bed, I can now set the time to the speaker to automatically turn off.
Since I have many Sonos speakers located in different rooms of my house, I was able to sync them for multi-room audio. With this, I was now able to play the same music in the entire house or play different music in different rooms.
Adding Sonos speakers to Apple Home is a great way to control and have a great sound system in the house. A lot of people love and live in music, and they find it easy to control the music with just voice commands. Sonos HomeKit home assistant makes this process easier. It will be a pleasant place to hang in with the Sonos with Apple Home Kit combination without any doubt.
Editor's Pick
You can have an amazing experience with Sonos Home Kit integration. Here we have provided several methods on how to easily add your Sonos smart devices to Home Kit.
Among them, AddtoHomeKit is our recommended solution for those with no coding experience. So, if you're looking to simplify your smart home setup and streamline your technology, this is worth considering.
FAQs
Yes, Sonos comes with Bluetooth support allowing you to play audio from a Bluetooth-enabled device.
No. But it can be used with HomeKit with the help of a third-party bridge.
Yes, if you have an Airplay 2 compatible Sonos device, it will.
This is because HomeKit relies on mDNS signals. Make sure your router supports mDNS and it is not congested.