How to Connect Yale Smart Devices to Apple HomeKit
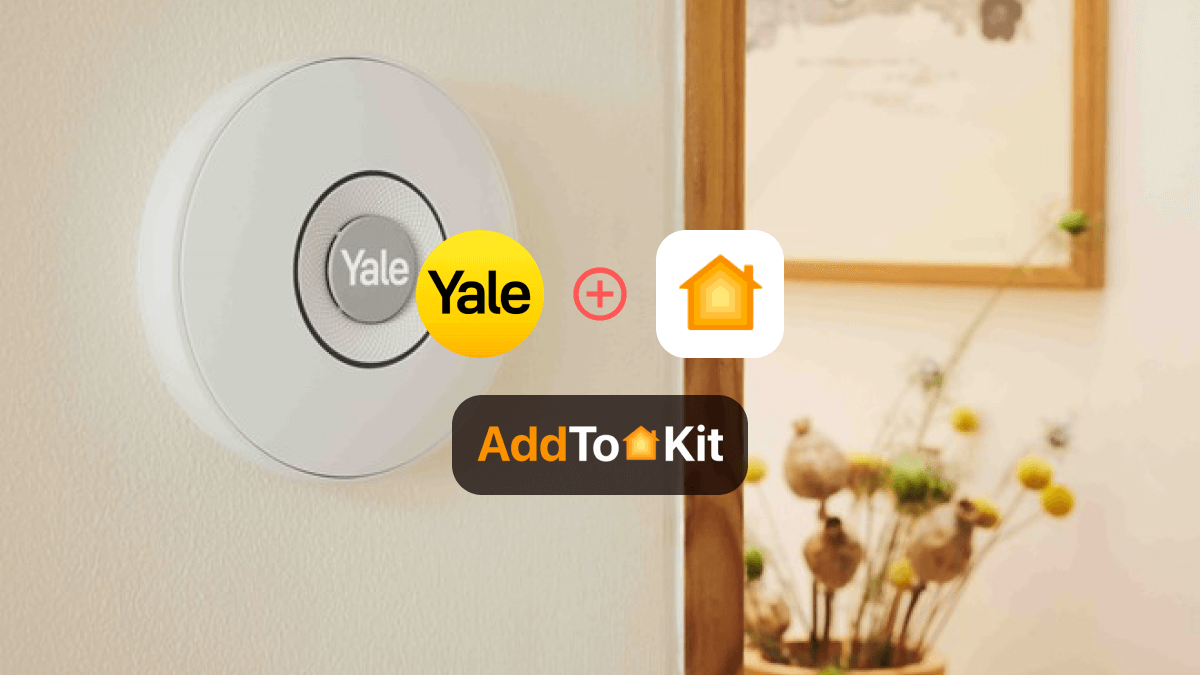
Yale HomeKit integration will solve the problems of all Yale Apple users. It is true! Yale is known for security related devices (Smart Door Locks), and as a Yale user who prefers the Apple Home app interface, this integration would be a dream come true.
So, after a little research I found some of the best solutions to connect Yale devices with Apple HomeKit. Now I will explain what these are.
AddtoHomeKit [Recommended Solution]
The Yale AddtoHomeKit solution is the best. It is a software solution that you can use to add Yale smart devices to Apple HomeKit. It offers HomeKit configuration plugins that will allow you to configure any smart devices to HomeKit.
AddtoHomeKit is a third-party software solution to add HomeKit incompatible devices to Apple Home. Also, they provide recommended software solution, recommended hardware solution and some brand specific product solution. That's why I love AddtoHomeKit! But you need to little bit of coding experience to integrate it.
Step-by-Step Guide to Use AddtoHomeKit
- Go to the AddtoHomeKit Website
- Select the Yale Ecosystem
- Choose Your Preferred Solution
- Select the Operating System
- Install the HomeBridge Plugin
- Click on AddtoHomeKit
- Follow the Instructions
You can even add Govee HomeKit integration, Shelly HomeKit integration and Nuki HomeKit integration with AddToHomeKit solution.
ATH Bridge [Affordable Solution]
ATH Bridge is an amazing way to add Yale devices to Apple Home. ATH Bridge is a plug and play method that allows you to control Yale with HomeKit It is a pre-flashed and compiled server.
HomeBridge Solution
HomeBridge is an open-source platform that allows you to connect non-HomeKit compatible devices to Apple HomeKit. But you need to have a bit of a technical knowledge for this solution. If you are an expert in that area, HomeBridge is a great solution for you.
See step guide for add Yale devices to Apple HomeKit using HomeBridge solution.
HOOBS Solution
HOOBS (HomeBridge Out of the Box) is a user-friendly compatible platform. It is the most popular open-source software available so far. Additionally, it enables you to Yale HomeKit integration.
- Fast convert Yale smart devices into HomeKit accessories.
- Enable to operate via the Apple Home app or with Siri voice commands.
Step-By-Step Guide on HomeBridge to Connect Yale Devices to HomeKit
- Install HomeBridge
- Plugins Install
- Configure Plugin
- After configuring the plugin, restart HomeBridge
- Finally, Pair with HomeKit
If you haven't already, you must set up HomeBridge on your chosen platform.
After the plugin is installed, you need to add a new platform for the Yale plugin and include username and password as below:
{
    "name": "Yale",
    "username": "your-yale-email",
    "password": "your-yale-password",
    "platform": "Yale"
}
Disclaimer: Third party integrations can be risky and dangerous.
You can use these solutions to add any device to Apple HomeKit, even add Athom devices to Apple HomeKit!
Connect Yale to Alexa
Yale door locks can be operated with voice commands with Alexa. Now you can operate Yale door locks with voice, include Yale in Alexa routines (smart home scenarios), Control all devices with one app. Also, if you want to control Yale by voice, a smart speaker or display with Alexa support is required.
To integrate Yale with Alexa, you need at least the following:
- Yale equipment
- Yale Access app (free to download from the App Store or Google Play)
- Yale Connect Bridge
- Yale account
- Amazon Alexa account
- Alexa app
- Smart speaker or smart display with Alexa support
Pairing Yale with Alexa
- Open the Yale Access app on your smartphone or tablet.
- Click on the menu icon.
- Click on ‘Works With’.
- Choose ‘Amazon Alexa’.
- Click on ‘Set Up Amazon Alexa’ for your operating system (iOS or Android).
- Now you can be redirected to the settings for your device.
The connection is now established, and you can now control your Yale smart door lock via Alexa.
Connect Yale to Google Home
Yale supports Google Home. You can operate Yale equipment with Google Assistant, control smart home products centrally (not via a separate Yale app), incorporate Yale products into Google Home routines after integration.
To integrate Yale products with Google Home, you need at least the following:
- Yale Access account
- Yale equipment (door locks, sensors, cameras, etc.)
- Yale app
- Google Home app
- Google Home account
- Device with Google Assistant support
Pairing Yale with Google Home
- Open the Google Home app on your smartphone or tablet.
- Click on the ‘+’ icon.
- Select ‘Set up a device’.
- Under the “Work With” heading, click “Have something already set up?”.
- Search for ‘Yale Access Home’ in the ‘Manage Accounts’ menu.
- Log in with your Yale Access account details.
- Give permission for the Google Home integration.
- Enter a PIN.
Yale HomeKit Compatible Products
- Yale Assure Lock SL
- Yale Assure Lock Touchscreen, Wi-Fi Smart Lock
- Yale Silver Linus Smart Lock
- Yale Black Linus Smart Lock
- Yale Assure Lock 2 Plus (New) with Apple Home Keys
- Yale AYR202-IM1-USA Apple iM1 HomeKit Module
Yale Matter Compatible Products
- Yale Assure Lock SL
- Assure retrofit module
Yale Assure Lock SL
This Yale Lock comes with everything you need for installation and setup. Also, you can create and manage up to 250 different PIN codes to use for up to 25 different people.
- Matter support
- Safe Tamper-Proof
- Auto-Lock Function
- Safe Encoding
- Long-term Battery Lifetime
Pros and Cons of Yale Assure Lock SL
Pros
- Touchscreen
- No key
- Up to 250 access codes
- Different network modules
Cons
- Screen needs palm touch to wake
Specification
| Touchpad Type | Touchscreen |
| Lock Type | Keyless Deadbolt |
| Weight | 4.5 lbs |
| Door Thickness | 1-3/8" to 2-1/4 |
| Grade | Grade 2: A156.36 ANSI/BHMA |
| Batteries Required | Yes (4 AA batteries) |
| Finish | Satin Nickel, Oil Rubbed Bronze, Black |
Home App Says "No Response"
If Apple Home App displays "No Response" for your Smart Lock, you can use the following troubleshooting steps to resolve this issue.
Bluetooth No Response
- Go to the Yale Access app >> Lock Setting of the lock you want to set.
- Tap HomeKit >> Remove HomeKit Accessory
- In the Home app, confirm that the lock in no longer seen as an accessory. If you can see th lock, go to accessory >> Remove Accessory.
- Go back to thr Lock Settings in the Yale Access App.
- Tap HomeKit >> follow the instructions to scan and set up the lock in HomeKit.
Remote/ Wi-Fi No Response
You need to ensure the Apple Bridge connectivity. If you are unable to resolve, check if you can connect the lock over Apple HomeKit in the Bluetooth range:
- If Bluetooth works, the Apple Hub might be causing the problem. First ensure if the hub is working and is in the Bluetooth range of the lock.
- If Bluetooth connection is not an option, check the lock batteries. If that doesn't resolve the problem, disable Homekit and set it up again.
Not only these solutions, you can also connect any smart home device to Apple HomeKit with Enomek, which is an app solution!
Troubleshooting
- Yale Lock Not Found in HomeKit
- Make sure the Yale lock is compatible with HomeKit. Most newer Yale locks support HomeKit, but verify model compatibility.
- Ensure the lock is powered on and within range of your Wi-Fi or the HomeKit hub (like an Apple TV, iPad, or HomePod).
- Check that your HomeKit setup on the iPhone/iPad is working properly.
- Unable to Scan the HomeKit Setup Code
- Ensure that you're using the correct HomeKit setup code that came with the Yale lock.
- The code is typically on the packaging or inside the lock's battery compartment.
- Make sure your iPhone camera is focused correctly on the QR code and that there’s enough light to scan it.
- Try restarting your phone and relaunching the Home app.
- Lock Not Connecting to Wi-Fi or HomeKit
- Verify your Wi-Fi network is working properly, and that your lock is within range of the router.
- Ensure the lock is on the same Wi-Fi network as your HomeKit hub (Apple TV, HomePod, or iPad).
- Restart your router and the lock to reset the connection.
- If using a Yale lock with a bridge (like the Yale Connect Bridge), ensure it’s properly set up and connected to your router.
- Lock Doesn’t Show in the Home App After Adding
- Make sure the lock has been added to the HomeKit app successfully by checking your Home app settings.
- Ensure you’re using the correct Apple ID for iCloud and HomeKit.
- Try restarting the Home app or your iPhone.
- If still not showing, try deleting the lock from HomeKit and re-adding it.
- Issues with Remote Control (Outside Home Wi-Fi)
- If you cannot control the lock remotely, make sure your HomeKit hub (Apple TV, HomePod, or iPad) is set up and connected to the internet.
- Ensure your iCloud account has "Home" enabled and that you’re logged in to the same Apple ID.
- Siri Not Working with Yale Lock
- Make sure Siri is properly configured and can access HomeKit accessories.
- Ensure that Siri is enabled in Settings > Siri & Search.
- Try asking Siri to control the lock by name (e.g., “Hey Siri, lock the door”).
- Firmware Updates for Yale Lock
- Check if there’s a firmware update available for your Yale lock through the Yale Access app.
- Keeping the lock’s firmware up to date can resolve many connectivity and functionality issues.
Solution:
Solution:
Solution:
Solution:
Solution:
Solution:
Solution:
Comparison Between AddtoHomeKit and HomeBridge
| Feature/Aspect | AddtoHomeKit | HomeBridge |
|---|---|---|
| Type of Solution | Web-based software solution | Node.js server (local software) |
| Purpose | Adds non-HomeKit devices to Apple HomeKit via plugins and step-by-step guides | Acts as a bridge to integrate non-HomeKit devices into Apple HomeKit |
| User Interface | Amazing and user-friendly | Requires configuration via a UI (Homebridge UI) or manual config files |
| Plugins/Device Support | Thousands of plugins; supports almost all brands | Community-developed plugins; supports a wide range of devices |
| Ease of Use | Provide clear instructions; Requires some technical knowledge | Requires some technical knowledge for setup and configuration |
| Platform Compatibility | Web-based (no specific platform dependency) | Runs on Raspberry Pi, macOS, Windows, Linux, etc. |
| Local Control | Likely requires internet connection (web-based) | Local network control; works without internet |
| Customization | Limited customization (focused on ease of use) | Highly customizable through configuration files and plugins |
| Updates | Adds new brands and updates weekly | Plugin updates depend on community; core updates are periodic |
| Lifetime Services | Lifetime services included | Free and open-source; no lifetime service guarantee |
| App Requirement | No bulky apps required (web-based) | Requires installation of Homebridge on a local device |
| Community Support | Proprietary solution; limited community involvement | Large open-source community; extensive community support |
| Cost | Likely paid (lifetime services mentioned) | Free and open-source |
| Best For | Users who want a simple, no-fuss solution with minimal technical involvement | Tech-savvy users who want flexibility, customization, and local control |
Editor’s Pick
When comparing these four options, I personally lean towards AddtoHomeKit. This software solution is incredibly user-friendly. With a one-time subscription, you get lifetime access. Therefore, I would like to recommend you try AddToHomeKit solution to connect your yale smart devices to Apple HomeKit. I hope this insight helps you decide on the best option for your situation!
FAQs
Yes, to make a link to Yale Connect Bridge is necessary.
Yes, if you have a compatible Apple bridge within Bluetooth range of your Yale Lock that is setup to work with HomeKit.
- Open the Yale Access App.
- Tap the gear icon from the Lock Circle Screen, then choose “Home Settings”
- At the bottom of the Home Settings screen, tap Disconnect.
Yes, Yale Assure Lock 2 has a fingerprint option.