How to Add Any SwitchBot Smart Devices to Apple HomeKit
Adding SwitchBot devices to HomeKit was one my ultimate goals when I first joined smart home world. I had the question of how to have the ultimate home automation and how to automate and integrate SwitchBot devices with Apple HomeKit. I tried out some out of many solutions and the below methods are in my opinion the best solutions to add any SwitchBot device to Apple HomeKit.
Below are the third-party solutions I used to connect any smart device to Apple HomeKit.
Best Method to Add SwitchBot Smart Devices to HomeKit
If you're interested in knowing the best way to add your SwitchBot devices to Apple HomeKit, the best way to do it is with the AddToHomeKit solution. If you're not very tech-savvy, AddtoHomeKit is my recommended solution as it's still the easiest way to enable your SwitchBot devices with the Apple Home app and Siri voice control.
AddtoHomeKit is amazing, not only do they provide step-by-step guides and plugins, but they also provide the best solution for us to use if there is a specific hub for a specific integration.
Why choose the AddToHomeKit solution?
- Overcome the limitations of HomeBridge
- Simply guide for adding SwitchBot devices to HomeKit
- User-Friendly
- Facilitate finding the best solutions for the Ecosystem and Operating System
- Less coding knowledge required
- Beginner-friendly and easy to utilize
- Enable to plug in more than 2000 devices
If you want to read how to control SwitchBot to HomeKit with the AddtoHomeKit.
Alternative solutions to add your SwitchBot Devices to Apple HomeKit
There're many alternative solutions to add any smart home devices to Apple HomeKit. Here I have listed the best alternative solution for your reference.
ATH Bridge Solution
ATH Bridge is one of the best alternative hardware solutions to add your SwitchBot devices to Apple HomeKit. I like ATH Bridge as well! It is a simple plug-and-play solution and Homebridge pre-installs Hub.
Features of ATH Bridge Solution
- Affordable
- Open source
- Required coding knowledge
- Beginner-friendly and easy to utilize
- Enable to plug in more than 2000 devices
HOOBS Solution
HOOBS (HomeBridge Out of the Box) is a user-friendly compatible platform. It simply indicates setting up the process and operating HomeBridge. It is the most popular open-source software available so far. Additionally, it enables users to add non-SwitchBot smart devices into Apple HomeKit.
- Fast convert non-SwitchBot smart devices into HomeKit accessories.
- Enable to operate via the Apple Home app or with Siri voice commands facilitated.
See how to add SwitchBot to HomeKit with the HOOBS.
HomeBridge Solution
HomeBridge is an open-source software platform. It integrates non-HomeKit compatible devices into Apple HomeKit. If you’re a tech user, I would like to recommend this solution for you. This software acts as a bridge between non-HomeKit devices and HomeKit. So, you can easily create a Switchbot Homekit Homebridge integration with the HomeBridge solution.
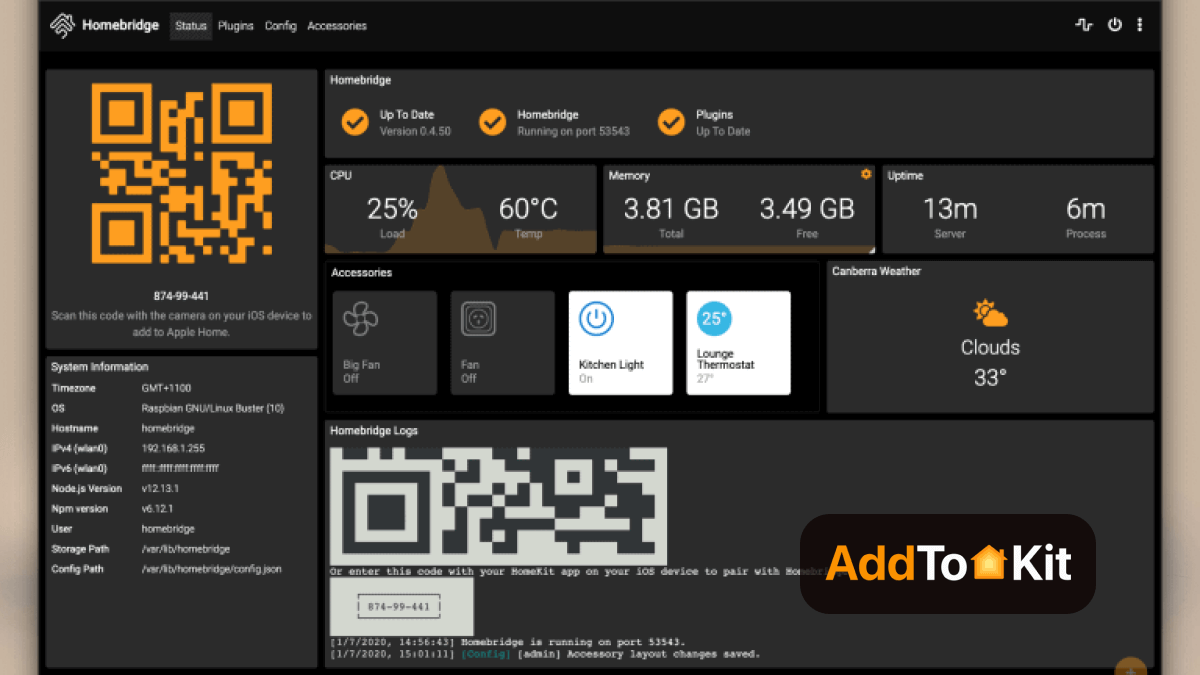
If you want to read how to add SwitchBot to HomeKit with the HomeBridge.
Steps to Add SwitchBot HomeKit Using AddtoHomeKit
- Go to the AddtoHomeKit official website.
- Select the SwitchBot ecosystem.
- You will be redirected to the next page, select your preferred solution.
- Afterwards, you must select the Operating System.
- Install the HomeBridge Plugin
- Tap on the AddtoHomeKit
- Follow the instructions provided and enjoy!
You can even add Alexa Echo Dot to Apple HomeKit, add Blink Camera to Apple HomeKit and Ring Camera to Apple HomeKit with AddtoHomeKit.
How To Add SwitchBot to HomeKit Using HOOBS?
Check your iPhone for the Wi-Fi network ‘HOOBS’. After connecting, it prompted you to select Wi-Fi network and enter the passphrase. This will set up the HOOBS box on your network.
Once the connection is up and running, go to the web browser and connect to the HOOBS interface by going to this URL http://hoobs.local.
Now enter a username and password to use the administrator account, make sure to follow the steps:
- Click the Bridges option.
- Click Add Bridge.
- Enter a new bridge name(Ex: “SwitchBot Bridge”).
- Click Save. after that, you can now see a notification in the bottom right corner.
- Tap on the bridge name in the list. then a QR code will appear for HomeKit pairing.
- Go through the HomeKit ‘Add Accessory’ and scan the code.
- Choose a Room to place the bridge.
How to add SwitchBot to HomeBridge?
Adding a Switch Bot device to HomeBridge involves setting up the HomeBridge server and installing the SwitchBot Apple HomeKit plugin. Follow the guidelines as I mentioned.
Prerequisites:
- A device capable of running HomeBridge.
- SwitchBot App installed on your smartphone.
- SwitchBot Hub Mini or else Hub Plus (essential for Open API connection).
Steps:
- Install HomeBridge.
- Then install the SwitchBot Plugin.
- Generate SwitchBot Token:
- Click on Preferences:
- Configure HomeBridge Plugin:
- Save and then Restart HomeBridge server:
Open the HomeBridge web. (This can be accessed by entering the address provided during the HomeBridge setup in your web browser).Choose the plugin that suits your setup (usually the one mentioning open API). Click "Install".
Open the SwitchBot app on your smartphone device.Go to your profile settings.
Tap the app version number ten times( This enables developer options).After that find it and copy the "Open Token".
In the HomeBridge web interface, locate the SwitchBot plugin settings. Paste the copied token from the SwitchBot app into the selected subject. Maybe you need to specify additional information like device ID type or name depending on the chosen plugin.
By following these steps, you can enable to add SwitchBot devices to HomeBridge and control them from the home app.
Troubleshooting HomeBridge
- Ensure Homebridge and SwitchBot Plugin Are Updated
- Check Homebridge Logs
- Verify SwitchBot API Credentials
- API Token: Ensure that you’ve properly set up your SwitchBot API token. You can obtain it from the SwitchBot app or website.
- Double-check the
SwitchBotAPI token in your Homebridge config file. An incorrect token can prevent Homebridge from connecting to the SwitchBot devices. - Check Homebridge Config File (config.json)
- Review your
config.jsonfile for any syntax issues. Common mistakes include missing commas, misquoted strings, or incorrect indentation. - Example configuration:
- Reboot Homebridge
- Check for Device Compatibility
- Re-pair Devices in HomeKit
- If your SwitchBot devices aren't appearing in HomeKit after setup, remove them from the Home app and try re-adding them.
- In the Home app, tap the "+" icon and choose "Add Accessory," then select your devices.
- Network Issues
- Bluetooth and Hub Configurations
- If you're using a SwitchBot Hub Mini, make sure the Hub is connected to your Wi-Fi network and is able to communicate with your SwitchBot devices.
- If your device uses Bluetooth, check your Homebridge system's Bluetooth capabilities. Some issues may occur if Bluetooth is not properly configured on the server.
- Reinstall Homebridge and Plugin
- Uninstall Homebridge:
sudo npm uninstall -g homebridge - Reinstall Homebridge:
sudo npm install -g homebridge - Reinstall the SwitchBot plugin:
sudo npm install -g homebridge-switchbot - Check for Proxy or Firewall Issues
{
  "platform": "SwitchBot",
  "name": "SwitchBot",
  "token": "your_switchbot_api_token",
  "devices": [
    {
      "deviceID": "your_device_id",
      "name": "SwitchBot Device"
    }
  ]
}
Extra configuration options for Switch Bot
The SwitchBot itself could require an extra configuration to be specified. Also, settings for what HomeKit shows and how it shows it.
Click the Cog Wheel in the bottom left-hand corner, and then choose the SwitchBot plugin from the list in the window that pops up. also, can be via,
Plugins > bridge name > plugin > Configuration but the other method is easier than this one.
You should set a Bot that is configured as a button pusher to Press in the plugin rather than the default switch behavior. It will function in either case, but we don't want it to appear in HomeKit as a switch that can only be turned on or off.
Navigate to options after viewing the Credentials section. There are a few options for you to change, but we want to click the + sign to add a new device definition.
- Go to the Switch Bot app and tap Device Info at the bottom of the settings page. then type the BLE MAC into the Device ID field in HOOBS without the colons.
- Enter the Device Name.
- Select the Device Type as Bot.
- Select the Mode.
- Select the Type of Device to show in HomeKit.
- Click Save to restart the bridge.
To check to verify everything is perfect You can click on the Log menu option, making sure there are no red errors shown after the start-up.
How to use Siri with SwitchBot?
SwitchBot working together with Siri is one of the best ways to automate your home. Apple Home Siri makes it easier than ever to manage your home by allowing you to voice-command your SwitchBot and other smart home equipment.
Make sure that the device is connected to the online when utilizing SwitchBot with Siri. After completing the action, then you need to connect the SwitchBot to the Wi-Fi network. To do this, you can utilize an Ethernet cord or a Wi-Fi connection. You can start setting the SwitchBot app on your smartphone after the connection has been established.
Now that the SwitchBot is configured, you can use Siri with it. Just tell Siri, "Turn on lights," or "Set thermostat," to complete this. Siri will then let you use voice commands to operate your devices.
You may also set up your gadgets to cooperate if you use many ones at home. For example, you can command Siri to turn on or off lights at once also, you can command it to turn on or off all of them simultaneously. You no longer need to manually regulate each light in your home to swiftly adjust lighting in any room.
You may also schedule automation tasks for specific days of the week or times of day by using Siri with SwitchBot. As an example, it allows command lights to turn on or off at a specified period for each day. or else response to a specific situation, like motion detected in a room or a temperature being achieved in a room.
You may even set up alerts when certain events happen, like when someone enters a room or if a light is left on for an extended period. Overall, controlling all of your devices with voice commands is a simple and efficient way to automate your home and improve your quality of life when you use Siri with SwitchBot.
Can use SwitchBot without a Hub?
The short answer is Yes. SwitchBot is an innovative home automation device that improves suitability. SwitchBot allows you to use a smartphone or tablet to manage lights, applications, and other devices from anywhere. it doesn’t matter if you're in the home or out of the home.
SwitchBot connects to Bluetooth-enabled devices. No need additional hardware, like a hub or bridge, is needed for it. You can easily download the SwitchBot app without any cost via smartphone or tablet, pair it with a SwitchBot device, and then you can get started.
The application facilitates customizing and managing gadgets in various ways, such as creating personalized scenes and groups, scheduling time to turn on and off devices, and more.
Additionally, you can monitor how energy-consuming each device. It helps to minimize costs. also enables you to set up automatic triggers when you enter or exit specific areas with the geo-fencing feature.
SwitchBot is user-friendly and quickly adaptable. enable to easily upgrade the manual home to an advanced level without requiring a hub.
Does SwitchBot work away from home?
I would like to tell SwitchBot is the best solution for you if you're looking for a technique to automate your home while you're away from home. It is a smart automation robot, that can take your house to the next level.
To control switches and outlets, Switch Bot first establishes a connection with a Wi-Fi or Bluetooth network. This indicates that you can operate your home's lights, appliances, and other electronic devices from anywhere. The SwitchBot Apple Home can be used to automate some tasks such as:
- Turning on the lights at dusk
- Turn off the heat when you're away for a long period
To facilitate remote access, SwitchBot also integrates with a wide range of programs and services. For example, enable operate your SwitchBot devices remotely using Google Assistant or Amazon Alexa. Even when you're away from home. You can easily change the settings in your house with the assistance of voice commands.
Utilizing the SwitchBot app facilitates the setting up of custom views that turn everything on or off simultaneously. It is very beneficial if you want to make sure everything is off before leaving the house. Using these apps and voice assistant compatibility, it’s easy to manage under control at home. It doesn’t matter where you are.
Is SwitchBot Compatible with HomeKit?
Yes, SwitchBot is seamlessly compatible with Apple HomeKit. With one tap on your smartphone, enable operating your linked home appliances with SwitchBot, an automated home automation system. It is compatible with many linked devices, such as door locks, thermostats, and lights.
With ease of use, SwitchBot has been modified to integrate seamlessly with Apple's HomeKit home automation platform. You can use a single app to manage all of your compatible devices with HomeKit. This implies that you can control various devices in your home without using multiple apps.
From your comfort zone, SwitchBot allows you to control any HomeKit-compatible device. Apart from that enables scenes to turn on or off multiple devices at one time, as well as allows to schedule lights on and off periods based on user requirements.
Managing home automation is now easier than ever before. It facilitates control of your SwitchBot devices using voice commands via Amazon Alexa HomeKit, Google Assistant, and Samsung smart things HomeKit.
This is the perfect option who are expecting to user-friendly, budget-friendly home automation system that integrates a variety of well-known platforms. You can get the most out of your connected home setup with its great range of features and ease of setup and use.
SwitchBot enables Matter support for Bots
SwitchBot Matter devices allow you to connect SwitchBot devices with different platforms, such as Apple Home, Google Home, Amazon Alexa, Home Assistant, SmartThings, and more. So, you can get a seamless experience between different third-party platforms based on Matter standards.
Now, you can experience Matter now with SwitchBot Hub 2 and SwitchBot Hub Mini Matter Enabled. Also, it uses a Matter Bridge over Wi-Fi protocol.
SwitchBot Devices and HomeKit Integration
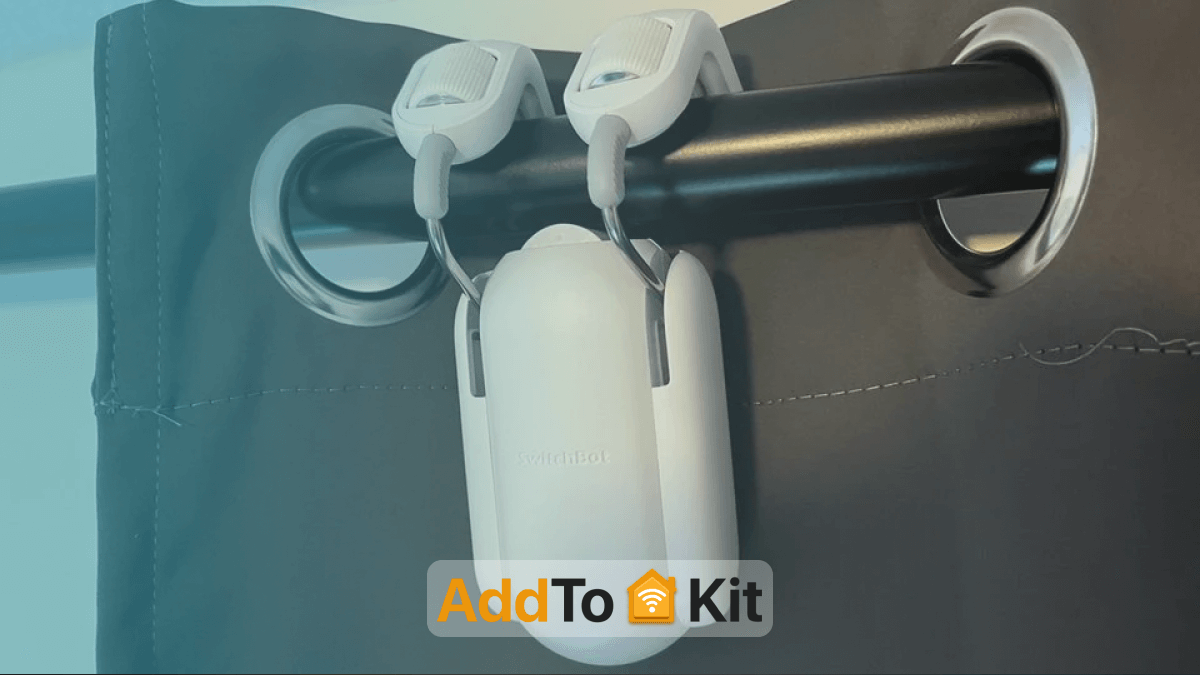
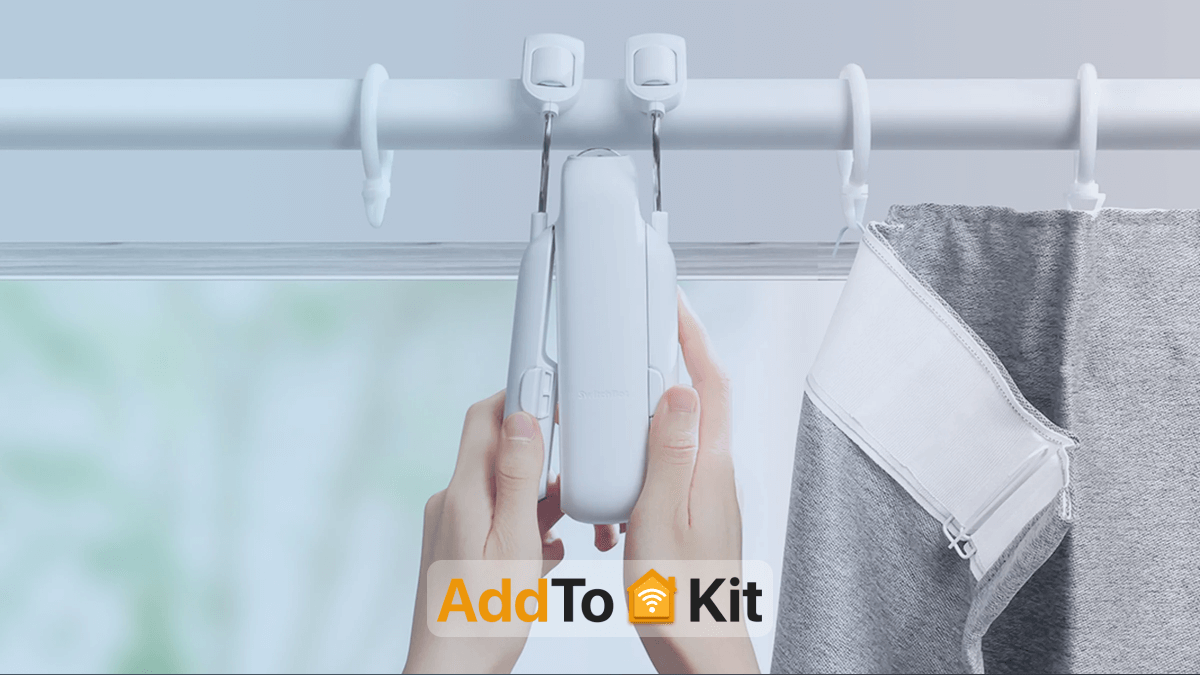
SwitchBot Curtain 2
Automates your curtains and can be integrated with HomeKit using the SwitchBot Hub 2.
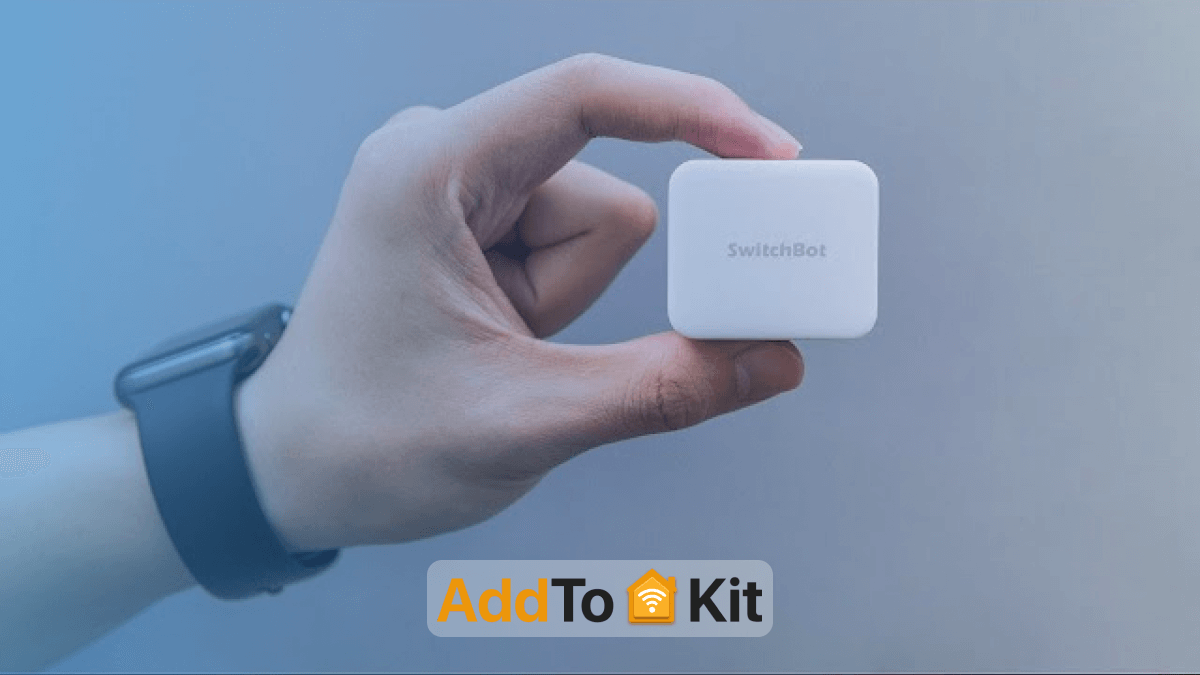
SwitchBot Bot
Transforms regular devices into smart ones, controllable via HomeKit with the right hub.
SwitchBot Meter
Monitors temperature and humidity, with HomeKit compatibility through the SwitchBot Hub 2.
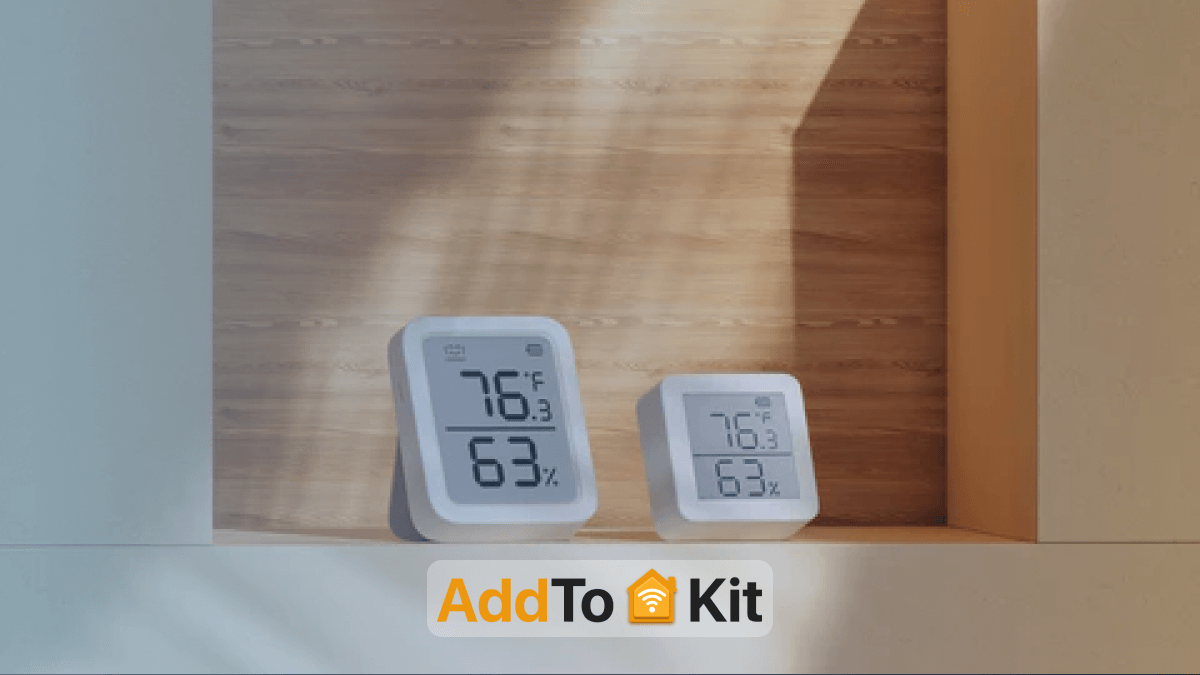
Matter - Compatible SwitchBot Devices
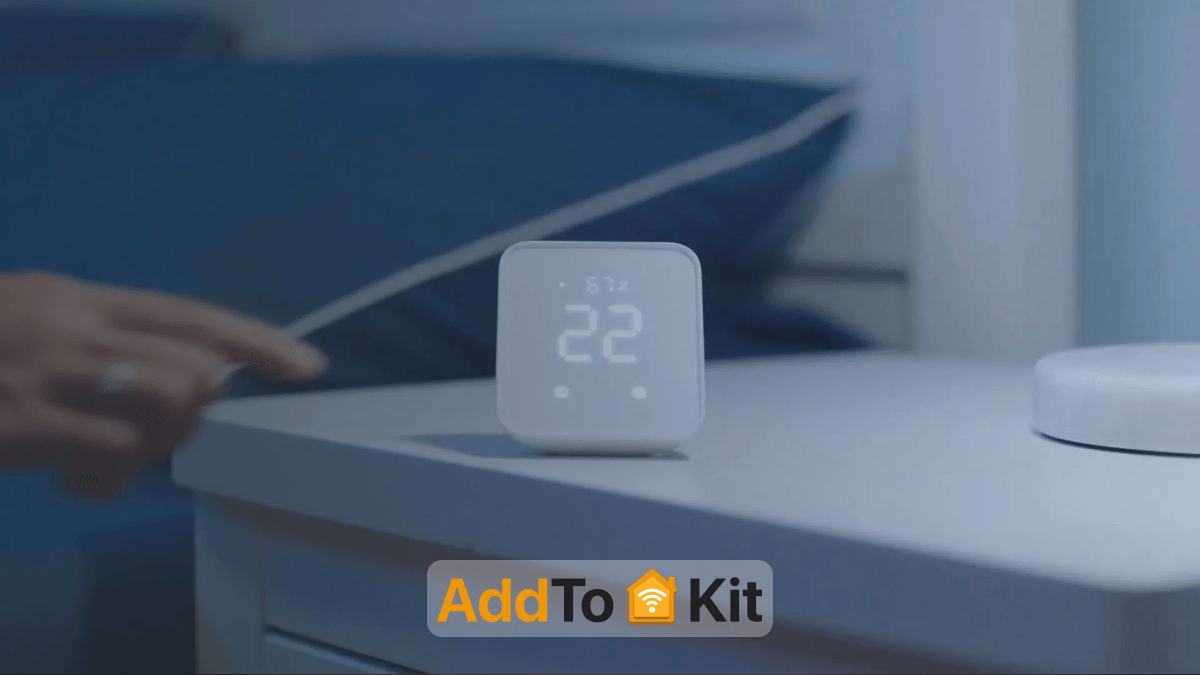
SwitchBot Hub 2
Acts as a bridge, connecting SwitchBot devices with Matter for interoperability with HomeKit, Google Home and Amazon Alexa.
SwitchBot Curtain 3
Integrates with Matter, allowing for unified control and automation across different smart home systems.
SwitchBot Blind Tilt
Compatible with Matter, providing easy control and automation of blinds within any Matter-supported eco-system.

The SwitchBot Cutains and Smart Blinds helps you make you traditional curtains/ blinds smart!
- Centralized Control
- Voice Control with Siri
- Automations and Scenes
- Remote Access
- Energy Efficiency
- Enhanced Security
Manage all your SwitchBot devices through the Apple Home app, providing a single interface to control and monitor your smart home devices. This centralized control simplifies managing multiple devices across different rooms.
Utilize Siri to control your SwitchBot devices hands-free. Whether you are busy cooking, working or simply lounging, you can use voice commands to control lights, curtains and more.
Create automation and scenes to make your home smarter and more responsive to your needs such as,
Morning Routine:Set Up a Scene that open your curtains, turns on lights and starts your coffee maker when you wake up.
Good Night:Create an automation that turns off all lights, closes the curtaines and locks doors when you say, "Hey Siri, good night".
With an Apple TV, HomePod or iPad set up as a home hub, you can control your SwitchBot devices remotely. This means you can adjust you rhome settings from anywhere, ensuring you come back to a comfortable and well-prepared home.
By integrating with HomeKit, you can optimize the energy usage of your home. utomation can help ensure that lights and appliances are turned off when not needed, reducing energy waste and lowering your bills.
Integrate SwitchBot smart locks and security devices with HomeKit to monitor and manage your home security more effectively. Receive notifications if doors are unlocked or if motion is detected and set up automations to turn on lights if suspicious activity is detected.
Troubleshooting Tips
- Connection Issues: If you experience connectivity problems, make sureyour SwitchBot Hub is within range of your Wi-Fi router and your devices.
- Reset and Retry: Sometimes, resetting the Hub and devices and then re-adding them can resolve issues.
- Firmware Updates: Regularly check for firmware updates for both the SwitchBot Hub and devices to ensure compatibility and stability.
Conclusion
Have you checked out SwitchBot smart home products with HomeKit? As you know, there are several different solutions available, such as the AddToHomeKit, ATH Bridge, HOOBS, and HomeBridge. These bridges allow you to add a wide variety of devices to HomeKit, including SwitchBot devices.
My suggestion is this: be excited for AddToHomeKit. It solves your problem. Yes! You can add your non-HomeKit SwitchBot devices to HomeKit now. That’s all. Thanks for reading.
FAQs
SwitchBot offers various smart home devices, including the Switch Bot, Switch Bot Hub Mini, SwitchBot Meter, and SwitchBot Curtain. You need to use a third-party solution if you want to integrate Switch Bot products into scenes and automation in HomeKit.
Yes, SwitchBot is a smart automation device. It doesn't matter whether you are at home or not. It functions after connecting to a Wi-Fi or Bluetooth network. Then you can use your switches and accessories. Also, you can utilize the SwitchBot to program automated actions, like turning on the lights in when dark area or turning off the heater when you're away for a long time.
- Horizontal placement: the infrared signal has a range of: Up to 98 feet (30 meters): 180-degree covers.
- Vertical placement: Up to 98 feet: However, the signal covers 360 degrees, containing devices on all sides of the hub.
Yes, SwitchBot works with Home Pod indirectly through Apple HomeKit with newer devices and directly with Siri for Matter-enabled devices.
- Newer Devices (Matter-enabled): Direct control with Siri on Home Pod.
- Older DevicesRequires a HomeBridge server setup for indirect Siri control.
It can be due to several reasons Such as: Firstly, you have to check the power supply to ensure the Hub Mini is plugged in properly using the power cable. then check Wi-Fi Network availability, Update the Switch Bot App and Hub Mini Firmware, Restart Devices, and Reset Hub Mini. considering these areas and making sure everything works perfectly. There are top-ranking Smart home protocols available in high-level performance smart home devices communicate and work together for better service.


