How to Add Any UniFi Smart Devices to Apple HomeKit

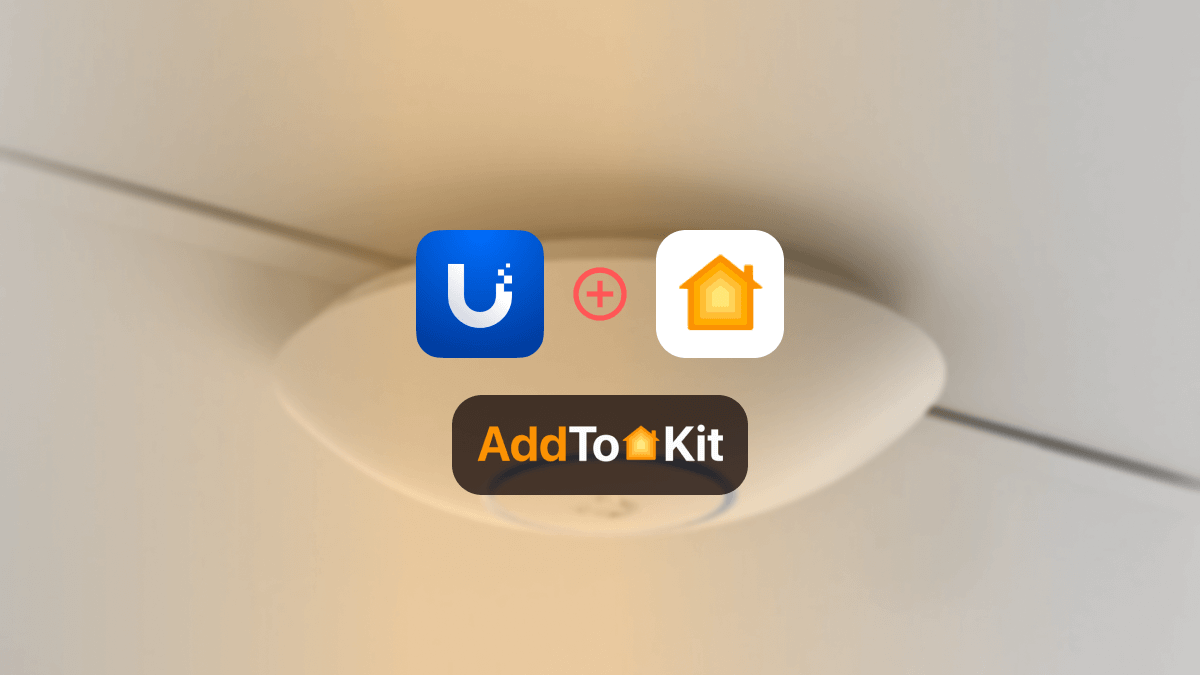
Do you also dream of a UniFi HomeKit integration? If so, you came to the right place. As a huge UniFi fan, the only issue I had was that I couldn’t create a UniFi Protect to Apple HomeKit integration, I got into work and tried to see if there are any good solutions and that is when I stumbled upon a few third-party solutions.
Below are the some of the best solutions I tried to out to create a UniFi Home Kit integration:
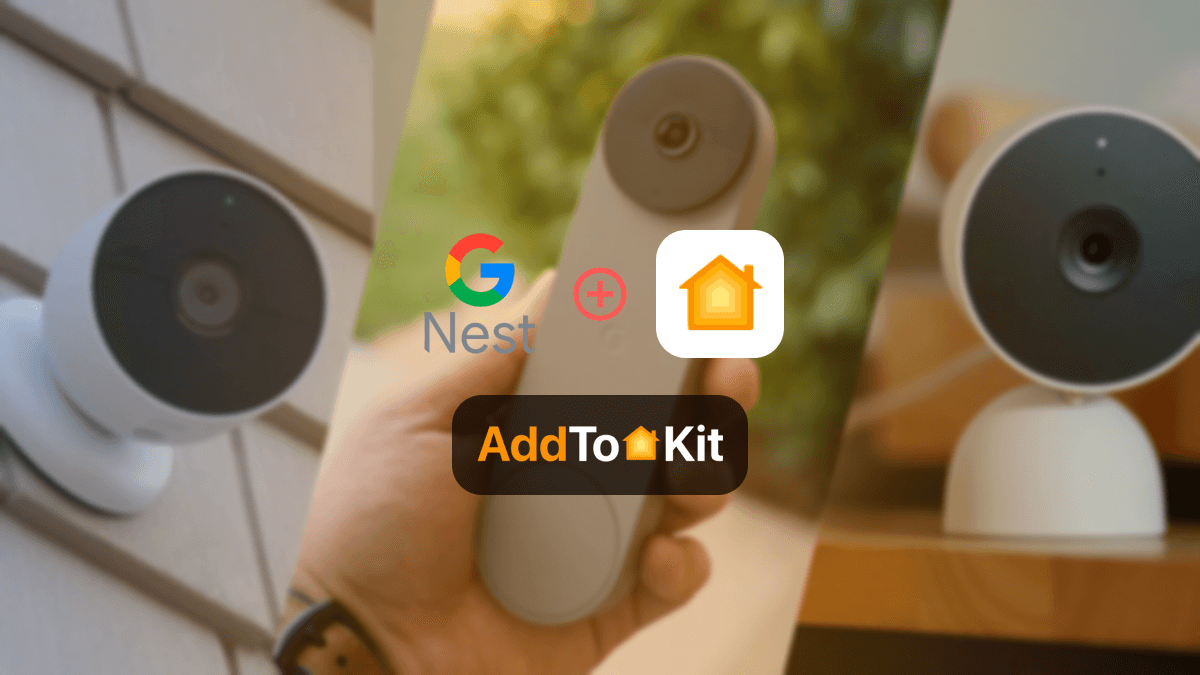
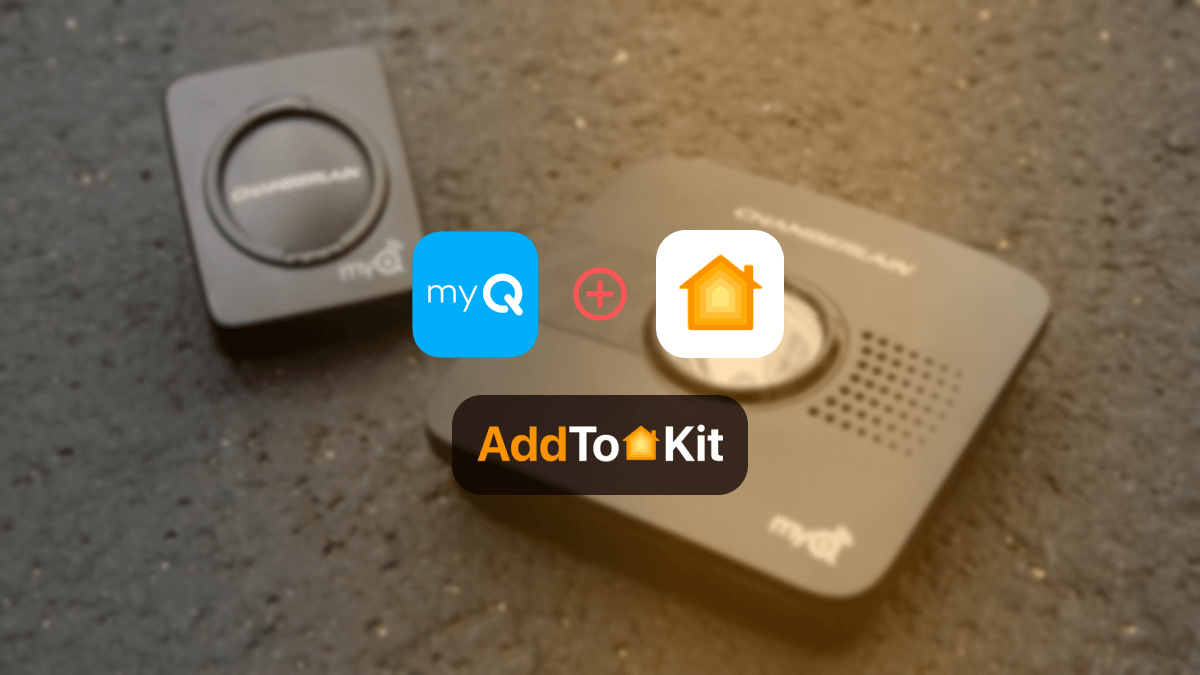
AddtoHomeKit [Recommended Solution]
ATH Bridge [Affordable Solution]
AddtoHomeKit [Recommended Solution]
UniFi AddtoHomeKit is an amazing tool that allows you to add many devices to Apple HomeKit. I loved this solution particularly because of how easy and effortless it is. It is not time-consuming, but you have some coding knowledge to do. Just to give a small explanation it provides multiple plugins for a huge variety of devices. These plugins and step-by-step guides help you to add UniFi with Apple Home Kit or even a UniFi Protect to Apple HomeKit integration.
Step-by-Step Guide to Operate AddtoHomeKit
- Visit the AddtoHomeKit Website
- Select the UniFi Ecosystem
- Choose your preferred Solution
- Choose your preferred Operating System
- Choose your preferred Plugin
- Install the plugin
- Follow on-screen instructions
ATH Bridge [Affordable Solution]
The ATH Bridge is a small plug and play device that allows you to add any HomeKit incompatible devices to Apple HomeKit. It is basically a pre-flashed HomeBridge server. It is a very convenient solution for creating an Ubiquiti UniFi HomeKit. It is a specially compiled server designed for effortless UniFi Camera HomeKit integrations. But you need a little coding knowledge to work with this product.
HOOBS Solution
HOOBS which stands for HomeBridge Out of the Box. It is an updated version of HomeBridge. I would say, comparatively to HomeBridge is a user-friendlier version. You need a little coding knowledge to work with this solution. Also, you can add UniFi camera Apple HomeKit using HOOBS Solution.
Step-by-Step Guide to Operate HOOBS
- Prepare your Network:
- Visit the HOOBS website:
- Boot up HOOBS:
- Access HOOBS Dashboard:
- Access HOOBS Configuration:
- Install UniFi Plugin:
- Configure the UniFi Plugin.
- Add UniFi Devices to HomeKit.
Make sure you have a stable WiFi network available, both your iOS device and HOOBS to the same Wi-Fi network.
You must flash the HOOBS image onto a microSD card using appropriate software (eg: BalenaEtcher or Raspberry Pi Image). Now, insert the microSD into the Raspberry Pi. Acquire and install HOOBS.
After the installation of HOOBS. Connect your Raspberry Pi to power and wait for HOOBS to boot up. HOOBS will appear as a Wi-Fi network namely “hoobs.local”, connect your device to this network.
Visit http://hoobs.local. And follow the on-screen instructions to complete the initial setup of HOOBS. You would most likely need to set up your admin account and connect HOOBS to your Wi-Fi network.
After completing the setup, you will be directed to the HOOBS dashboard where you can manage plugins and configure devices.
In the HOOBS dashboard, click on “Plugins” in the sidebar. Search for “UniFi” in the Plugins Marketplace. Click “Install”.

As you can see, you can basically add any smart device to Apple HomeKit with this solution. Integrations such as Nuki HomeKit or even a Eero HomeKit are possible!
HomeBridge
HomeBridge is an amazing tool that bridges the gap for devices that are not natively supported by HomeKit. While UniFi lacks direct HomeKit support, you can connect them through HomeBridge plugins. It is an open-source platform that lets you control non-HomeKit devices through the Apple Home app.
Step-by-Step Guide to Operate HomeBridge
- Install HomeBridge:
- Install HomeBridge UniFi Plugin:
- Configure the Plugin:
- Restart HomeBridge:
- Pair with HomeKit:
Set up HomeBridge on a Raspberry Pi, macOS or Windows machine. This acts as a bridge for connecting UniFi devices to HomeKit.
Add the HomeBridge-UniFi-Protect or HomeBridge-UniFi Access plugin to enable communication between HomeKit and UniFi devices.
Set up the plugin using your UniFi controller IP and credentials in the HomeBridge configuration file.
{
    "name": "UniFi",
    "username": "your-unifi-email",
    "password": "your-unifi-password",
    "platform": "UniFi"
}
Restart the HomeBridge after the plugin configuration to app the changes.
Open the Home App on your device. You would be able to locate the UniFi devices you have configured with the HomeBridge plugin. Now you will be able to add any UniFi Camera Apple HomeKit setup and control them through the Home app or via Siri.

You can also integrate Geeni HomeKit, D-Link HomeKit, Schlage HomeKit using HomeBridge.
Comparison of HOOBS, HomeBridge and AddtoHomeKit
| Feature | HOOBS | Homebridge | AddToHomeKit |
|---|---|---|---|
| Purpose | A user-friendly interface for Homebridge, simplifies setup. | Open-source software to add non-HomeKit devices to HomeKit. | Web-based platform to create HomeKit-compatible accessories. |
| Ease of Setup | Very user-friendly, especially for beginners with a simple UI. | Requires some technical knowledge for setup (command line). | Provides step-by-step guides and plugins, but may still require some configuration. |
| Installation | Pre-configured system with a web-based interface, often used on Raspberry Pi. | Can be installed on various platforms, including Raspberry Pi, Mac, Windows. | Set up through a web interface or iOS app with guides to simplify installation. |
| Configuration | Web-based UI, easy to install plugins and configure devices. | Requires manual editing of configuration files. | Offers plugins and detailed guides to help configure devices with HomeKit. |
| Platform Support | Raspberry Pi, Linux, macOS, and Windows. | macOS, Linux, Raspberry Pi, Windows, Docker, and more. | iOS (via app and web interface). |
| Plugin Support | Strong plugin support (Homebridge plugins) and a marketplace. | Huge plugin ecosystem from the Homebridge community. | Supports a smaller but growing range of devices through plugins. |
| Customization | Highly customizable through plugins, but simpler UI compared to Homebridge. | Extremely customizable, allowing for advanced configurations. | Less customizable but designed to be user-friendly with easy integration for supported devices. |
| Community Support | Active support from HOOBS community, with a focus on beginners. | Large, active community with extensive documentation and forums. | Smaller but growing community with user guides and step-by-step instructions. |
| Cost | Paid subscription for full access to certain features, although a basic version is free. | Free, open-source. | Subscription-based (offers a free trial). |
| Additional Features | Built-in system updates, automated backups, and monitoring. | Highly flexible and adaptable for tech-savvy users. | Focuses on simplicity with comprehensive guides and device plugins. |
UniFi HomeKit Troubleshooting
- Reboot Everything - Restart your UniFi camera, UniFi Protect system, HomeKit hub (Apple TV, HomePod, iPad) and HomeBridge/HOOBS server.
- Check UniFi Protect Settings - Ensure RTSP is enabled in the UniFi Protect web UI.
- Network Stability - Make sure your UniFi Protect, HomeBridge and HomeKit devices are running the latest firmware/software.
- Re-add the Camera - If it won't show in HomeKit, remove and re-add it via your integration tool.
General Troubleshooting
- Check HomeBridge Logs - Run:
homebridge -D - Restart HomeBridge - Restart the service to clear errors:
sudo systemctl restart homebridge - Very Config.json - Make sure the UniFi Protect plugin settings (IP, username, password) are correct.
- Reinstall the Plugin - If the camera doesn't work, remove and reinstall the plugin:
npm uninstall homebridge-unifi-protectnpm install -g homebridge-unifi-protect - Ensure UniFi Protect User Permissions - Your UniFi account must have local access enabled for the plugin to work.
HomeBridge/HOOBS Issues
- Enable RTSP - Go to UniFi Protect > Camera Settings > RTSP and make sure it is on.
- Check VLAN & Firewell Rules - If your camera are on separate VLAN, make sure mDNS is enabled so HomeKit can discover them.
- Use a Local UniFi User - Some integrations work better with a dedicated local UniFi Protect account instead of a Ubiquiti cloud login.
- Disable UniFi Threat Management (if needed) - If UniFi's IPS/IDS is enabled, it might block HomeKit communication. Try disabling it temporarily to test.
UniFi-Specific Fixes
Why Go for a UniFi HomeKit Integration?
- All-in-One-Control – Manage UniFI devices right from your Apple Home app, making everything more streamlined.
- Smart Automation – You can easily connect UniFI devices to work with other smart home devices.
- Remote Monitoring – Check on your UniFi cameras or network devices no matter where you are.
- Enhanced Privacy – Enjoy HomeKit’s built-in encryption for extra security.
- Apple Ecosystem Benefits – Keep everything neatly integrated under one system, making smart home management smoother.
How to Optimize HomeKit Automations
- Organize your Devices
- Create Rooms: Group devices by room or function in the Home app for easier management.
- Label Device Clearly: Use intuitive names for devices, making voice commands and app navigation simpler.
- Use Scenes Effectively
- Combine Actions: Create scenes that activate multiple devices simultaneously, such as, “Leaving Home,” which could turn off lights, lock doors and set your thermostat for an instance.
- Set Time-Based Scenes: Schedule scenes to run at specific times, like turning on lights at sunset.
- Set Triggers and Conditions
- After the installation of HOOBS. Connect your Raspberry Pi to power and wait for HOOBS to boot up. HOOBS will appear as a Wi-Fi network namely “hoobs.local”, connect your device to this network.
- Device State Triggers: Automate actions based on the state of another device such as turning on the porch light when your security camera detects motion.
- Make Use of Provided Short Cuts
- Siri Shortcuts: Create custom Siri commands for specific actions or scenes, providing quick access through voice control.
How to Set up Unifi Protect to Apple HomeKit?
- Create an Account in UniFi Protect on Ubiquiti.
- Enable – Add a Read Only User to Unifi Protect to monitor and control your cameras. So, the HomeBridge can connect to Protect, register to events, and then bridge to HomeKit.
- Enable the RTSP Streaming Service to make your Unifi Cameras Discoverable.
- Name your Camera to make it easy to select.
You will need;
- Unifi G3 Flex.
- Unifi Cloud Key Gen2 Plus.
- Raspberry Pi 3 Model B+.
- Unifi Protect Controller – IP Address, Username, and Password.
Connect Ubiquiti Unifi HomeKit on the Home App
- Install the Apple Home App on your iPhone.
- Open the App >Tap on + and Add Accessory.
- Scan the QR Code to add the Unifi Protect to Home kit.
- You can choose to Locate or Rename your Cameras as you want.
- Finally, you can access all your Connected Unifi Protect devices on HomeKit.
Editor's Pick
My personal choice would be AddtoHomeKit. As I said above AddtoHomeKit is amazing to integrate UniFi Camera Apple HomeKit because of how easy it is. It fits into a busy lifestyle very well because it requires very little effort and time. It is also a software solution so the need to download a bulky app is not necessary. Make sure to consider what is the best option for you!
FAQs About HomeKit UniFi
UniFi devices do not have native HomeKit support, but you can integrate them using third-party solutions such as AddtoHomeKit, HOOBS or HomeBridge with the UniFi Protect or the UniFi Access plugin.
HomeKit is activated by setting up compatible devices through the Home app on your iOS device and following the pairing instructions.
A UniFi Controller manages UniFi network devices, providing centralized control for configuration, monitoring and analytics.
UniFi devices typically require a controller for setup and management, but some basic functions may still operate independently.