Add To HomeKit Bridge: Add Any Smart Home Devices to Apple HomeKit

If you're eager to control your non-HomeKit devices via the Apple Home App and Siri, you've probably explored various ways to integrate your smart home devices with Apple HomeKit. But what's the Best and most affordable way? Let’s Find.
But here's the catch – not all smart home devices come with HomeKit support. Some are outside the HomeKit compatibility circle. That's where the ATH Bridge steps in – a bridge that connects the gaps and makes your non-HomeKit devices work with HomeKit.
What is Add To HomeKit Bridge?
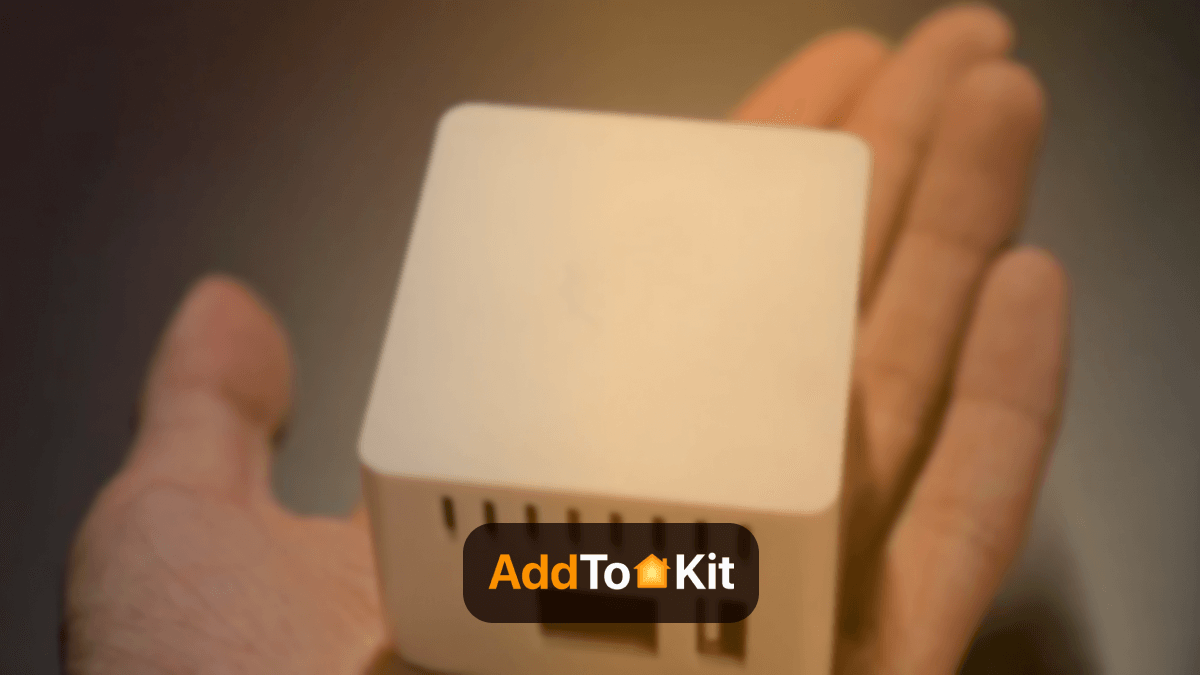
Add To HomeKit Bridge is a small, plug-and-play device that allows you to add non-HomeKit devices to HomeKit. It is a pre-flashed Homebridge server and a convenient solution for integrating non-native HomeKit devices.
Simply, ATH Bridge is a bridge between your non-HomeKit-compatible smart home devices and HomeKit. You can create these integrations with the ATH Bridge solution:
- Alexa Apple HomeKit Integration
- Shelly Apple HomeKit Integration
- Tuya Apple HomeKit Integration
- Ring Apple HomeKit Integration
- myQ Apple HomeKit Integration and many more....
Key Features of ATH Bridge
- Simple Setup: You can easily set up your system with a quick and hassle-free installation process.
- Enhanced Security: Safeguard your devices and data with a secure option that ensures privacy.
- Local Network Control: Seamlessly connect and manage your devices within your home network.
- Plugin Compatibility: Integrate seamlessly with a variety of plugins for extended functionality.
- Compact Design: The tiny footprint saves space while delivering powerful performance.
- Wide Accessory Support: Connect over 2,000 accessories, expanding your smart device compatibility.
- Budget-Friendly Solution: Achieve affordable integration of your smart devices without compromising quality.
Benefits of Using ATH Bridges
There are several benefits of using ATH Bridges to add non-HomeKit devices to HomeKit. These include:
- Ease of use: ATH Bridges are easy to set up and use. They are also compatible with a wide range of devices.
- Security: ATH Bridges are secure. It runs locally on your network. They use industry-standard security protocols to protect your data.
- Privacy: ATH Bridges respect your privacy. They don't collect any personal data about you or your devices.
If you are looking for a way to add non-HomeKit devices to HomeKit, an ATH Bridge is a great option. They are easy to set up, secure, and respect your privacy.
The goal of matter technology is to connect many smart home systems. ATH Bridge is one of my favourite products to augment HomeKit usage outside of Matter.
Pros and Cons of ATH Bridge
Pros
- Easy to set up
- Compatible with a wide range of devices
- Affordable
Cons
- Does not support Zigbee devices
Wide Range of Supported Plugins
- Nest HomeKit Integration
- Ring HomeKit Integration
- LIFX HomeKit Integration
- TP-Link Ksa HomeKit Integration
- IKEA HomeKit Integration
- Aqara HomeKit Integration
- Philips Hue HomeKit Integration
- Sonos HomeKit Integration
- Eero HomeKit Integration
- Wemo HomeKit Integration
- Schlage HomeKit Integration
- Alexa HomeKit Integration
- Govee HomeKit Integration and many more....
Why Choose Add to HomeKit Bridge?
Here are some additional tips for choosing a Homebridge server:
- Consider your budget. The Add To HomeKit Homebridge Server is a more affordable option.
- Consider your technical skills. The ATH Bridge is easier to set up.
- Add To HomeKit HomeBridge server provides a convenient solution for integrating non-native smart home devices into the Apple HomeKit ecosystem.
How to Set Up the ATH Bridge? [Step by Step Guide]
- Remove the pre-flashed SD card.
- Insert the SD card into the server.
- Connect the server to your router using the provided Ethernet cable.
- Activate the server.
- Find the server's IP address through your router's interface.
- Access the server's interface using your browser's IP and port 8581 (e.g., http://192.168.4.12:8581).
- Log in using standard credentials (admin/admin).
- Select and download the required plugins for your smart home devices.
FAQs
- Connect the ATH Bridge to your network (with Ethernet/ Wi-Fi).
- Download the HomeBridge app, this will provide a step-by-step guide.
- The added smart devices will automatically appear in the Apple Home app.
- Lastly, follow the prompts shown on the screen to pair your device with HomeKit.
It supports multiple protocols such as:
- ZigBee
- Z-Wave
- Wi-Fi
The ATH Bridge can create integrations between HomeKit incompatible devices such as cameras, motion detectors, light, etc. (Use the plugin and the configuration options in the HomeBridge app to easily connect the devices to the Apple ecosystem.
It supports multiple protocols such as:
- Download the HomeBridge App.
- Select the appropriate plugins.
- Follow the instruction given in the app (pairing the device, entering network details/ scanning QR code.)
These plugins can be installed to the HomeBridge app and configured accordingly based on the specific requirements of the devices.


