Apple HomeKit for Beginners: Complete 2026 Setup Guide

When I started with a connected home, I didn't have the best knowledge on the best smart home system for my home. There are tons of devices designed to pair with Apple HomeKit. I'll take you through everything I learned about Apple HomeKit and what you need to know to control your Apple iHome.
What is Apple HomeKit?
Apple HomeKit is Apple's secure, privacy-focused smart home platform that lets you connect, control, and automate compatible smart home devices using your iPhone, iPad, Mac, or Apple Watch. By unifying accessories from various manufacturers, HomeKit allows you to manage your entire home from a single app or through Siri voice commands—no need to juggle multiple brand apps.
In short: HomeKit = central control + privacy + Siri voice commands + no recurring fees (unlike some competitors).
If you're new to HomeKit, this guide covers everything you need to know: whether it's right for you, how to set it up, which devices work best, and how to build automations that save you time.
Is Apple Home App and Apple HomeKit the Same Thing?
This is a question I had and something that I have seen most new HomeKit users confuse themselves with.
In short, Apple Home App and Apple HomeKit can be said to be the same thing. However, Apple Home App is the interface, we users see. It is the app that we can physically see and use as a software. Apple HomeKit is the framework that runs the Apple Home app.
Apple HomeKit is very strict with what devices are compatible. Devices like Amazon Alexa and Google Assistant are not compatible but with time, inevitably third-party solutions arose.
Key Features & Capabilities
Apple HomeKit's core strengths are:
Privacy & Security
All HomeKit data is encrypted end-to-end. Apple cannot access your automations, camera feeds, or device data. For security cameras, HomeKit Secure Video processes video locally on your hub before saving to iCloud—your footage never leaves your home unencrypted.
The Home App
A single, unified dashboard pre-installed on all Apple devices (iOS, iPadOS, macOS, watchOS). Organize devices by room, category (Lights, Climate, Security), or priority status. Control everything from one place.
Siri Voice Control
Voice command your entire home: "Hey Siri, lock the front door," "Goodnight," "Movie time." Siri can trigger individual devices or complex chains of actions.
Scenes & Automations
- Scenes: Group multiple devices under one command (e.g., "Movie Night" dims lights + closes blinds + turns on the TV).
- Automations: Execute tasks automatically based on time, location (geofencing), motion sensors, or other triggers (e.g., "When I arrive home, unlock the door and turn on the lights").
Matter & Thread Support
Modern HomeKit supports Matter, a universal smart home standard ensuring compatibility across Apple, Google, Amazon, and Samsung ecosystems. Thread provides a low-power mesh network that keeps devices responsive, even across large homes.
Remote Access & Redundancy
With a HomeKit hub, you can control devices from anywhere globally. Multiple hubs provide redundancy—automations and cameras continue working if one hub goes offline.
How Can I Control Non-HomeKit Devices with Apple HomeKit
Controlling my HomeKit incompatible smart devices with Apple Home App and Siri was a need for me. So, I did some research to find how I can do so. That is when I stumbled upon AddtoHomeKit. It allowed me to add HomeKit incompatible devices to HomeKit with its step guides and its plugins.
Find out how I add HomeKit incompatible smart home devices to Apple HomeKit.
How to Use Apple HomeKit?
Using Apple HomeKit can be mainly done by:
- Using Apple Home App: I use Apple HomeKit on my iPhone, iPad or Mac.
- Using Siri Voice Commands: My personal favorite method to use Apple HomeKit is where Siri which works with iPhone, iPad, Apple Watch, HomePod, Mac or the Apple TV.
Is HomeKit Right for You? A Quick Decision Guide
Not everyone needs HomeKit. Before you set it up, ask yourself these questions:
Are you an iPhone or Mac user?
If yes, HomeKit is a natural fit—it's built into your Apple devices. If you're Android-only, you'll need to control HomeKit through a web app or third-party options, which is less seamless. HomeKit works best within the Apple ecosystem, though it can co-exist with Google Home or Alexa.
Do you already use Alexa or Google Home?
HomeKit works alongside them, but it won't speak the same language. Automations in HomeKit (via Siri) won't trigger Alexa routines, and vice versa. If you're building a unified smart home around one ecosystem, pick that ecosystem first. Matter (the new universal standard) is changing this in 2026, but it's not universal yet.
Is privacy and security a top priority for you?
HomeKit encrypts all your data end-to-end—Apple can't read your automations, camera feeds, or device data. If data privacy matters to you, HomeKit is ahead of Alexa and Google Home. This is the one area where HomeKit is non-negotiable.
What's your budget?
HomeKit itself is free—download the Home app on your iPhone. But devices start at $20-30 (smart plugs) and go up to $200+ (locks, cameras, hubs). Your first hub (Apple TV 4K, HomePod mini, or iPad) will likely cost $100-200. If you're starting from scratch, expect $200-400 for a basic setup.
Do you want easy setup, or are you comfortable tinkering?
HomeKit's strength is simplicity: scan a QR code, assign to a room, done. No complex networking or coding. If you like things simple, HomeKit is for you. If you want to customize everything and run local servers, Homebridge or Home Assistant might be better.
Bottom line: If you're deep in Apple's ecosystem, care about privacy, and want simplicity over flexibility, HomeKit is right for you. If you're Android-only or need device compatibility beyond Apple's ecosystem, you might find more options with Alexa or Google Home.
How It Works: The Core Components
To build a HomeKit system, you need three things:
1. A Home Hub (Required for Remote Access & Automations)
A Home Hub is an always-on device that acts as the central relay for your HomeKit setup. It enables:
- Remote access (control devices from away)
- Automations (time-based, location-based, sensor-based triggers)
- Camera recording (HomeKit Secure Video)
- Faster device responsiveness
Compatible hubs:
- Apple TV 4K (3rd gen or newer) — Best option if you also want 4K streaming
- HomePod mini ($99) — Most affordable; adds Siri speaker functionality
- HomePod 2 — Full-size speaker with hub built-in
- iPad (iOS 10+) — Can act as a hub if set to stay home and plugged in
Note: You can control local devices (on your home WiFi) without a hub, but you lose remote access and automations.
2. Compatible Accessories
Look for the "Works with Apple Home" or "Matter" badge on packaging. Popular categories include:
Lighting & Plugs
Brands: Nanoleaf, Philips Hue, Lutron Caséta, Wemo, LIFX
Why: Easy setup, no extra hub needed (unless using Hue/Lutron), affordable ($20-60)
Climate Control
Brands: Ecobee, Honeywell, Emerson
Why: Energy savings, scheduling, integration with other sensors
Smart Locks & Security
Brands: Yale, Schlage, Level Lock, Aqara, Kwikset
Why: Remote access, temporary access codes, door lock notifications
Cameras & Doorbells
Brands: Eve, Logitech, Looxcie, Apple (HomeKit Secure Video compatible)
Why: End-to-end encrypted video; HomeKit Secure Video records to iCloud with no monthly subscription
Hubs & Bridges
If your device uses Zigbee or proprietary wireless, you may need a bridge (e.g., Philips Hue Bridge, Aqara Hub, Lutron Caseta Bridge)
3. Wireless Standards (Understanding Matter, Thread, WiFi, Bluetooth, Zigbee)
WiFi
Most devices connect via your home WiFi. Fast, but uses more power.
Bluetooth
Short-range, low-power. Good for nearby devices; limited to ~30 feet.
Thread
New mesh networking standard (HomeKit 2024+). Devices hop between Thread-compatible accessories, extending range and reliability. Requires a Thread border router (Apple TV 4K gen 4, HomePod mini with U2 chip, or Nanoleaf Thread border router).
Zigbee
Proprietary protocol used by some brands (Philips Hue, Aqara, Lutron). Devices need a manufacturer's bridge to connect to HomeKit.
Matter
Universal standard (2023+) supported by Apple, Google, Amazon, Samsung. Ensures future-proof compatibility. New devices prioritize Matter—look for it when shopping.
Bottom line: WiFi and Bluetooth devices work immediately. Thread and Matter add reliability and future flexibility. Zigbee requires a bridge.
What can I do with Apple HomeKit?
These are my personal favourite things to use Apple HomeKit for:
- Control lighting: I can now control my lighting using my Home and Siri.
- Automate Routines: I can easily create custom routines and automate tasks such as turning off lights and adjusting my thermostat.
- Secure Home: I can set up security systems with my HomeKit such as when doors or windows are opened or closed and receive notifications on my phone and Apple Watch.
- Control smart devices: I can control all my HomeKit compatible smart home devices from anywhere with my iPhone or iPad. Devices like thermostats, coffee makers, air purifiers, fans and more.
- Use Siri: I can control my HomeKit devices and connected devices using Siri voice commands with Siri integration.
- Manage heating and cooling: I can control my thermostats, set schedules and even monitor energy usage from my iPhone or iPad.
- Monitor Cameras: I can view live video feeds from my HomeKit-enabled cameras and receive notifications when motion is detected.
The possibilities are endless with its growing list of compatible devices and integration with other Apple products.
Have HomeKit Incompatible Devices? Read more to add them to HomeKit:
- How to add ecobee devices to HomeKit
- How to add Sonos Devices to Apple HomeKit
- How to add Vivint Devices to Apple HomeKit
- How to add ADT Devices to Apple HomeKit
- How to add Blink Devices to Apple HomeKit
- How to add Tapo devices to Apple HomeKit
- How to add Smartwings Devices to Apple HomeKit
- How to add Reolink devices to Apple HomeKit
- How to add Nuki devices to Apple HomeKit
- How to connect Schlage devices to Apple HomeKit
- How to connect Yale devices to Apple HomeKit
- How to connect Abode devices to Apple HomeKit
- How to connect Eero devices to Apple HomeKit
- How to connect D-Link devices to Apple HomeKit
- How to connect Aqara devices to Apple HomeKit
- How to connect UniFi devices to Apple HomeKit
- How to Add Any ESPHome Devices to Apple HomeKit
- How to add any Hikvision Devices to Apple HomeKit
- How to add any Eufy Devices to Apple HomeKit
- How to add any Blink Camera to Apple HomeKit
- How to add any Wyze devices to Apple HomeKit
- How to add any eWeLink devices to HomeKit?
- How to add Govee devices to HomeKit?
- How to Add Any TP-Link Kasa devices to Apple HomeKit
- How to Add Any SwitchBot devices to Apple HomeKit
- How to Add Any Zemismart Devices to Apple HomeKit
- How to Add Samsung TV to Apple HomeKit
- How to Add Any Honeywell devices to Apple HomeKit
- How to Add Any Bosch devices to Apple HomeKit
- How to Add Geeni Camera to Apple HomeKit
- How to Add Any Ecovacs Devices to Apple HomeKit
- How to Add Any Aladdin Connect Devices to Apple HomeKit
- How to Add Any Geeni Devices to Apple HomeKit
- How to Add Any Leviot Devices to Apple HomeKit
- How to Add AirGradient Smart Devices to Apple HomeKit
- How to Add Google Nest Thermostat to Apple HomeKit
- How to Add Dahua Smart Devices to Apple HomeKit
- How to Add Thinka Smart Devices to Apple HomeKit
- How to Add Any DoorBird Devices to Apple HomeKit
- How to Add Any Crestron Smart Devices to Apple HomeKit
- How to Add Any LIFX Smart Devices to Apple HomeKit
HomeKit Setup Checklist for Beginners
Here's everything you need to get started with HomeKit, step by step:
Before You Buy Anything
- [ ] Do you have an iPhone, iPad, or Mac? (HomeKit lives in the Home app on one of these)
- [ ] Will your setup stay on one WiFi network, or do you need remote access? (If remote, you'll need a hub)
The Hardware You'll Need
- [ ] A HomeKit hub: Apple TV (4th gen or newer, or 4K model), HomePod mini, HomePod 2, or iPad (iOS 10+) set to stay home
- Why? The hub relays commands to your devices when you're away from home and enables automations and Siri voice control anywhere
- [ ] WiFi-enabled HomeKit devices (lights, plugs, cameras, locks, etc.)
- Tip: Look for the "Works with Apple HomeKit" label on the box
Installation
- [ ] Download the Home app on your iPhone or iPad
- [ ] Add your hub: Home app → [your name] → Settings → Invite → Add next person → Not interested → Add HomeKit Code or scan QR code from your hub
- [ ] Add your first device: Home app → + → Add Accessory → scan HomeKit code or enter 8-digit code
- [ ] Assign it to a room: Home app → select device → Details → Room → choose (e.g., "Living Room")
Testing Your First Device
- [ ] Tap the device in Home app—does it respond? (e.g., click a smart plug to turn it on)
- [ ] Try a Siri command: "Hey Siri, turn on the [device name]"
- [ ] Leave home (or toggle away WiFi) and tap the device again from away—does remote control work?
Build Your First Automation
- [ ] Home app → Automation → Create New Automation → pick a trigger (time, location, sensor)
- [ ] Example: "At sunset, turn on the living room lights" or "When I leave home, lock the front door"
- [ ] Test it and adjust
Troubleshooting If Something Doesn't Work
- [ ] Is your HomeKit code entered correctly? (Check the box on your device)
- [ ] Is your hub online? (Check Settings → Hubs & Bridges → your hub should say "Connected")
- [ ] Is the device on the same WiFi as your hub?
- [ ] Restart the device and your hub (unplug for 10 seconds, plug back in)
Next Steps
- Once you're comfortable, add more devices one at a time
- Explore scenes: group multiple devices into one tap (e.g., "Movie Time" = dim lights, close curtains, turn on TV)
- Explore HomeKit Secure Video if you add cameras (requires iCloud+ subscription, but enables encrypted camera recording)
What is the Apple Home App?
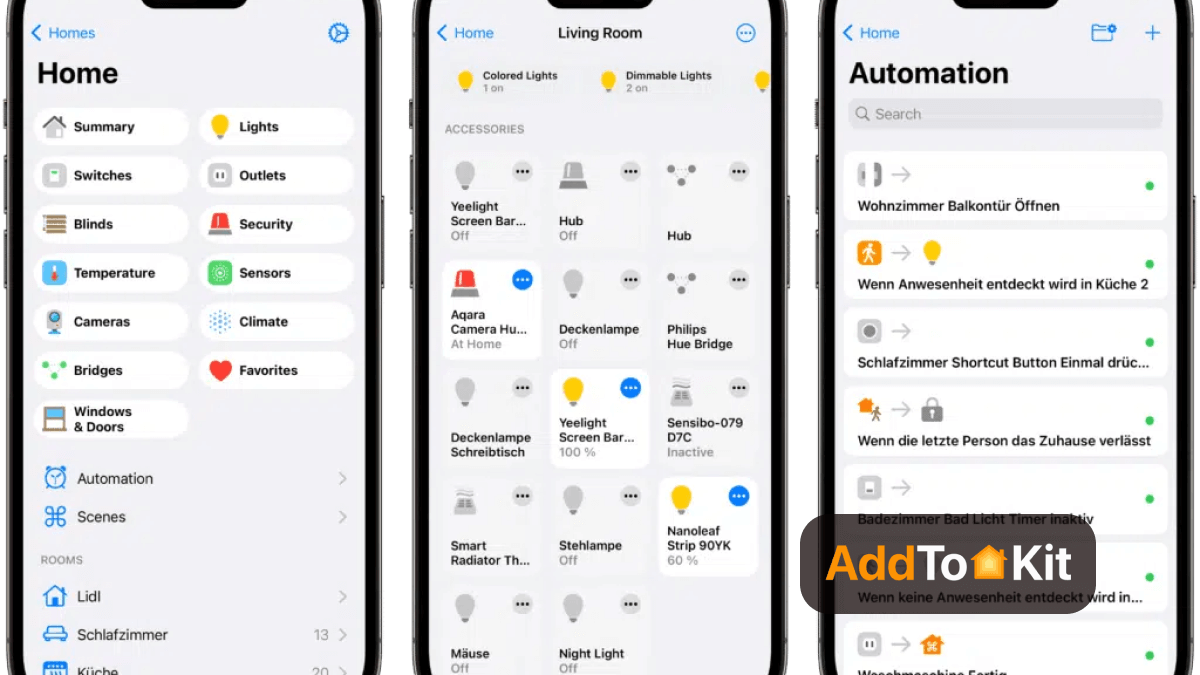
I control my smart home devices easily and securely with the Apple Home App on my iPhone. I pick accessories labeled “Works with Apple HomeKit” or other Apple HomeKit compatible devices. In the iOS Home app, I use Siri voice assistant to control everything, manage devices together, and organize by room.
To get HomeKit on Apple TV, I set it up as a HomeKit Hub: went to Settings > Accounts, signed in to iCloud with my Apple ID (same as my iOS device), and it connected as my home hub.
For Apple Home Key Compatible Locks, check our Apple HomeKit / Home Key Compatible Locks article.
What are some Apple Smart Speakers and Apple Smart Displays?
Apple Smart Speakers
Here are some of my favourite Apple smart speakers:
Apple HomePod Mini
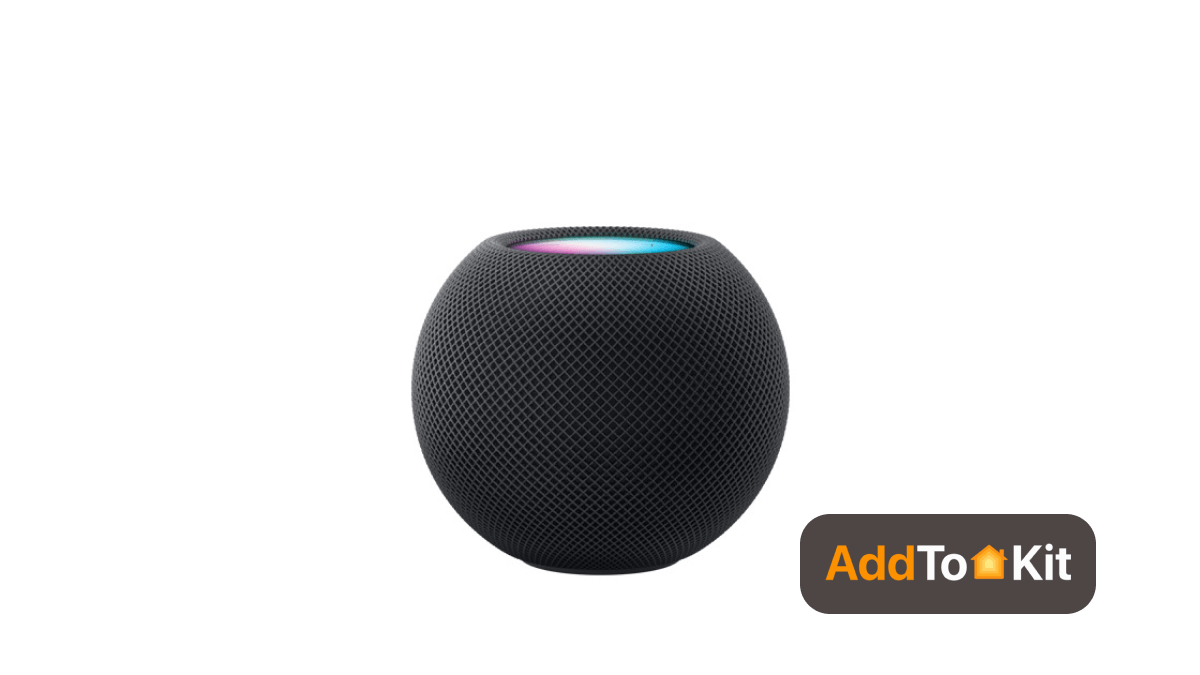
The Apple HomePod Mini is the best HomeKit Speaker, Apple’s most adorable smart speaker with attractive design, excellent audio, and massive radiators. It's one of my top HomeKit devices that acts as a HomeKit hub. I linked mine with Apple TV 4K and paired them in stereo. It integrates seamlessly with my iPhone and Apple ecosystem, plus it has away mode: when I'm not home, it turns on lamps to make it seem like I am. I also set up my HomePod Mini as an Apple HomeKit Hub.
Apple HomePod 2
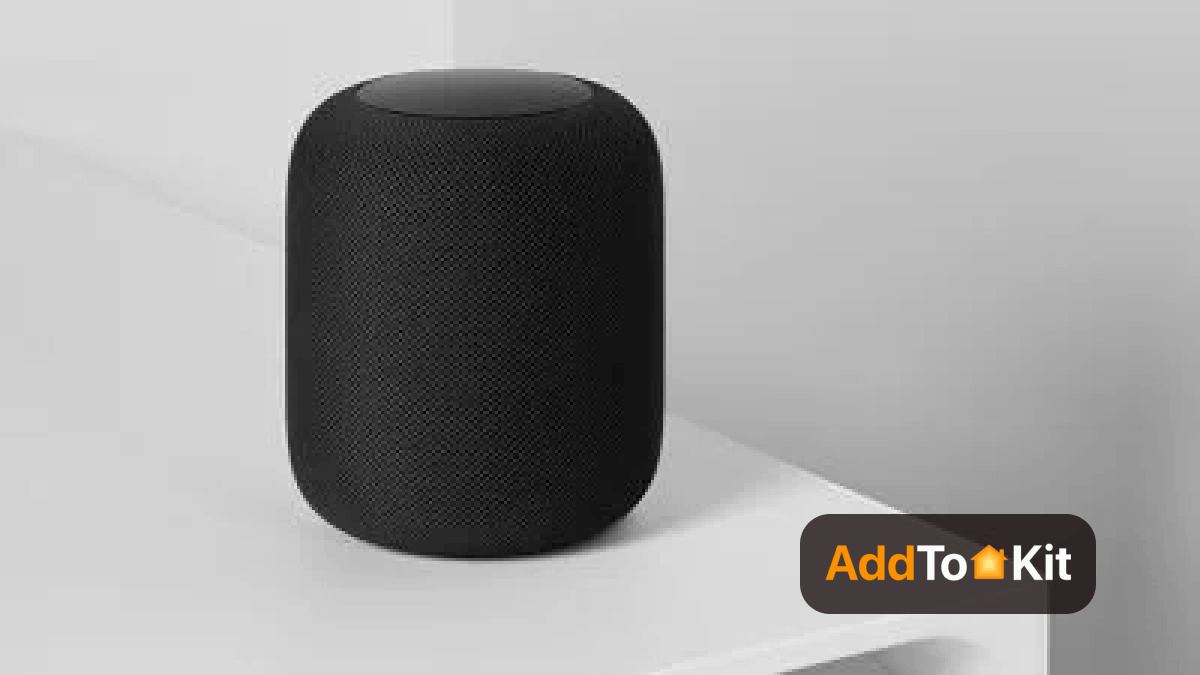
My Apple HomePod 2 enhances my smart home with its intelligent Home Assistant - Siri. It delivers immersive, high-fidelity audio. This powerhouse smart speaker amps up everything I hear.
Features:
- Room-filling oomph
- Hits the high notes
- Optimizes acoustics in real time
- Stronger support for Dolby Atmos music
Apple Smart Display
Apple integrates HomeKit controls into streaming devices. I bring together all my favorite streaming apps like Apple TV+, Apple Music, Apple Fitness+, and Apple Arcade on my Apple TV 4K. It's the best streaming device for me.
Features:
- 4K screen resolution.
- Thread networking support.
- Gigabit Ethernet.
- 128GB Storage.
- A15 Bionic chip.
- Siri Remote with USB-C connector.
What are the Best HomeKit enabled devices for Apple iHome?
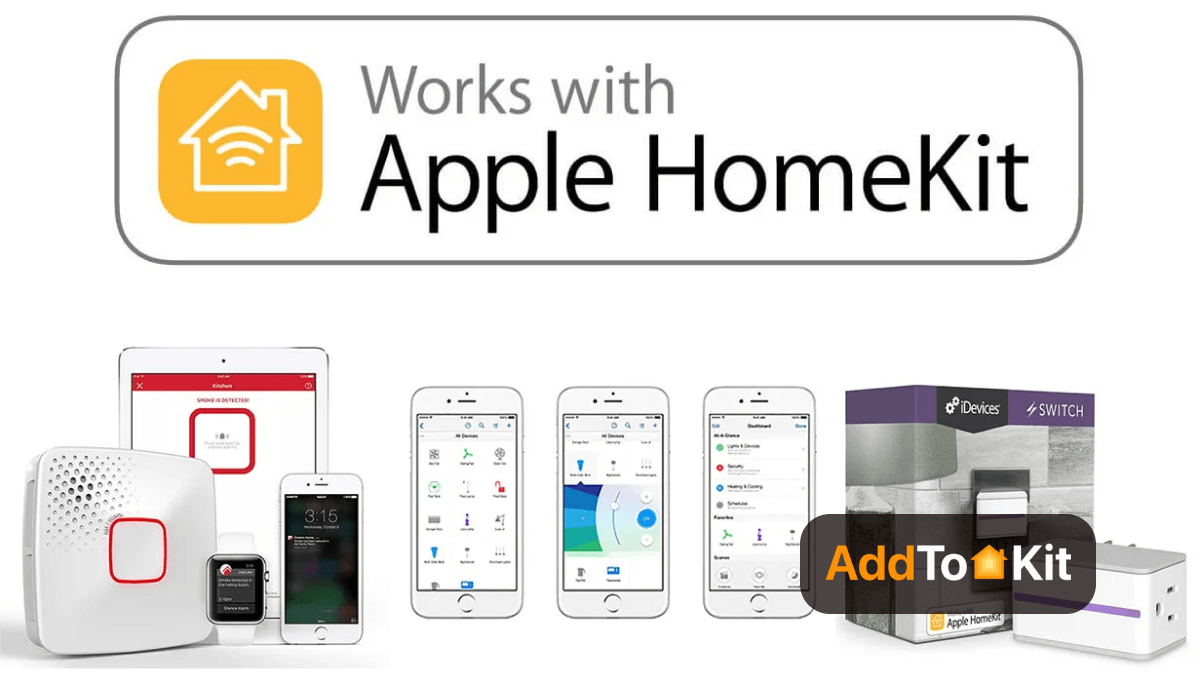
Many leading brands offer devices compatible with Apple HomeKit. Apple HomeKit compatible accessories keep getting smarter, and the list is growing as Apple introduces more for Apple HomeKit.
This includes Air Conditioners, Air Purifiers, Bridges, Cameras, Doorbells, Fans, Faucets, Garage Doors, Humidifiers, Lights, Locks, Outlets, Receivers, Routers, Security, Sensors, Smart Home Speakers, Sprinklers, Switches, Thermostats, TVs, and even Windows. Under each type, many brands work with these Apple HomeKit devices.
Here are a few devices compatible with Apple HomeKit.
Ecobee (5th-Gen)
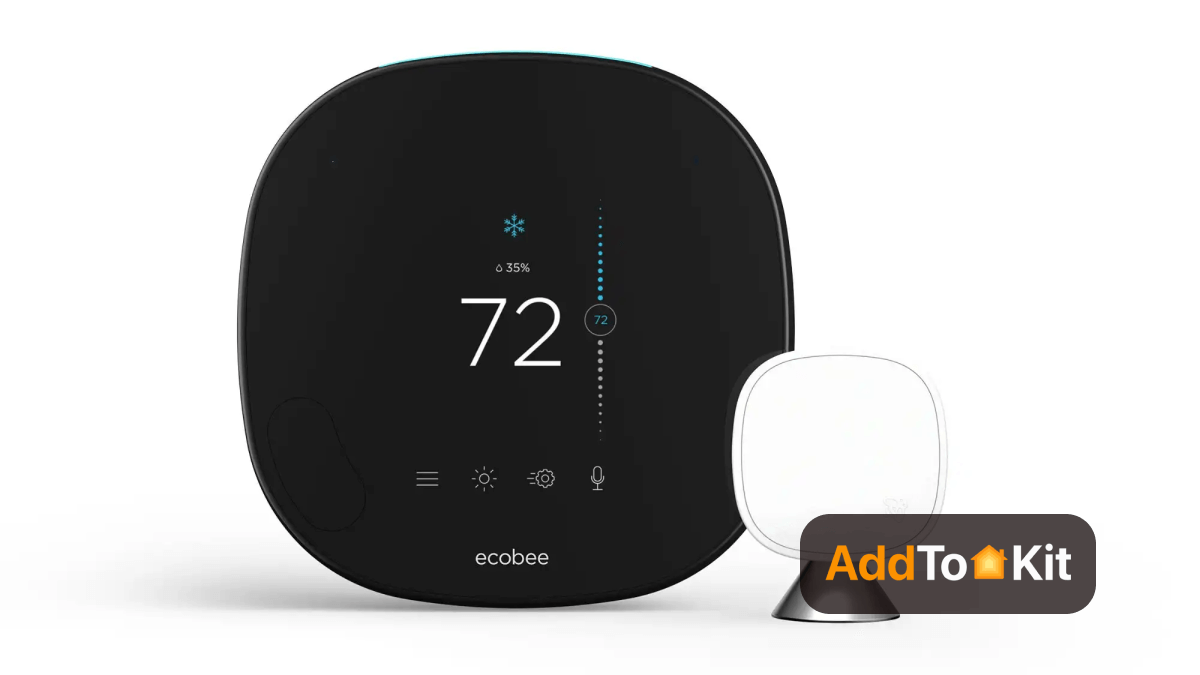
I control my home temperature with the Ecobee 5th generation, the best Apple HomeKit enabled thermostat for HomeKit users. It works with Spotify for background sound.
Integrated with HomeKit, I control it from anywhere via smartphone. It has improved remote sensors and a better speaker. When I'm home, it detects temperature and adjusts accordingly using the sensors.
Wemo WiFi Smart Plug
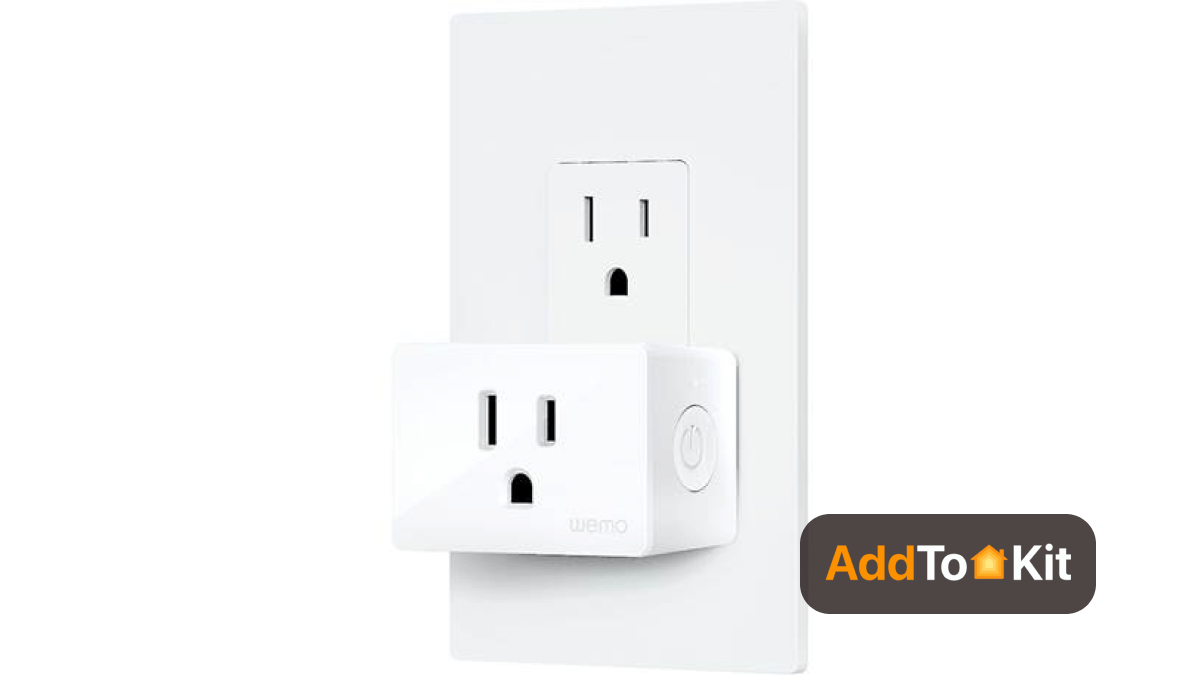
The Wemo WiFi Smart Plug is a more attractive smart plug compatible with Apple HomeKit. I made my dumb appliances smart with it. It's a more affordable smart plug with an improved footprint.
Lifx Mini Smart Bulb
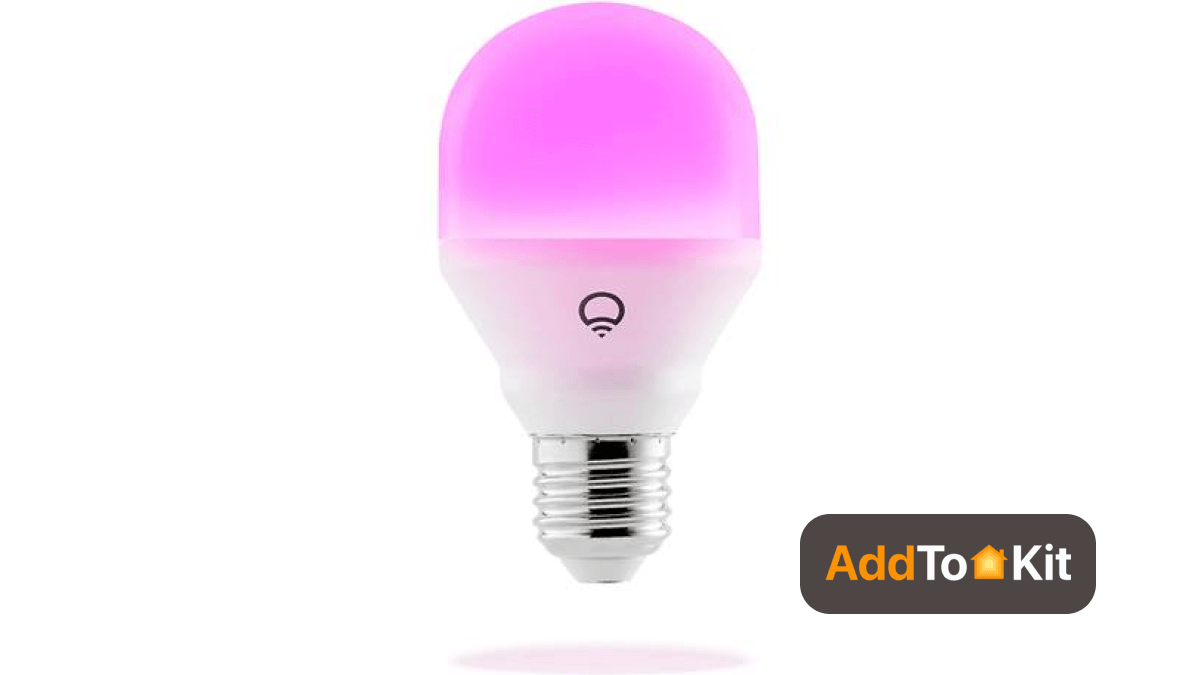
My Lifx Mini Smart Bulb ranks among the best Google Home Devices, best Alexa compatible devices, and best Apple HomeKit compatible smart light bulbs. It's a significantly smaller, lighter, egg-sized smart light bulb.
It connects directly to Wi-Fi without a smart home hub. I easily control and schedule it using the Lifx app. Lifx Mini is a good option for smart homeowners like me.
Lutron Caseta Dimmer Switch Starter Kit
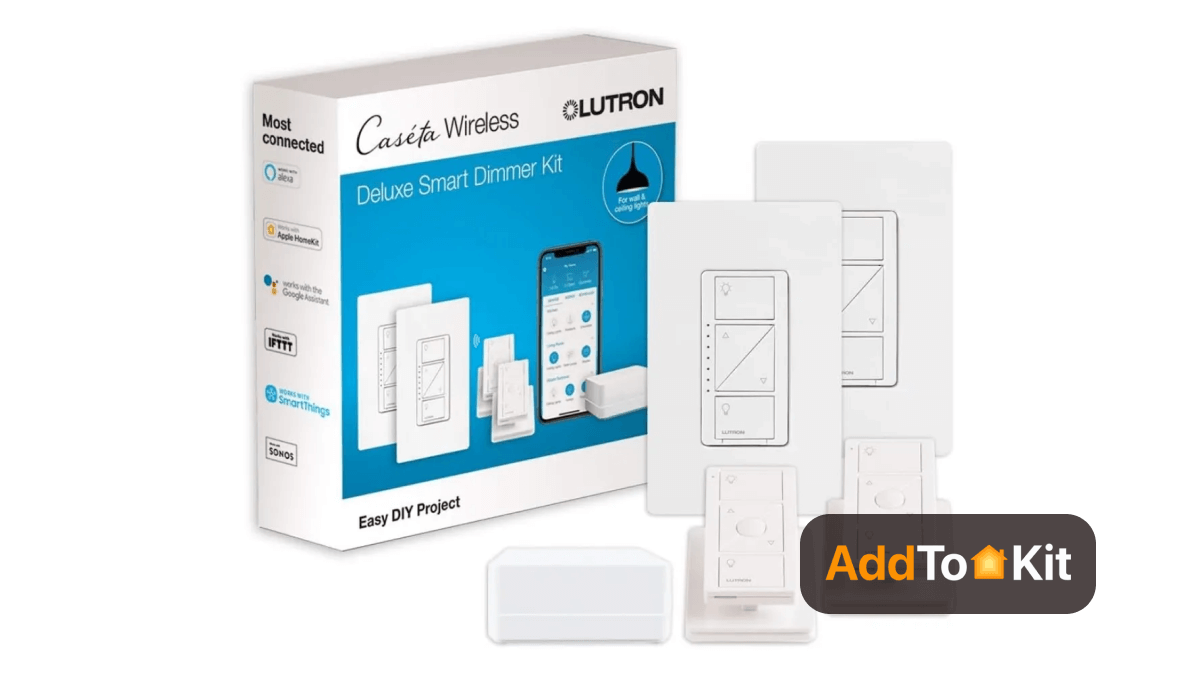
The Lutron Caseta Dimmer Switch Starter Kit is the best dimmer switch for HomeKit users like me. It works with any table or desk lamp, so I converted dumb devices into smart ones with it.
It dims bulbs too, not just on/off. The kit includes a remote, and I control it with Siri. It's more expensive than others, but worth it since it requires very limited input.
Kwikset Premis
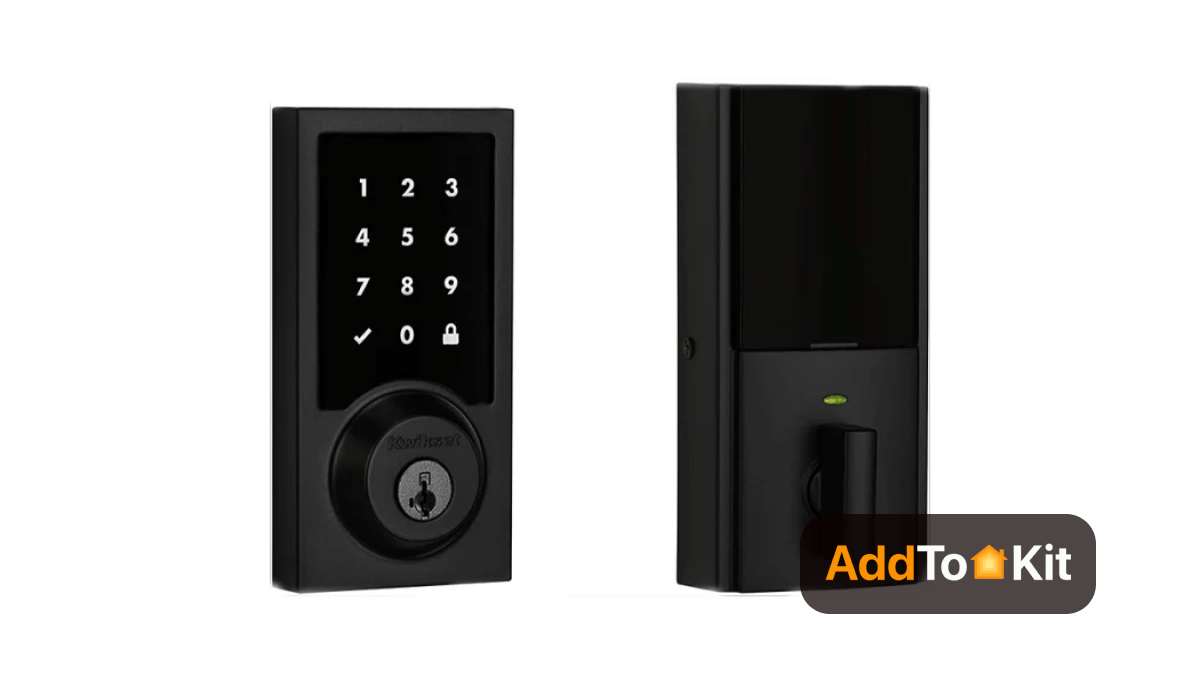
In my iOS/Apple ecosystem, the Kwikset Premis lock is incredible. Its Smartkey features and customizable codes make sharing home access easy.
With my newer Apple TV or HomePod, it works perfectly. It protects against intruders with alarms for incorrect codes and lockdown mode. Using the Premis App, I check door lock status. Apple’s end-to-end encryption secures my communications.
Yale Assure Lock
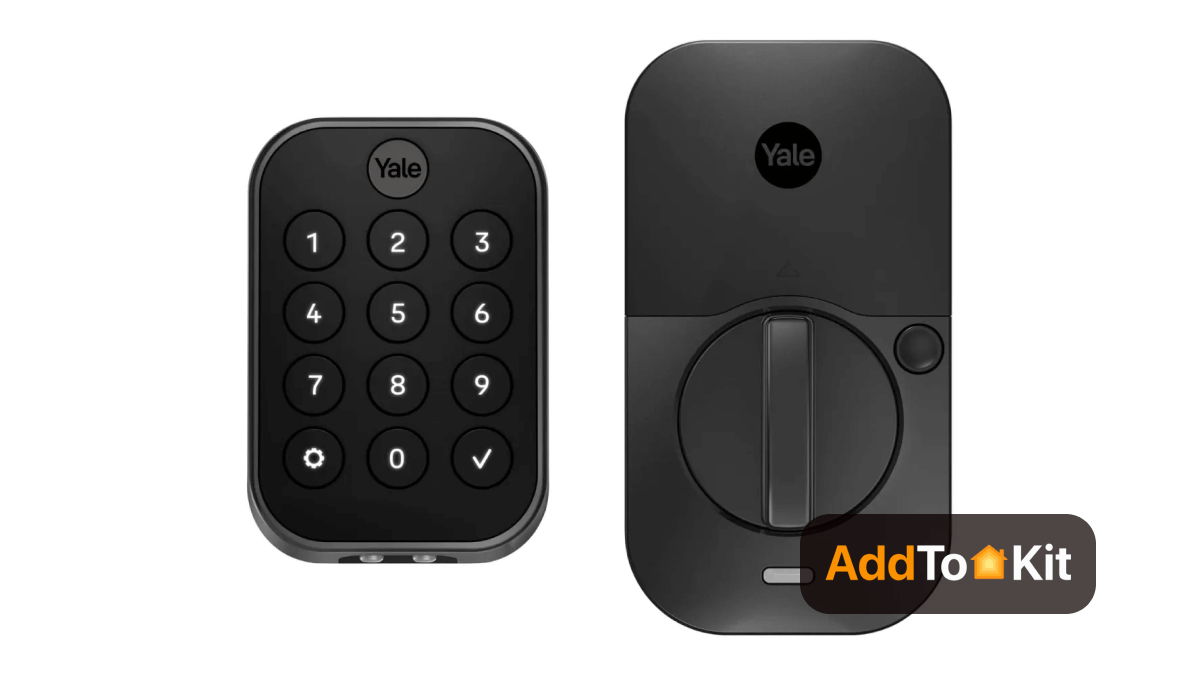
My Yale Assure SL smart lock is Apple HomeKit Enabled with a small, clean design. It connects to any smart home hubs and security systems via its radio offerings. With my Apple TV as HomeKit hub or security system, I integrate, monitor, and control it remotely.
As mentioned, many options exist like Apple HomeKit doorbells, Apple HomeKit cameras, Apple HomeKit hubs, Apple HomeKit door locks, and Apple HomeKit thermostats.
There are many Apple HomeKit devices such as Apple HomeKit Camera, Apple HomeKit Security System, Apple HomeKit TV, and more.
How to add non HomeKit devices to Apple HomeKit?
I used these options to test out the best option.
- Software Based Solution - AddtoHomeKit, Homebridge
- Hardware Based Solutions - ATH Bridge, HOOBS, Raspberry Pi, Athom Homey Pro
AddtoHomeKit - My Favourite Option
I found a simple way to add smart home devices to HomeKit, AddtoHomeKit. This web app allows you to add any smart device to Apple HomeKit. It has a thousands of plugins and also step guides that allowed me to create any smart device HomeKit integration.
ATH Bridge
I needed an affordable way to connect non-HomeKit compatible smart home devices to HomeKit, so I used ATH Bridge. It lets me control them with Siri and the Apple Home App.
Homebridge
I integrated non-HomeKit compatible smart home devices with Apple HomeKit using Homebridge. It's a lightweight NodeJS server supporting over 2000 Homebridge plugins.
 Oliver H
HOOBS
HOOBS is the best alternative for Homebridge. It is a plug and play hub. It also makes smart home devices compatible with Apple HomeKit.
Raspberry Pi
Raspberry Pi is a tiny and cheap computer that runs on Linux. It is the cheapest solution to add any smart home devices to Apple HomeKit.
Matter
Matter is a new smart home connectivity standard that works across HomeKit, Alexa, and Google Assistant. It supports existing Apple devices on iOS 16.1, iPadOS 16.1, and tvOS 16.1. My Apple Home app and Siri voice assistant handle Matter too. Yeah, I've enhanced my setup with Apple HomeKit Matter supported devices.
Now I know how to integrate non-Apple HomeKit compatible smart home devices.
Does Apple HomeKit require a hub?
I use the Apple Home app to control Wi-Fi or Bluetooth-enabled HomeKit compatible devices at home. Just tap to turn them on or off.
Away from home or for extras, I rely on my HomePod or iPad (iOS 10+), or 3rd/4th gen Apple TV (tvOS 9+). Some devices connect via hub over Wi-Fi, others Bluetooth. For 30+ feet range, my Bluetooth extender bridges to Wi-Fi.
With a HomeKit hub, I control everything remotely from work, school, or vacation. Like cameras, temperature, and emergency lights. Without one, it only works at home, but my Apple TV, Homepod, or iPad acts as a HomeKit hub to keep me covered.
What Are the Best Siri HomeKit Commands?
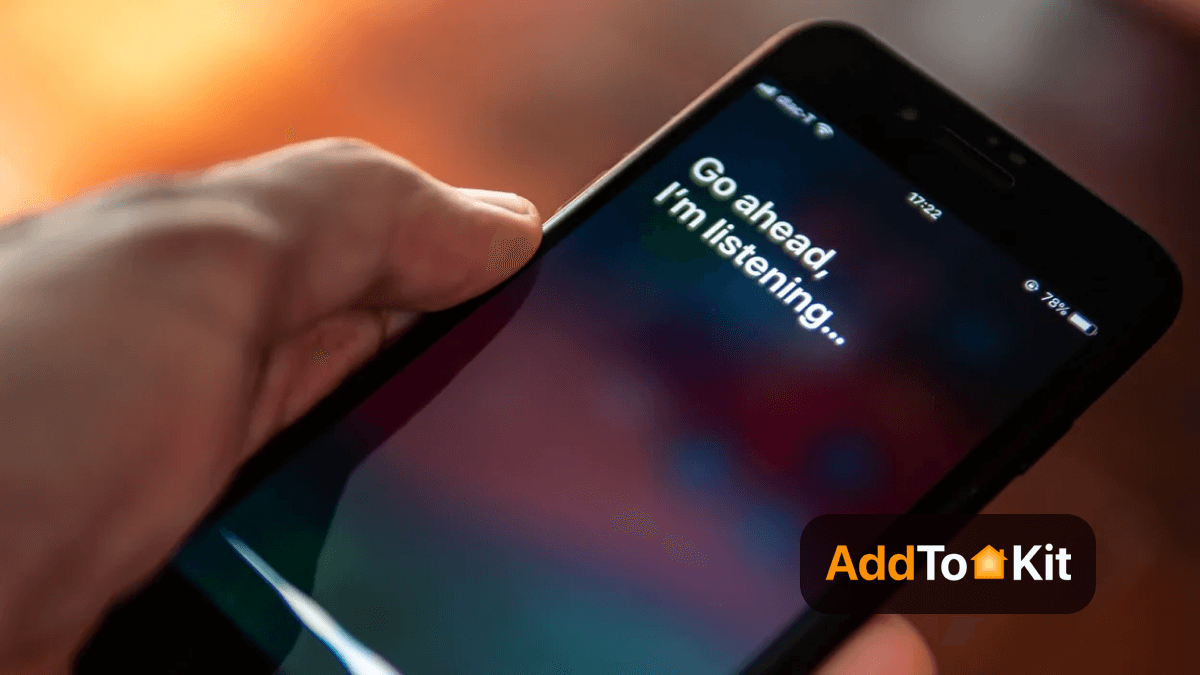
As an Apple HomeKit owner, I rely on Siri. If you're new, no worries. The Siri voice assistant is my voice-controlled personal assistant that handles everything.
I just talk to her on my iPhone, iPod Touch, iPad, HomePod, Apple Watch, or Mac. She shows info, answers questions, runs commands, and accesses apps like Messages, Mail, Contacts, Maps, and more.
Voice control beats everything for smart home devices. Commands start with "Hey, Siri.."
“Set the temperature to 65 degrees”
“Turn on the lights”
“Turn off the lights”
“Set the brightness to 75%”
“Dim the lights”
“Set my bedtime scene”
“Turn on the coffee maker”
“Lock the front door”
“Open the garage door”
“Set the thermostat downstairs to 60”
Setting Up Your First Device: Step-by-Step
Prerequisites
- ✓ iPhone or iPad with Home app installed
- ✓ HomeKit hub set up (Apple TV, HomePod, or iPad)
- ✓ Compatible HomeKit device (look for "Works with Apple HomeKit" label)
- ✓ HomeKit setup code or QR code (on device or in manual)
Setup Steps
Step 1: Open the Home App
Launch the Home app on your iPhone or iPad. If this is your first time, you'll be prompted to create a Home (e.g., "My House"). Select a primary location and time zone.
Step 2: Add Your First Device
Tap the + icon in the top-right corner → Add Accessory.
Step 3: Scan the HomeKit Code
Use your iPhone camera to scan the 8-digit HomeKit code on the device's label or in its manual. You can also enter the code manually if scanning fails.
Step 4: Name and Assign to Room
Give your device an intuitive name (e.g., "Living Room Light" not just "Light 1"). Assign it to a room (e.g., "Living Room"). This makes Siri commands clearer: "Hey Siri, turn on the living room light."
Step 5: Customize Settings (Optional)
Some devices let you set favorites, enable notifications, or adjust defaults. You can skip this for now; come back later.
Step 6: Test It
Tap your new device in the Home app to turn it on/off. Try a Siri command: "Hey Siri, [turn on/off] [device name]."
Step 7: Set Up a Scene (Next Step)
Once you have 2-3 devices, create a Scene (Home app → Automation or Scene → +). Example: "Good Night" = turn off all lights + lock door + arm security system.
Troubleshooting
- Device won't add: Restart the device, ensure Bluetooth is on, confirm your WiFi network name (some HomeKit devices don't support 5GHz-only networks).
- Can't reach device remotely: Confirm your HomeKit hub is online (Home app → Settings → Hubs & Bridges).
- Siri doesn't recognize the device: Check device name for special characters or numbers; Siri prefers simple names like "Kitchen Light" over "Light #3."
What's New in Apple HomeKit in 2026?
Apple has made significant updates to HomeKit this year that make it more powerful and beginner-friendly.
New Hardware
- HomePad (launched March 2026, $299): A 7-inch touchscreen hub with A18 chip. Acts as HomeKit hub, displays live camera feeds, shows status, and enables HomeKit Secure Video recording. Perfect for kitchens or family rooms.
- HomePod mini with S10 chip (update, Q2 2026): Faster processing, improved Siri response time, built-in U2 ultra-wideband for spatial awareness. Excellent hub option at $99.
- Apple TV 4K (4th Gen) (released, $129-199): Acts as HomeKit hub, supports 8K streaming, Thread border router built-in. Best hub if you also need a media streaming box.
- HomeKit Secure Video Camera (Apple's own camera, Q2 2026): End-to-end encrypted; HomeKit Secure Video recording included (no subscription). Superior privacy compared to third-party cameras.
Software & Feature Updates
- Faster Home app (February 2026): Rebuilt for performance; controlling 100+ devices is now instant instead of laggy.
- Matter 1.4 support (current): Better cross-brand compatibility; devices from Google, Amazon, and Samsung now work more reliably with HomeKit.
- Robot vacuum support (new): Add compatible vacuums (Roborock, Ecovacs) to HomeKit; automate: "Run vacuum at 2 PM."
- Activity History (new): See every device action, who triggered it, and when. Great for troubleshooting and security auditing.
- Advanced automations (new): Chain automations together. Example: "When I leave home, lock the door, close the garage, turn off lights, AND arm cameras."
- Energy management (new via Matter 1.4): Monitor power usage by device; set energy-saving automations.
What This Means for You
If you're just starting: Ignore the new devices for now. A $99 HomePod mini hub + affordable accessories ($20-50 each) is still the right entry point. The new hardware is for upgrading later.
The real win: Matter integration is now solid. When buying new devices, prioritize the Matter logo—it ensures compatibility, faster performance, and future-proofing. HomeKit 2026 is the best year to start if you care about privacy and simplicity.
Editor's Pick
With my iPhone, HomeKit fits perfectly. Apple lets third-party manufacturers make smart devices HomeKit-friendly, with stricter security than Google Assistant or Alexa.
The Home app is a powerful smart home manager. It offers more automation and control options than Alexa, on par with SmartThings. For luxury at home or easy Apple iHome setup, Apple HomeKit is ideal.
FAQs
Apple HomeKit links Smart Home Devices together, allowing you to control all Apple HomeKit compatible devices using the iOS Home App or Siri voice commands. It also enables control of any Smart Home Devices using third-party hardware and software solutions.
HomeKit is considered the best Smart Home System compared to others. Its privacy and security features are excellent, and it offers a brilliant iOS Home App and Siri voice control.
Now, you can use AirPlay to share your favorite videos, photos, and music from your Apple Devices to your Smart TV and Smart Speaker.
Yes, many HomeKit devices use Wi-Fi or Bluetooth. You can connect to a hub using Bluetooth.
You can use Apple HomeKit via the Apple Home app. Also, you can easily add HomeKit accessories to Apple HomeKit easily.
Yes, you can use your iPhone as a HomeKit Hub. So, you can control and manage your smart home devices such as smart lights, locks, thermostats, and many more with the Home App on your iPhone.
Actually, No. It is not necessary to have an Apple TV to use HomeKit. You can use an iPad or HomePod if you don't have an Apple TV.
HomeKit can work without any internet connection. But, you won't get access to Siri, Automations, and HomeKit devices that use the cloud.
No, there's no direct connection between these two. You can use Homebridge solutions to add HomeKit to Alexa.
You can download the Apple Home App for free. But, if you don't have smart home devices, you will have to pay for them.
Apple HomeKit can:
- Control smart home devices such as lights, switches, outlets, thermostat, locks, and many more.
- Create automations that can trigger actions based on events.
- Secure your Home.
- Use Siri voice commands to control your smart home devices.
- Control smart home devices from anywhere using Apple Home App.
- Integrate with Apple services.
If you have the latest version of iOS or tvOS, you can access Apple HomeKit via the Home App on your iPhone or iPad, or on your Apple TV.
Apple HomePod's release date was February 3rd.
Honeywell Home, ecobee, and Emerson thermostat work with Apple HomeKit.